Applying for the UPSC prelim exam online requires you to upload your photo and signature on the UPSC website. The quality of the photo is crucial, especially its size. With a photo of inappropriate size, your application may be rejected. We will walk you through the requirements for the UPSC photo and delve into different types of UPSC photo editor.
UPSC photo & signature size
The UPSC has set a standard for the applicants’ photos and signatures, including UPSC photo size, resolution, etc. There have been a few changes since February 2024. Here are the updated criteria for the UPSC photo and signature:
- The photo should be taken within 10 days before the online application process.
- Both your name and the date the photo is taken must be clearly shown on the photo.
- Your image should occupy 3/4th of the photo.
- Your appearance in the photo must match your appearance in person throughout the exam.
- The files of the photo and signature must be in the form of a JPG.
- Either color or black and white photo is acceptable. Make sure your image can be clearly identified.
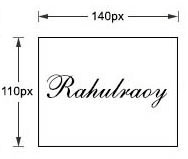
- The signature you upload has to be written in black on white paper.
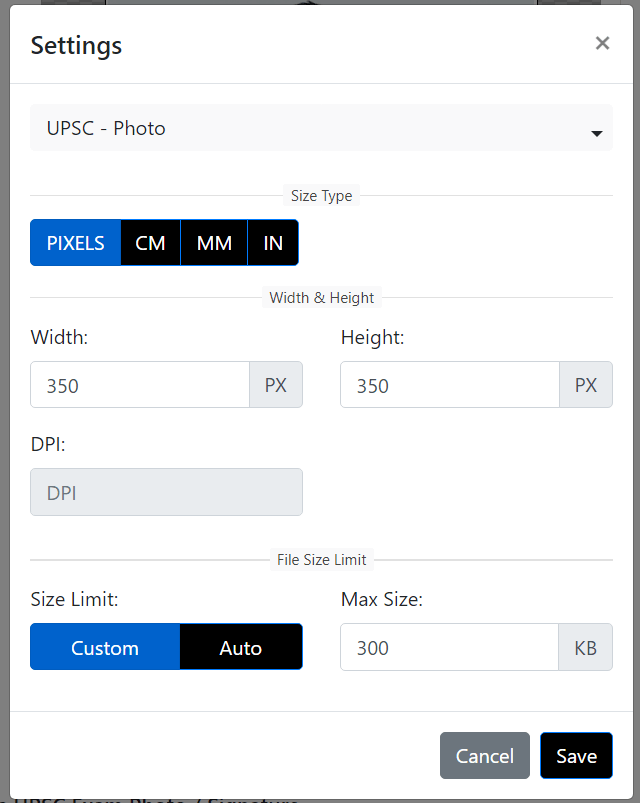
- The size of the files you upload should be between 20KB to 300KB.
- The resolution required for photo and signature is: Minimum 350 pixels (width) x 350 pixels (height); Maximum 1000 pixels (width) x 1000 pixels (height)
- Hazy or illegible images are not acceptable.
- The photo should not have any marks while the signature should not be written anything else, such as a date.
How to resize photos for UPSC online
Getting a UPSC photo at a photo studio is an option. However, creating your photo at home using a UPSC photo size converter is more efficient, cost-saving and convenient. Here we will offer you step-by-step guides demonstrating how to resize image for UPSC with the following online tools:
Form photo editor
This photo editor specializes in resizing and compressing photos and signatures for UPSC. It can automatically resize your photo to required width and height in pixels, cm, mm and inches, without application. The process is completely free. Check the steps here:
1. Visit the Form photo editor homepage.
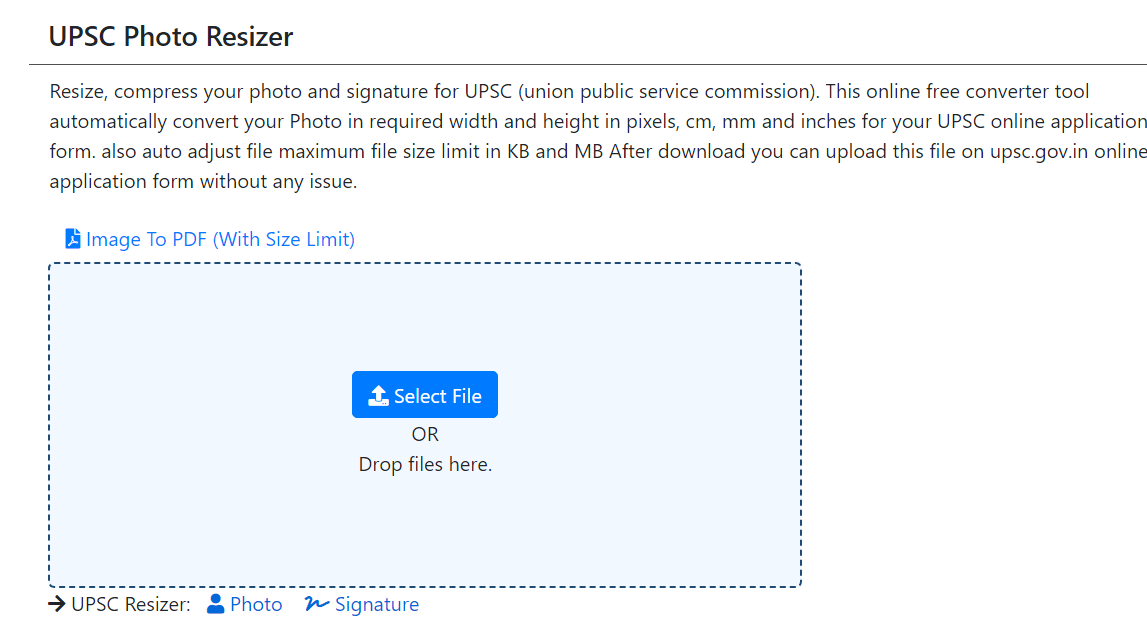
2. Click the blue button to upload a photo taken by yourself.
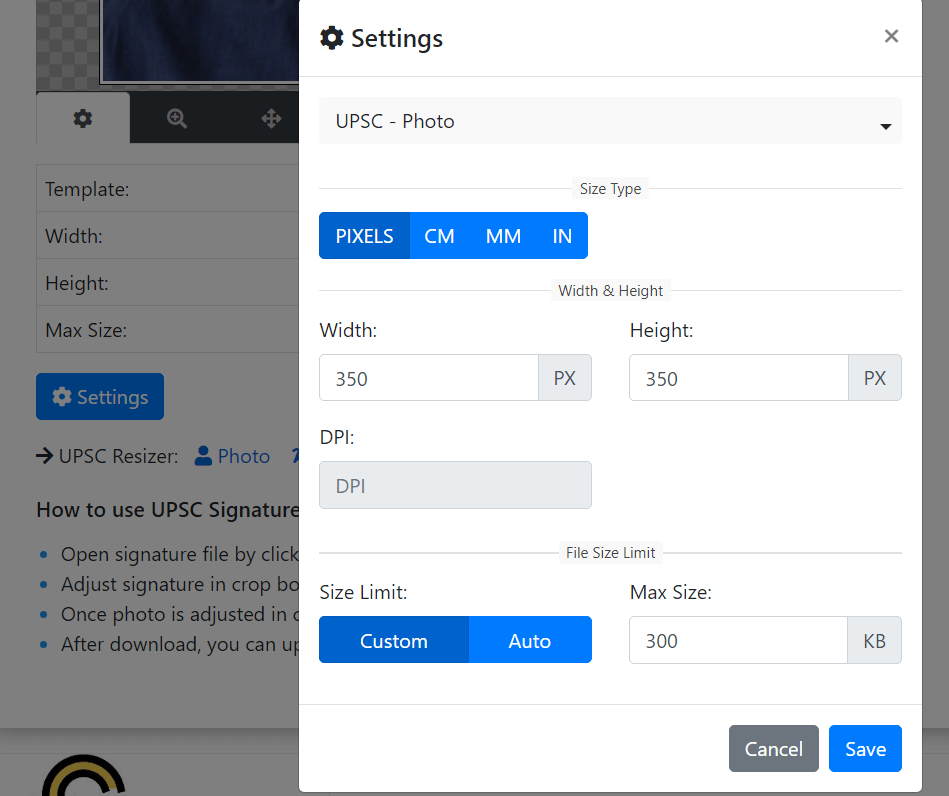
3. Click the blue button “Settings” under the uploaded photo to set the width and height according to the official requirements and tap “Save” after it is done. The photo size will be changed accordingly.
4. After you have adjusted the size, check if the image is in the center of the frame. If not, you need to move it to the center.

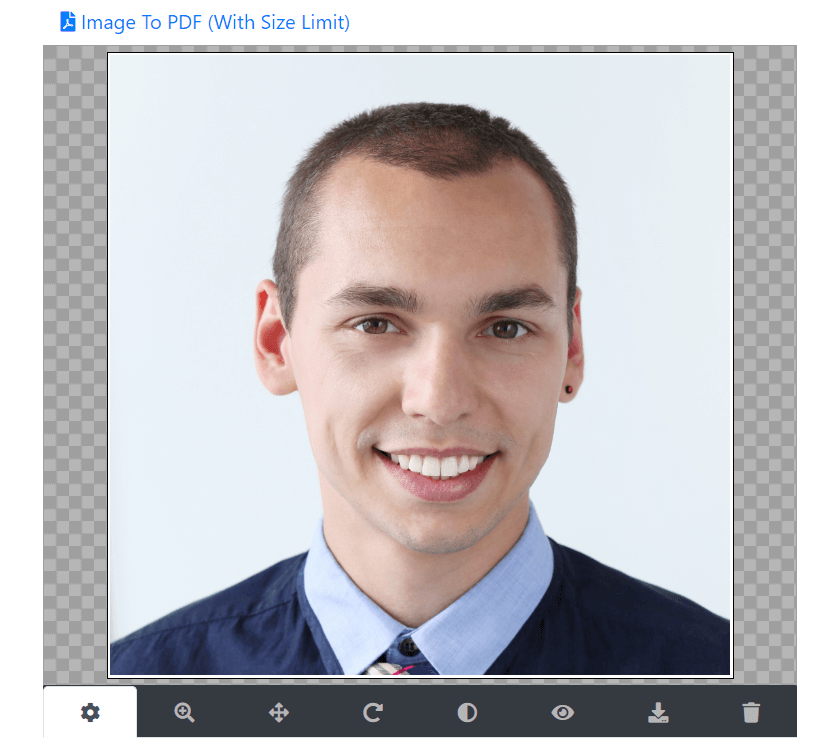
5. Click the “Download” button on the menu right under the photo. Choose JPG file format and click the green “Download”. You can save your compliant UPSC photo in seconds.

Photo resizer
Photo resizer also helps you resize your self-taken photo to meet the UPSC standard for free. It also allows you to resize image for Pan card, PSC, SSC, driving license and more online for free. Intuitive interface makes it easier to complete UPSC photo resizing process. Here are the steps:
1. Go to the Photo Resizer homepage.
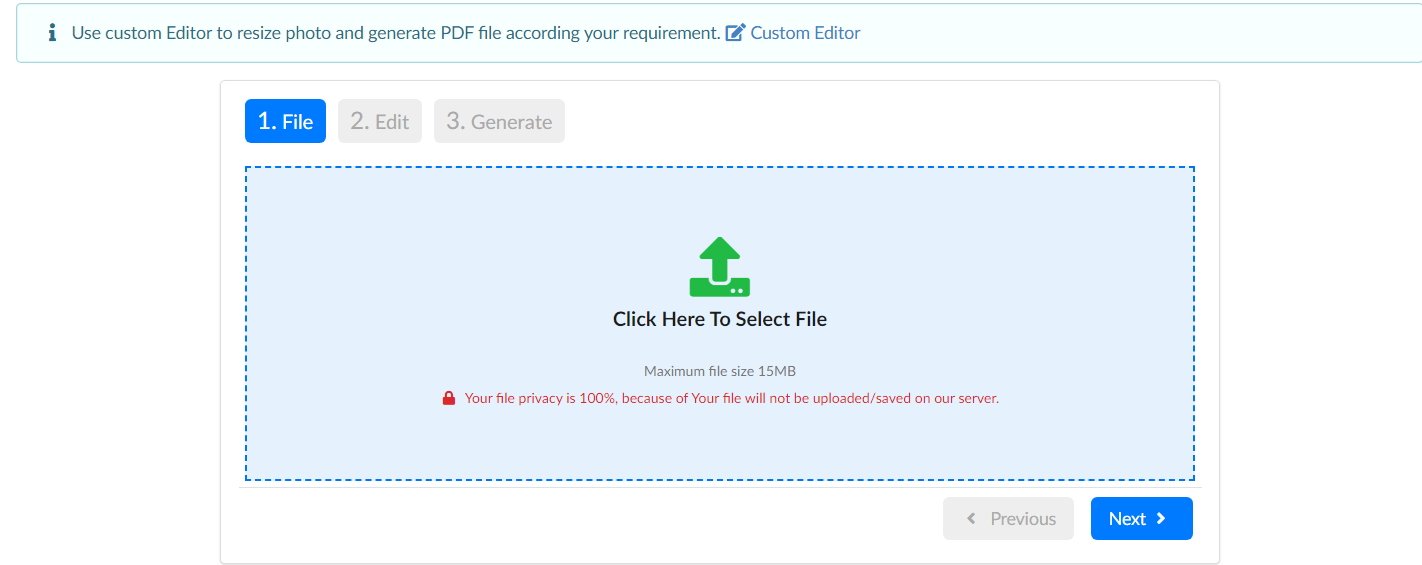
2. Click “Custom Editor” in the light blue frame on top. Upload your photo by clicking the blue frame and tapping “Next”.
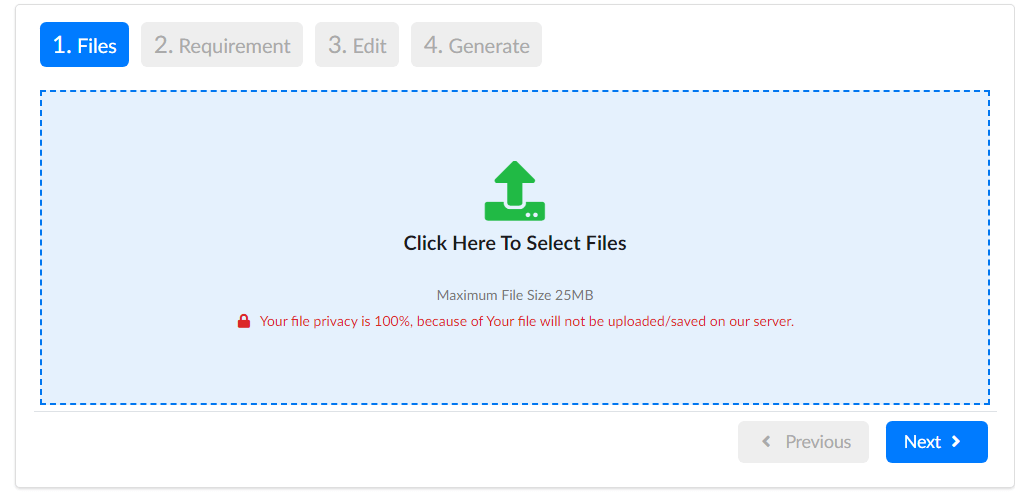
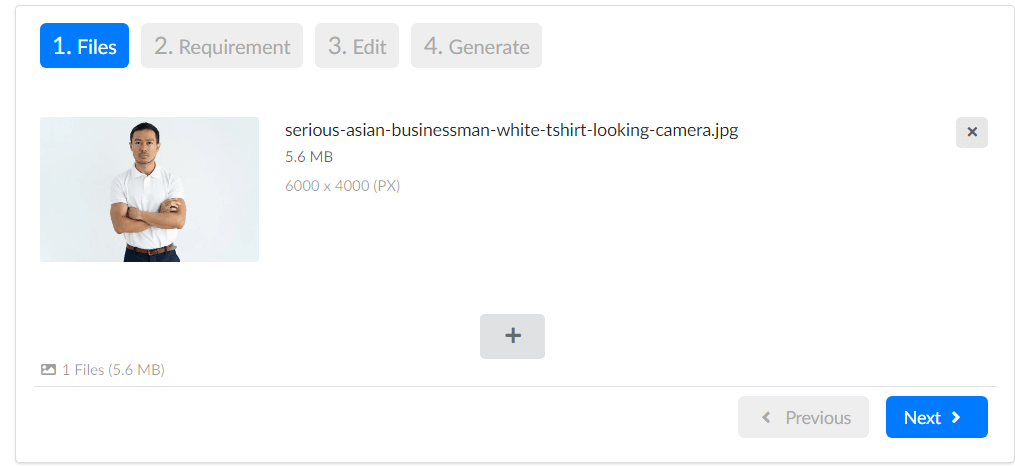
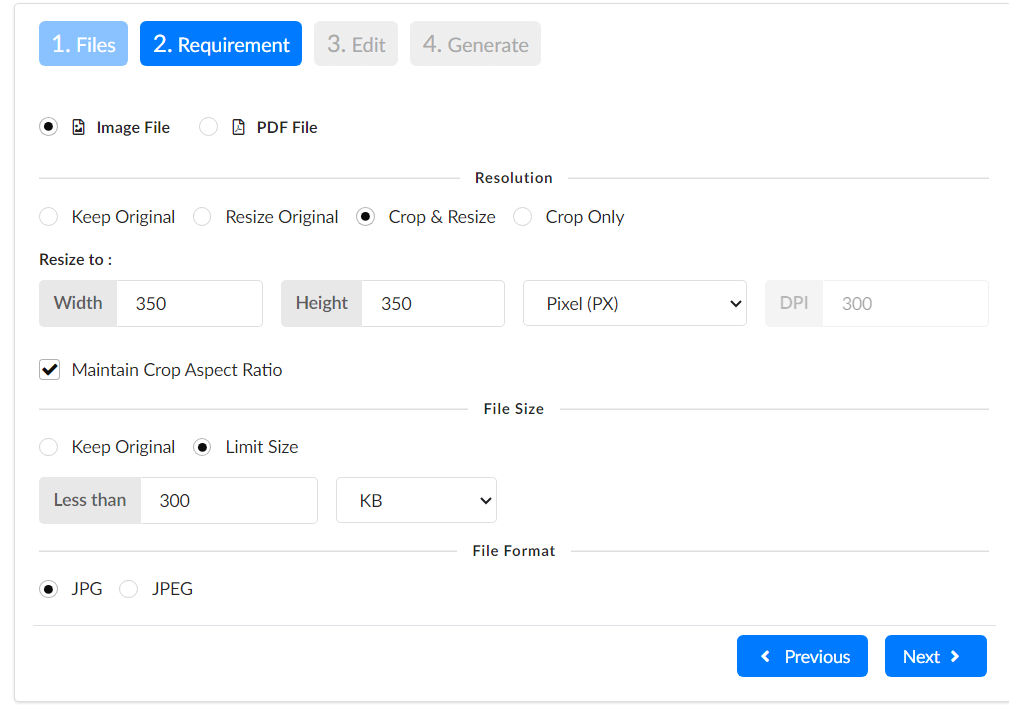
3. Then you will go to the page for requirement options. Choose “Crop & Resize” under “Resolution” and enter width and height accordingly. For “File size”, click “Limit Size” and enter 300KB. At the bottom column, choose “JPG” format. After you set the requirements, tap “Next”.
4. Adjust the cropping frame until the head is in the center, then tap the green “Done” button on the top right.

5. Your UPSC photo will be processed immediately.
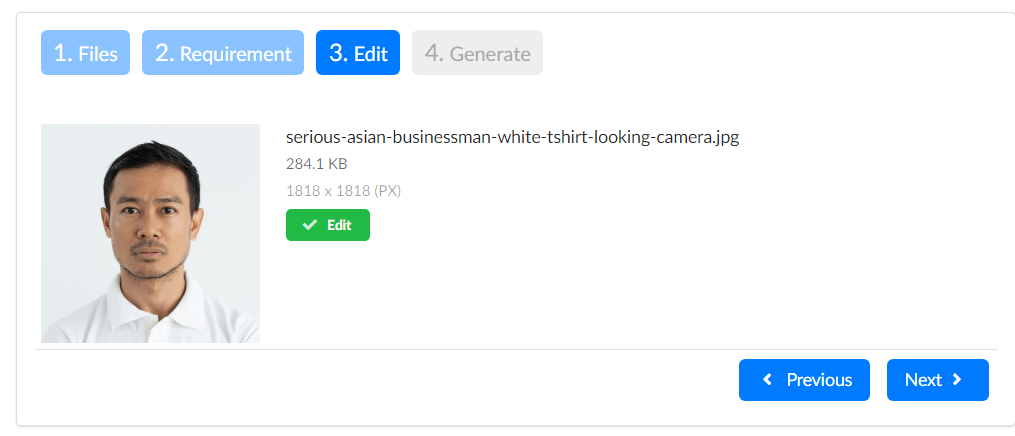
6. Click “Next”, then click “Download” and you will have a perfect UPSC photo.
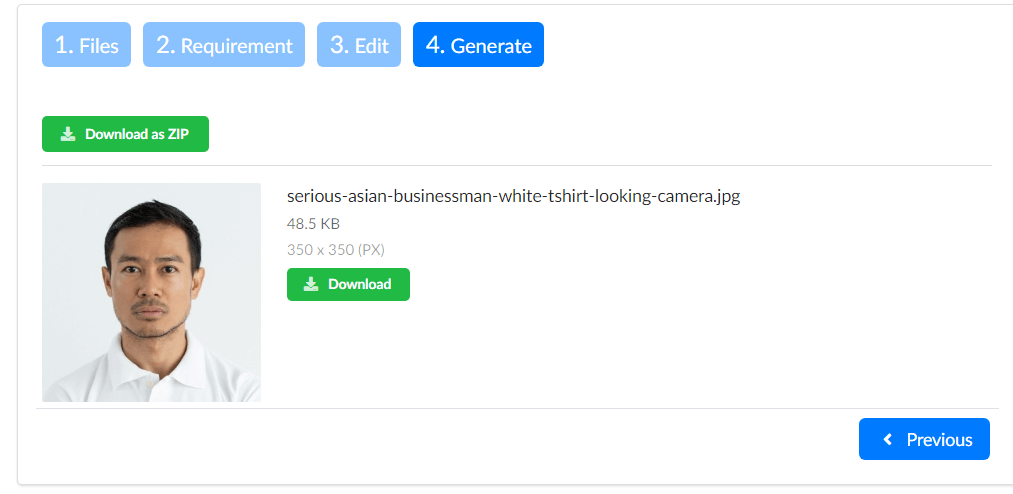
Photo size changer
Photo size changer generates UPSC size photos that can be uploaded directly to the UPSC website for application for free. This UPSC photo size converter also can create photo for IPU CET, NDA exam, NEET application and more. No app installation or technical skill is required during photo resizing. Here are the steps:
1. Go to the Photo Size Changer website.
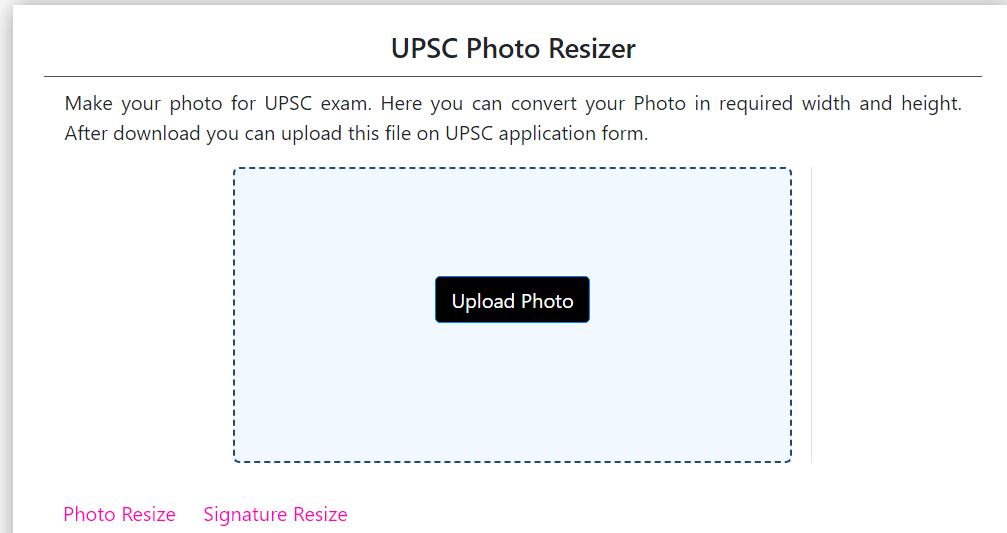
2. Upload your photo by tapping the black button.

3. Click “settings” to enter the data as required.
4. Find “Zoom in” in the menu below the photo and adjust the image to a suitable position.
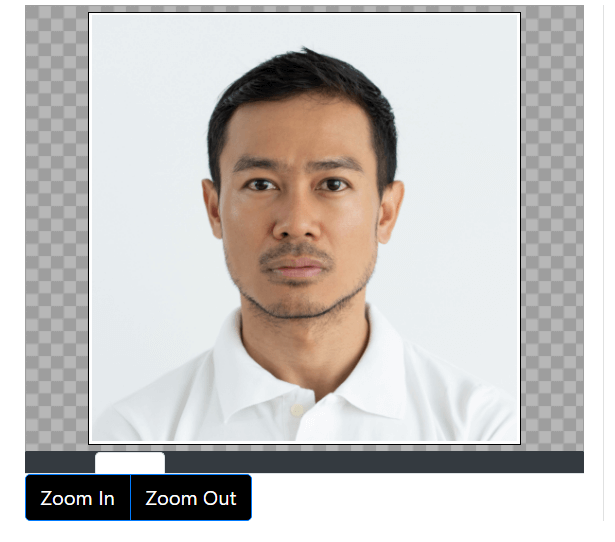
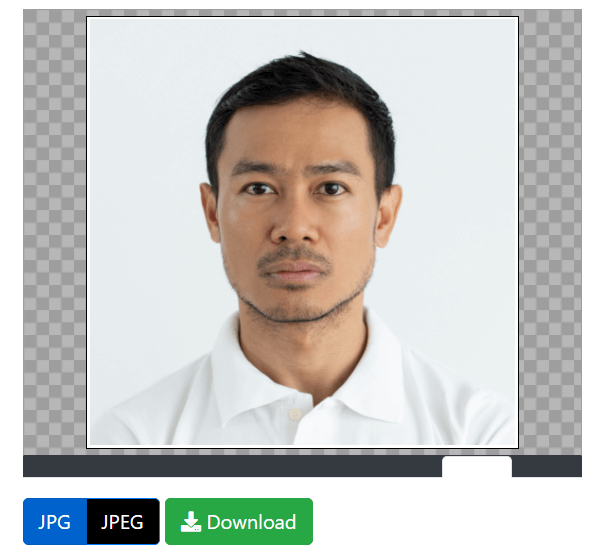
5. Then also find the “Download” button on the menu and click the green button to save the photo that has been successfully resized.
Visafoto
Visafoto is a website that allows you to take a photo against any background with your smartphone and turn it into a compliant UPSC photo in seconds. You’ll be able to get UPSC photo measuring 350×350 to 1000×1000 pixels. Unlike other photo resizers, it also can change the photo background of UPSC photo online. Here are the steps:
1. Go to the Visafoto website.
2. Click the green button to upload your photo. Your photo will be automatically resized and its background will be changed, meeting the UPSC requirements.
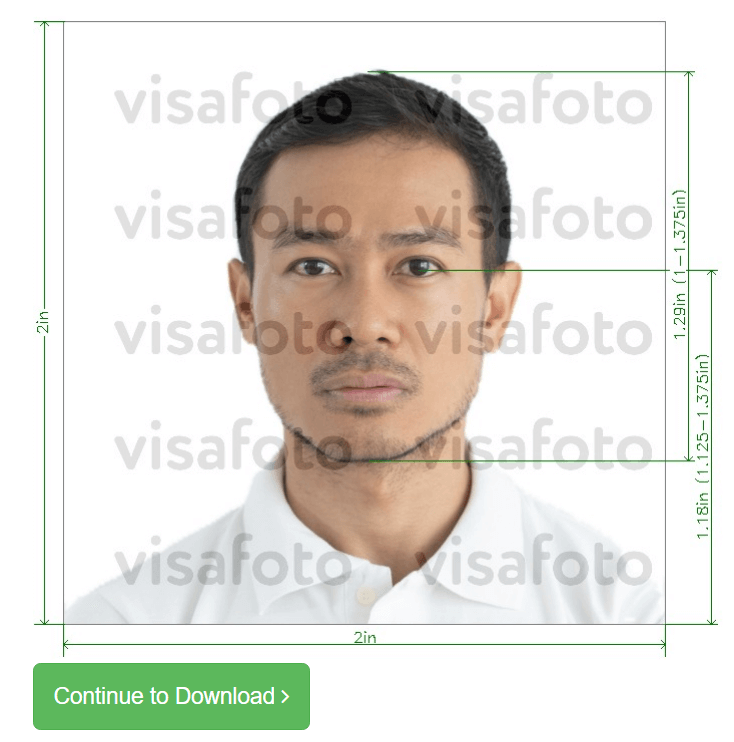
3. Click “Continue to Download”. Both the digital photo and the printing template are available for downloading.
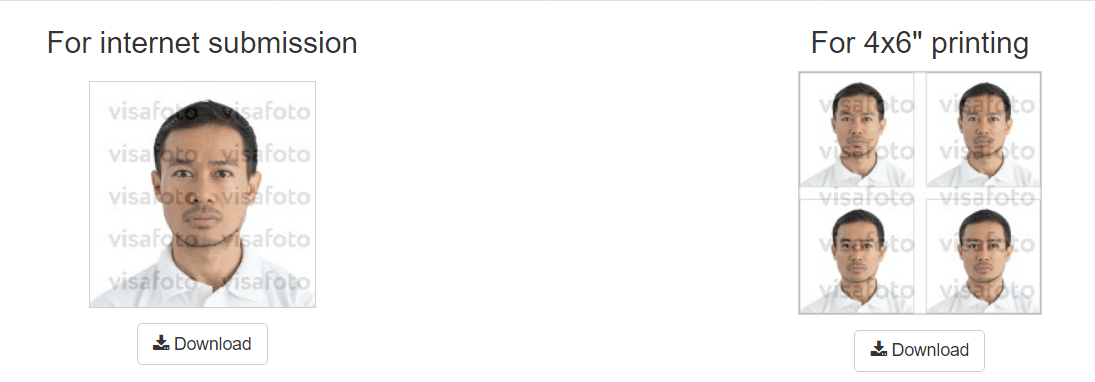
4. Enter payment information to make the payment. It costs about 520 INR.
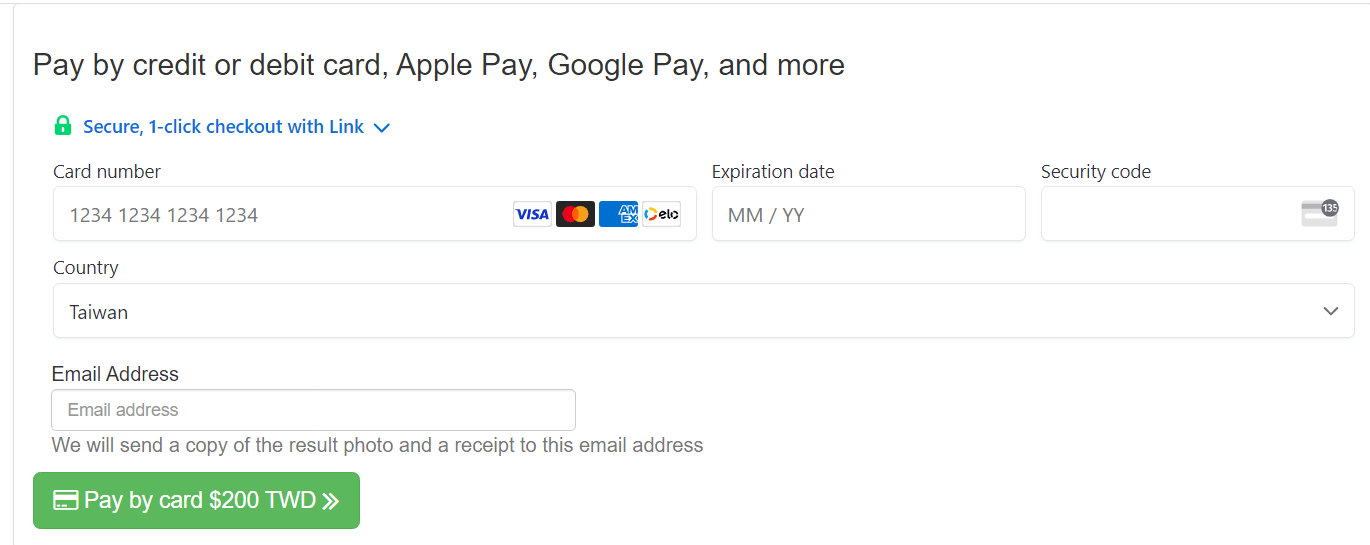
5. After you make the payment, a copy of the UPSC photo without any watermarks will be sent to your e-mail address.
Makepassportphoto
Makepassportphoto is a UPSC photo resize online tool. It resizes a UPSC photo automatically. The process is fast and easy. There is no need to set the photo size and background manually. You can get a perfect UPSC photo within a few clicks. Here are the steps:
1. Go to the Makepassportphoto website.
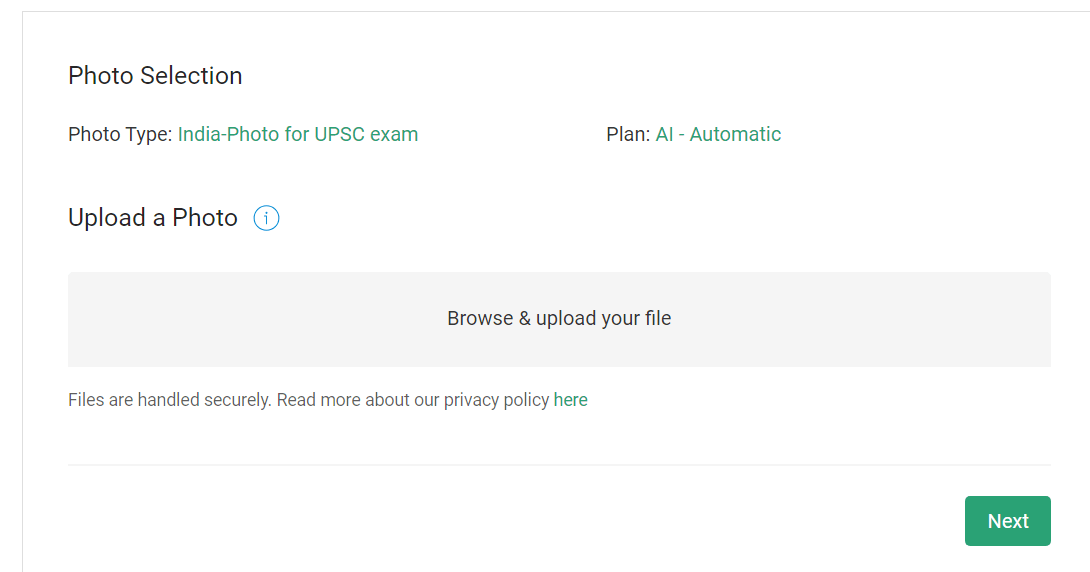
2. Click the grey blanket to upload a photo and click “Next”.
3. Your photo will be processed in seconds.

4. Click the red button to proceed with payment. Enter your payment information and pay the 209.3INR processing fee.
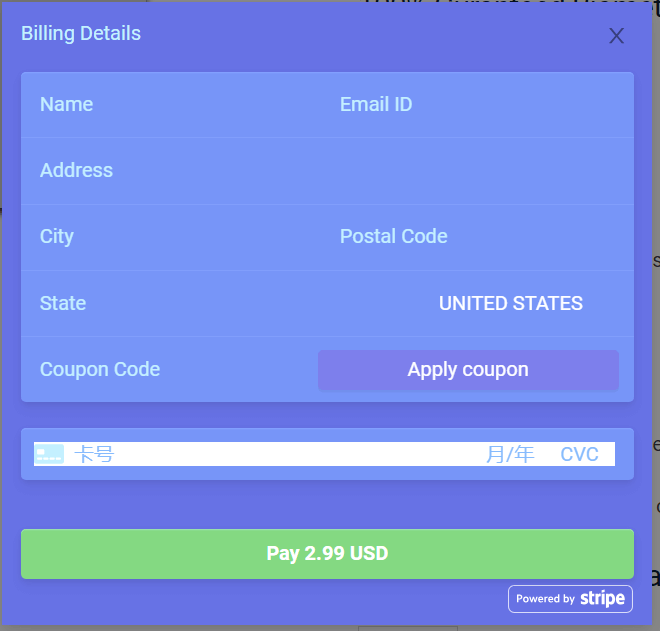
5. After the payment, you will receive the UPSC photo without watermarks.
How to resize photo to UPSC size in MSPaint
MSPaint is a popular software for photo editing. If you don’t have internet currently and have the software on your PC, you can use the tool to resize a UPSC photo. Here are the steps:
- Open your photo in MSPaint and find the resize button on the menu.
- A panel called “Resize and Skew” will be opened up where you can set the pixel values.
- Choose “Pixel” and type in the required width and height values.
- Click “OK” and your photo is successfully resized.
How to upload a photo in UPSC form 2024
To apply for a UPSC prelims exam online, you must upload a photo on the UPSC website. Here are the things you should consider when you upload the photo:
- Your photo should be uploaded along with your signature and photo ID.
- Make sure the photo you upload is in proper format and size.
- The photo must be taken no more than 10 days before the date of application. Both your name and the date of the photo shoot should be shown in the photo.
- Make sure the quality of your photo is up to standard and it matches your face in person.
- After you have uploaded your photo, click “confirm upload” if you are satisfied with the previewed image. If not, click “reload photograph”.
- Once you click the “confirm upload” button, your photo can not be changed.
- If you still want to change your photo after you confirm it, you need to submit a new application which will result in a new payment.
FAQ
Is a passport size photo required for UPSC prelims?
Yes. A passport size photo of the applicant is required for the UPSC prelims exam and the Indian passport photo size is 2 inches x 2 inches which meets the requirement of UPSC. Just make sure it has the proper resolution.
What is a photo ID card for UPSC?
A photo ID card is an identity proof issued by the state or central government, such as an Aadhaar Card, Voter Card, PAN Card, Passport, Driving Licence, etc.
How to add a name and date in photo for UPSC?
There are online tools to add name and date in photo for UPSC, UPPSC, and more, such as Fotor. You can find them easily on search engines and get your compliant photo in seconds.
Conclusion
There is more than one way to crop and resize a photo for UPSC. We have demonstrated how to do UPSC photo resize using different online photo makers and each of them has its pros and cons. If you are looking for a hassle-free process, visafoto is suitable. However, if you want to do it without any cost and have a good photo result, Form Photo Editor and Photo Resizer are solid options.