Do you need to highlight important parts of the picture when presenting at the meeting? Don’t need to jump into other photo editors and waste your time on complicated photo editing. You can blur images in PowerPoint and get a blurry image. Here we will reveal the process of how to blur images in PowerPoint.
Understanding the blur effect
Before we talk about the process of blurring photos, it is necessary for you to know the basic content of blurring effects. The blur effect is a soft, out-of-focus effect, which can be applied to the entire image, or just a part of it. When you blur an image on PowerPoint, there are many reasons that you must do this, such as highlighting text, hiding sensitive information, and drawing attention.
How to blur images in Powerpoint
If you want to add a professional touch to your slides or create a subtle background effect, you can blur the entire image in PowerPoint. You can get your desired blurring photo result from the Picture Format menu. Follow these simple steps to make image blur in powerpoint.
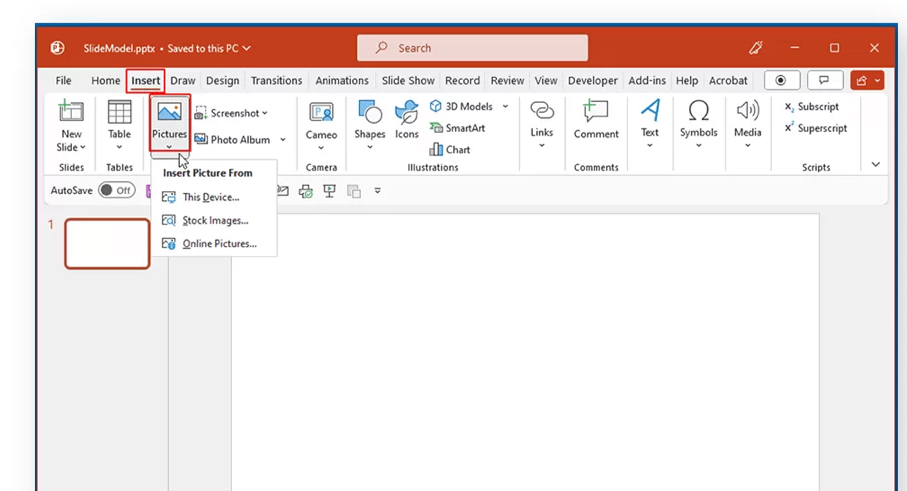
- Open the image on your PowerPoint presentation, you can click the Insert > Picture to put the picture that you want to blur in ppt.
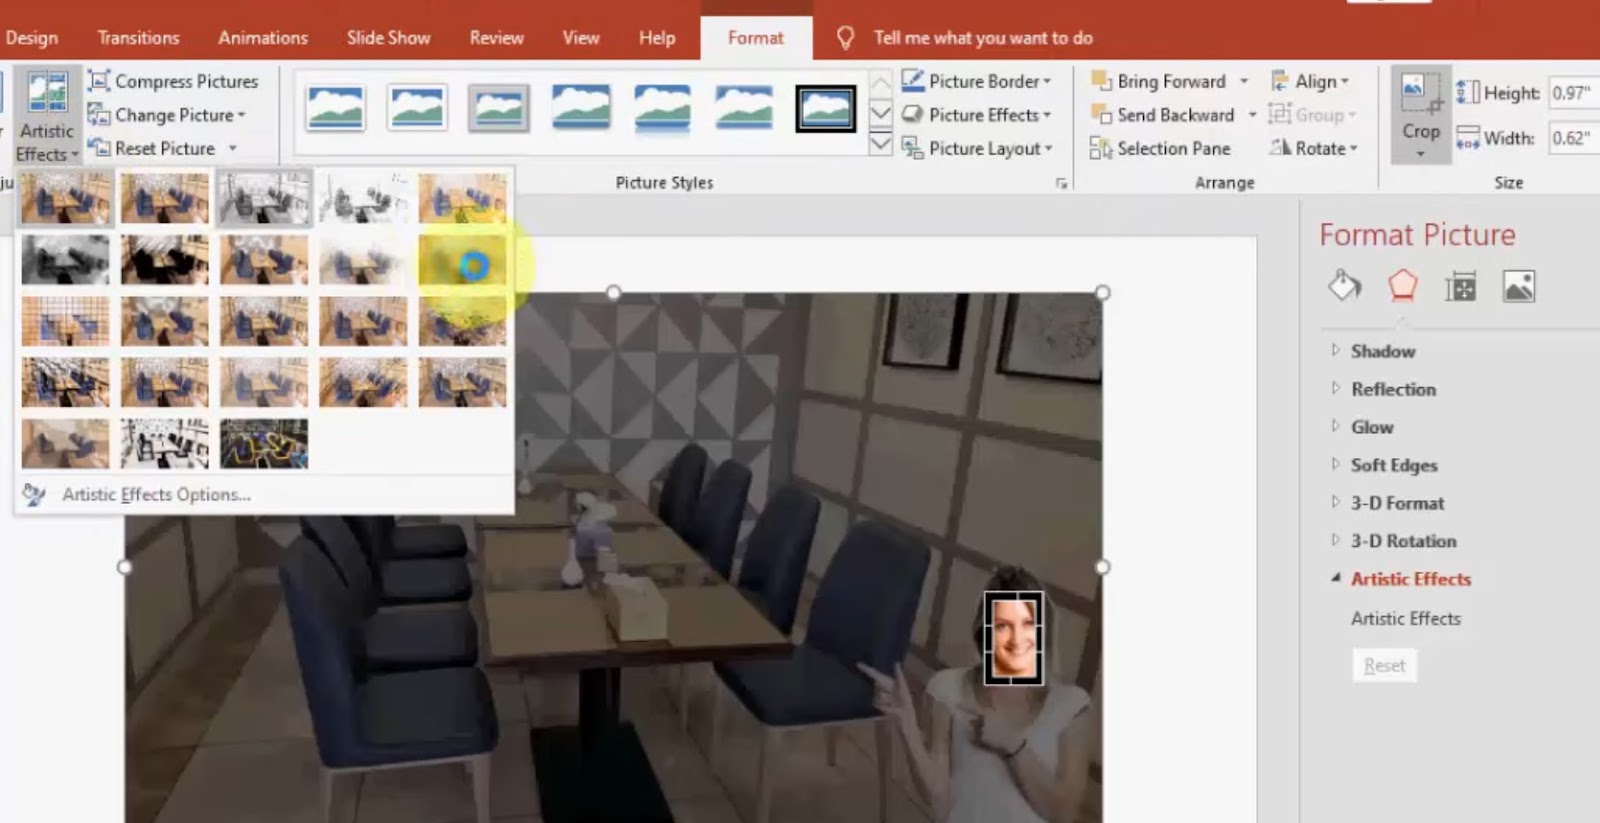
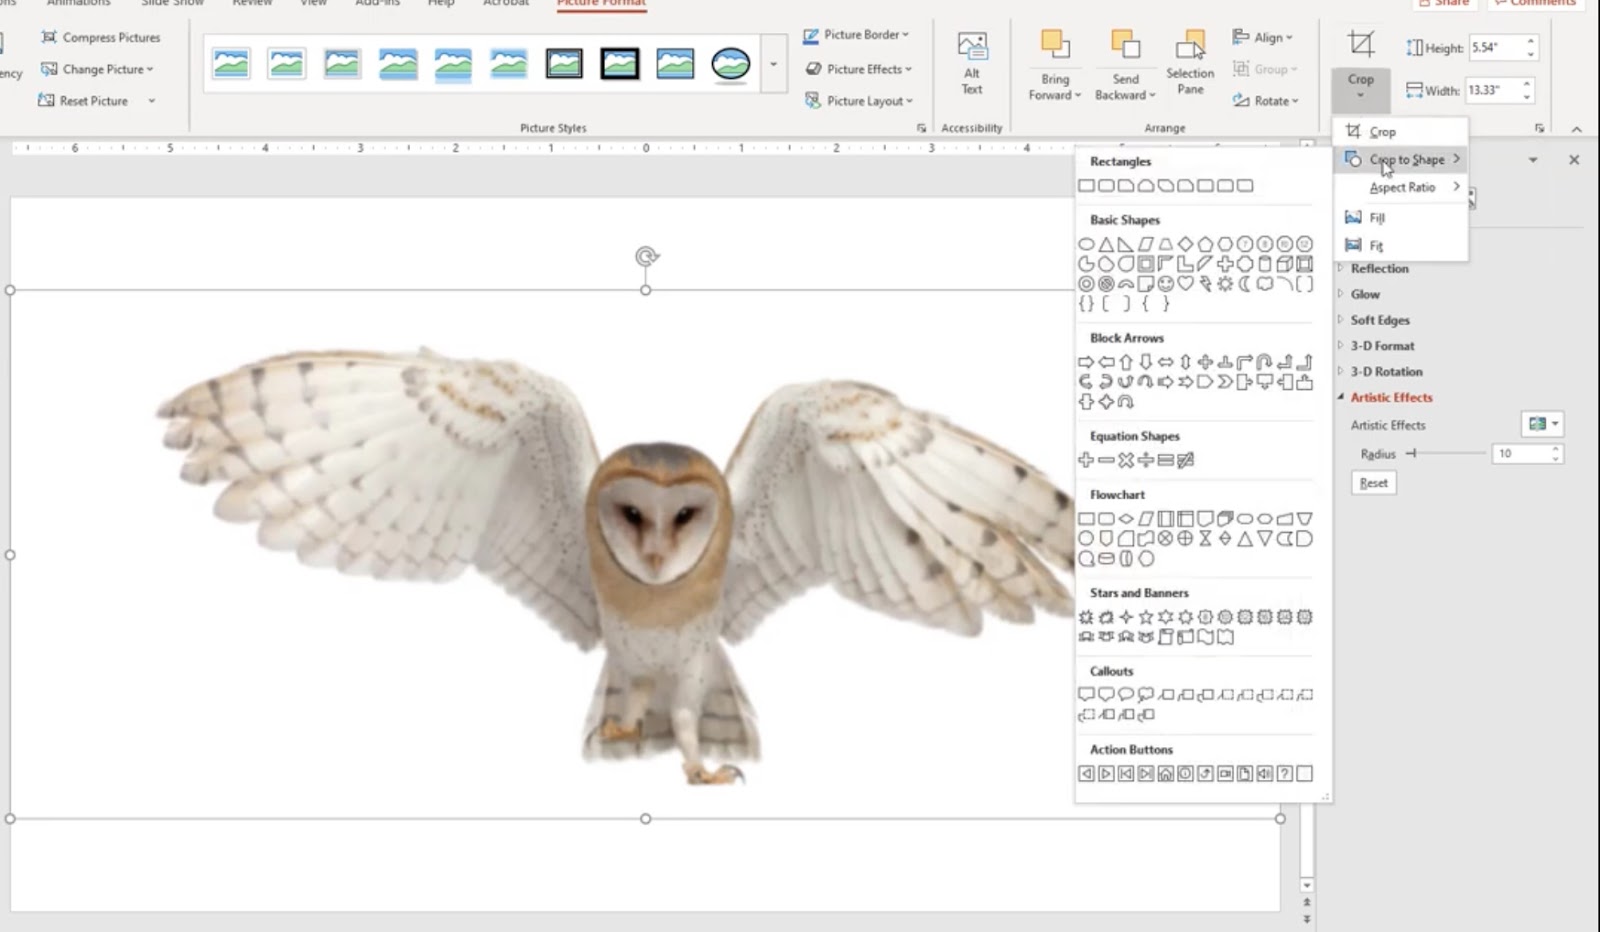
- In the Picture Format, select Artistic Effect, and choose the Blur option in the drop-down menu. Then it will show different blur effects. So you can choose the suitable effect.
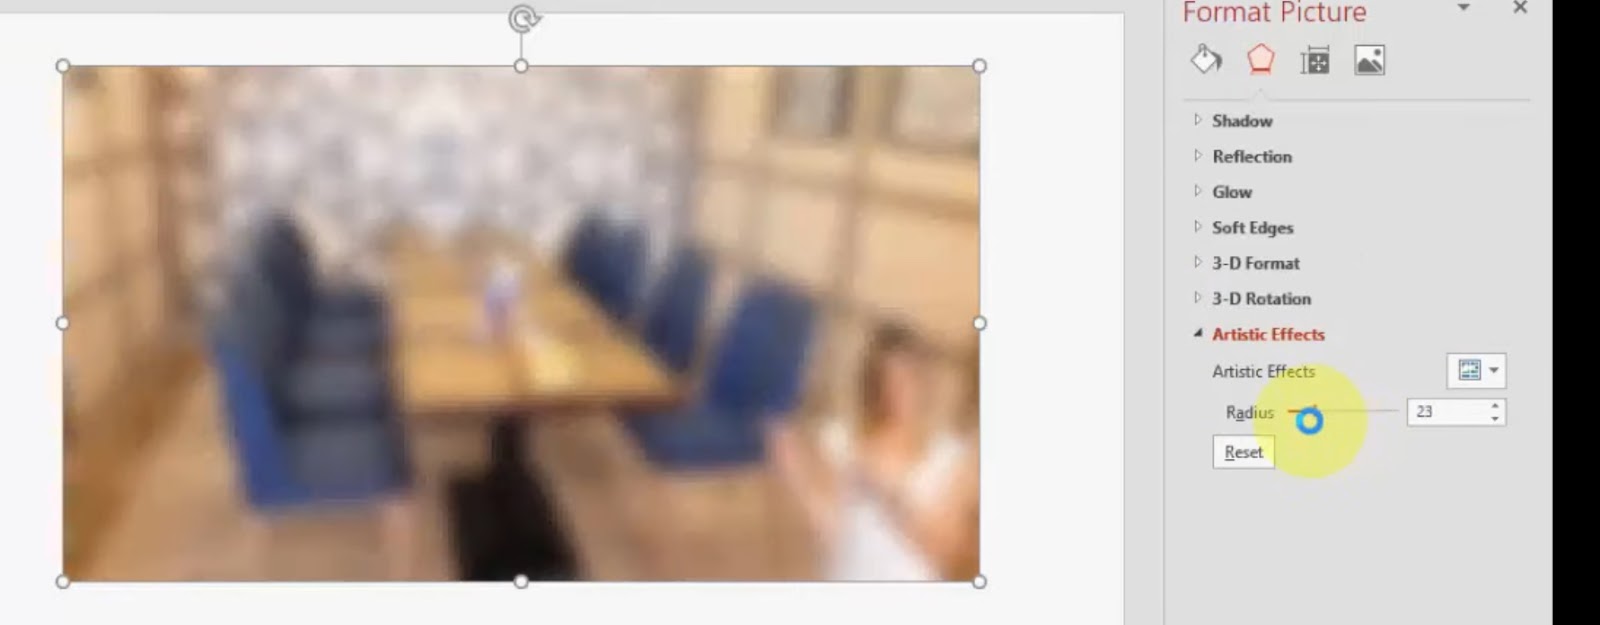
- You can increase or decrease the Radius value to change the blur effect in the Artistic Effect.
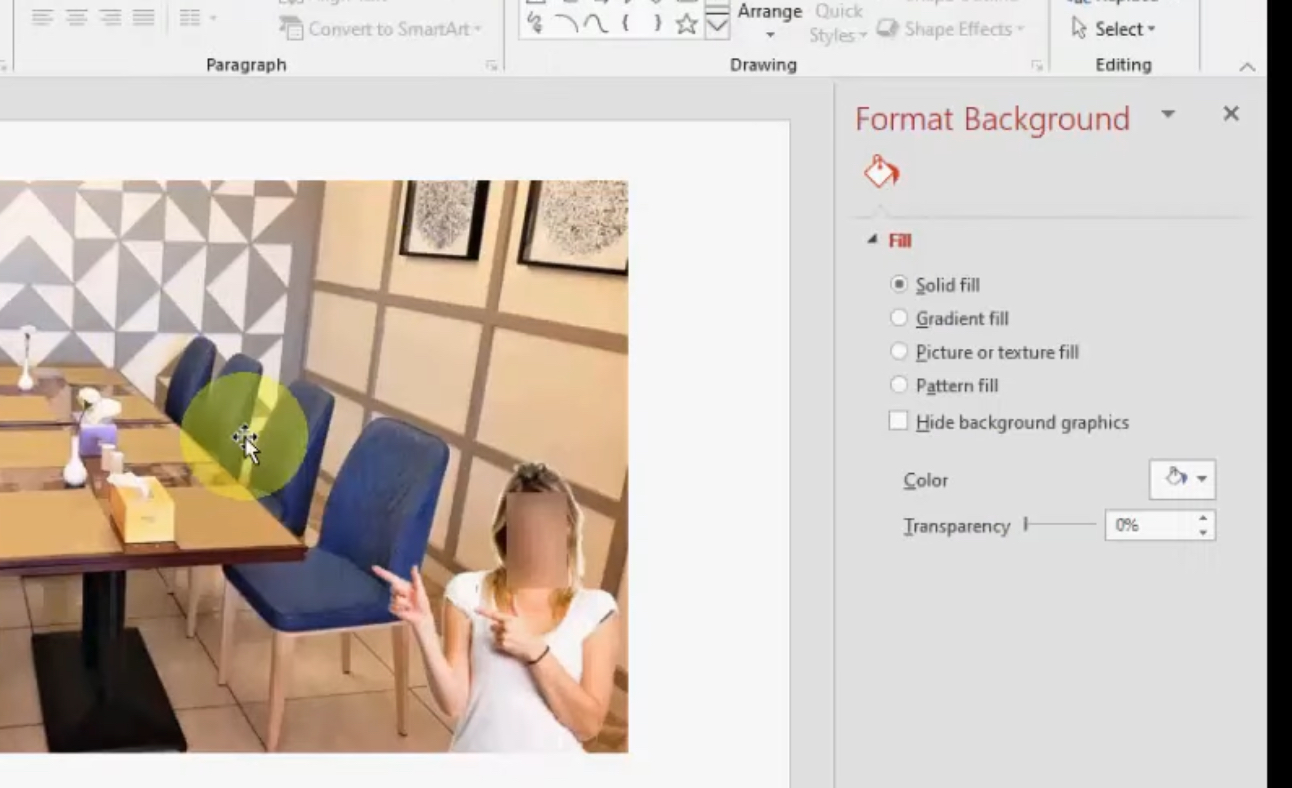
- Once done, you can get a picture with the blurry effect.
How to blur part of image in powerpoint
You can blur the part of the image in Powerpoint if there is any sensitive information when you need to show the presentation to others. It’s crucial for you to follow these steps to blur the part of an image in PowerPoint.
- Open a photo in PowerPoint by selecting “Insert” option and picking a picture from your computer.
- Select a suitable shape that will cover your image by selecting “Shape”.
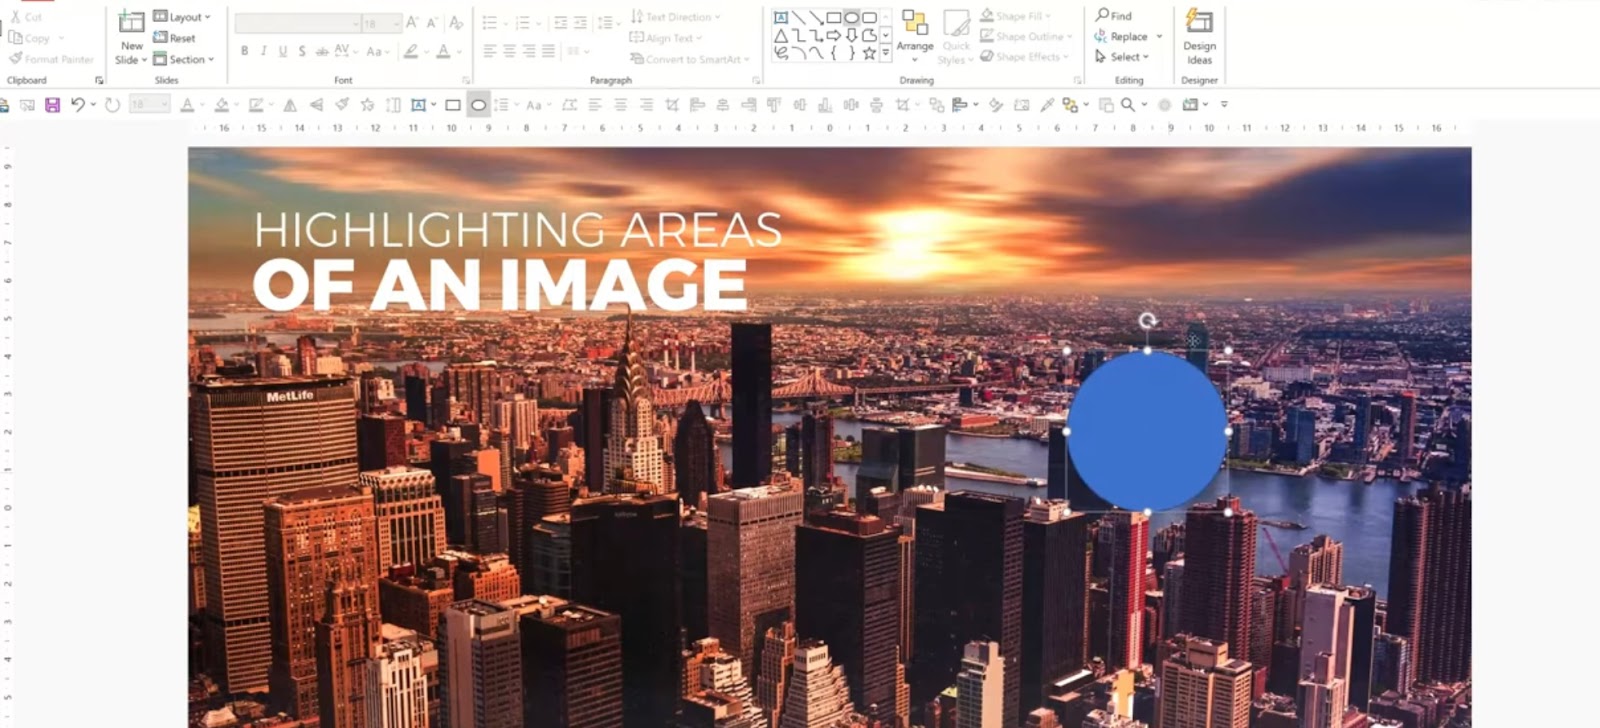
- You can place the shape over the area of the image you want to blur. However, if you want a custom shape, you can select one of the freeform line options and place it on the slide.
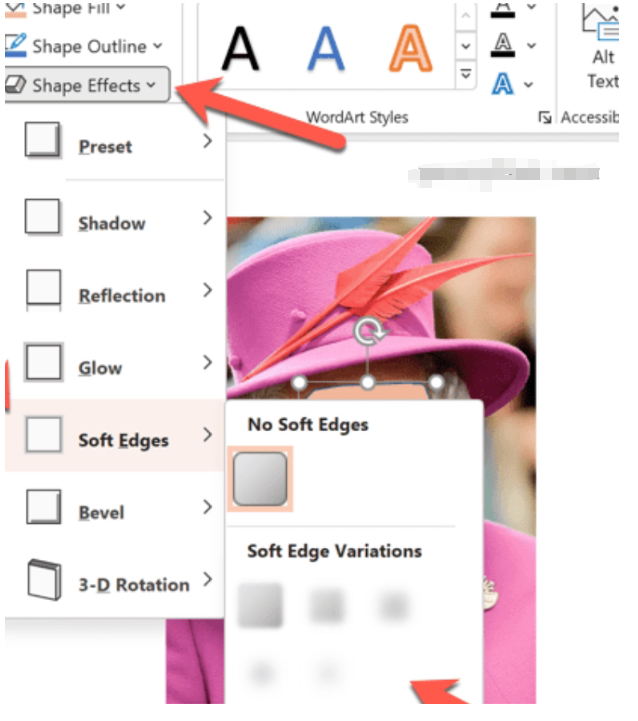
- After you have put the shape in place, you can select it and click Shape Fill in Shape Format > Eyedropper option.
- Select a color from your background image, press Shape Effects > Soft Edges, and select one of the soft edge variations.
How to blur background in PPT
If there are some personal and sensitive information at the background that it can’t be cropped out easily, you can blur the background of the photo. It is easy for you get a blurry background picture in the PowerPoint with a few steps.
- You can insert an image into a slide, right-click on the slide, and select Duplicate Slide.
- On the first slide, click the image, then go to Picture Format > Artistic Effects > Blur.
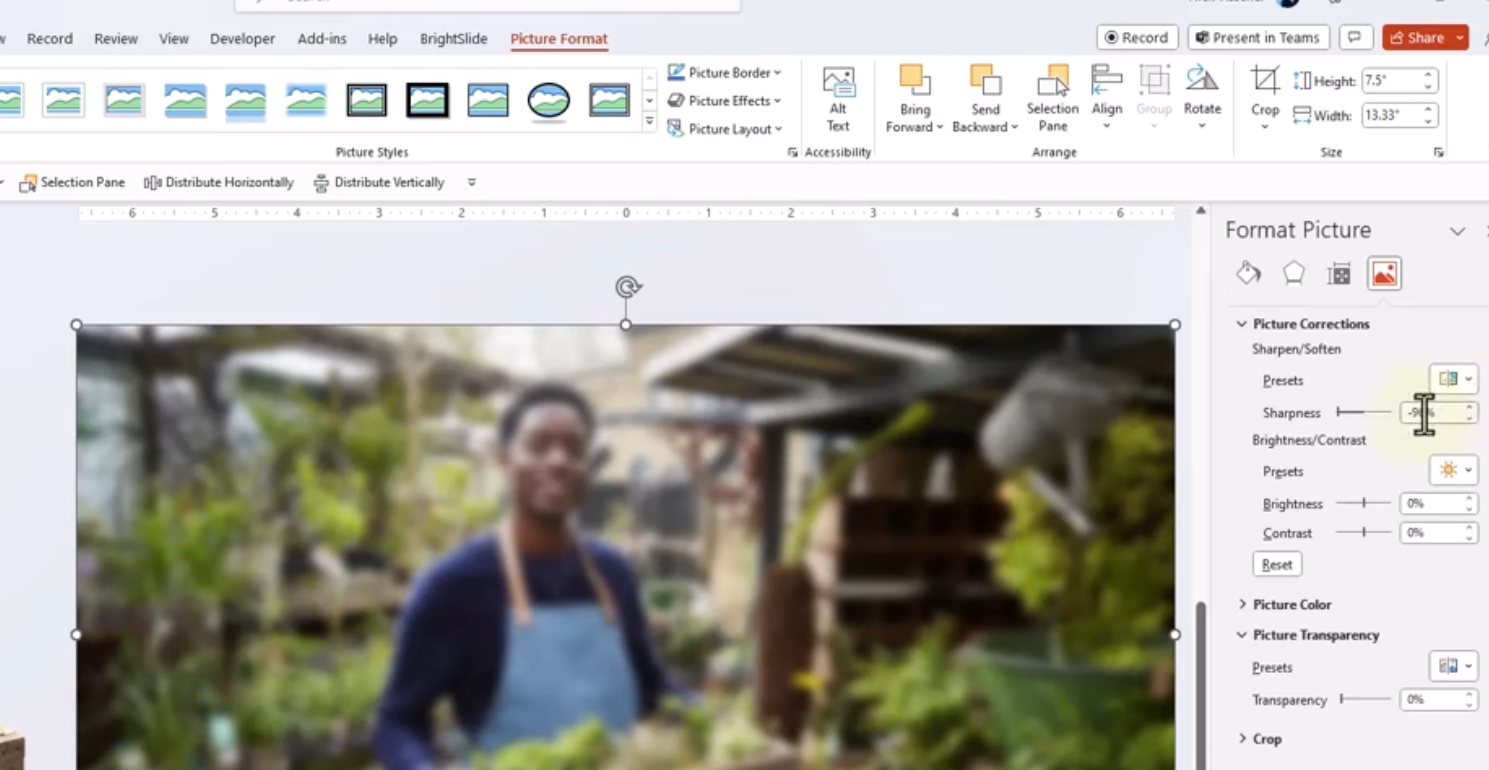
- You can adjust the intensity of the blur effect to blur the whole picture.
- Go to the duplicated slide, select the image, click the Picture Format tab, and remove the background.
- Click on Mark Areas to select the areas you want to keep clear. Then you can click Keep Changes, so you will get the background and foreground removed.
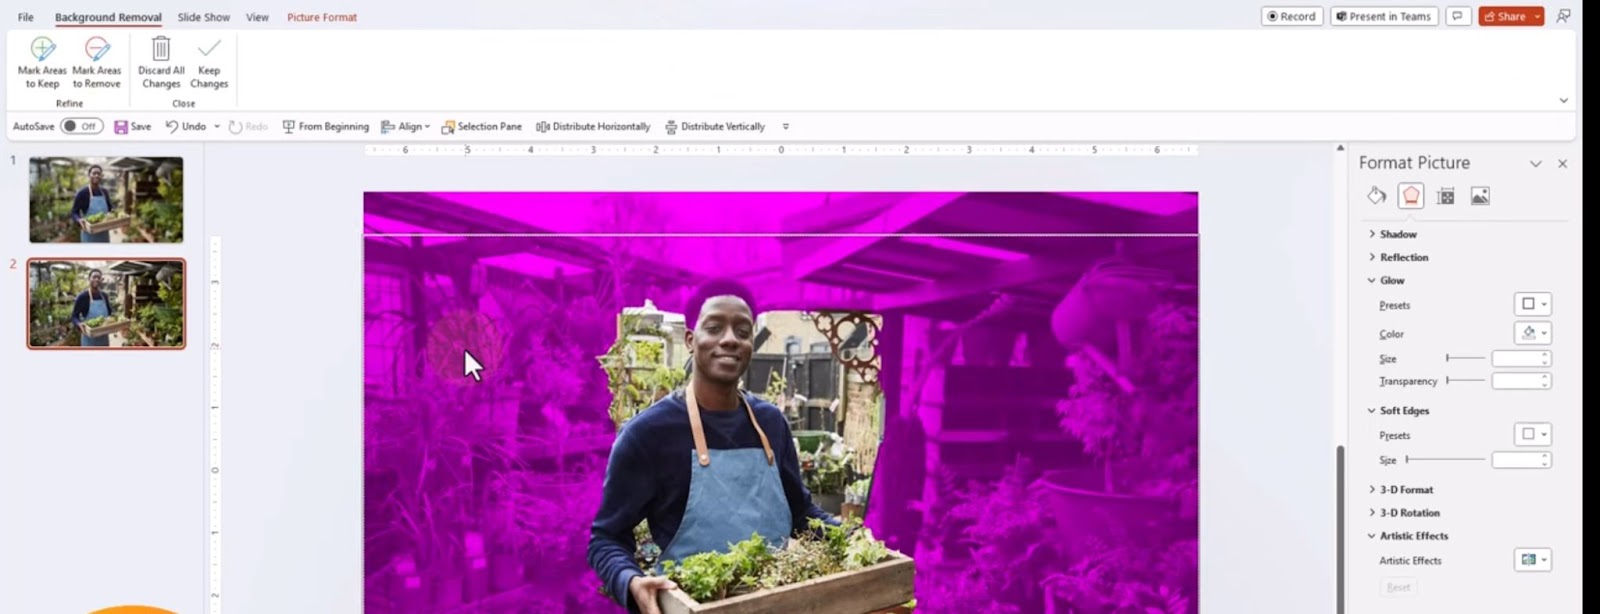
- Copy the image removed from the background and paste it into the first slide.
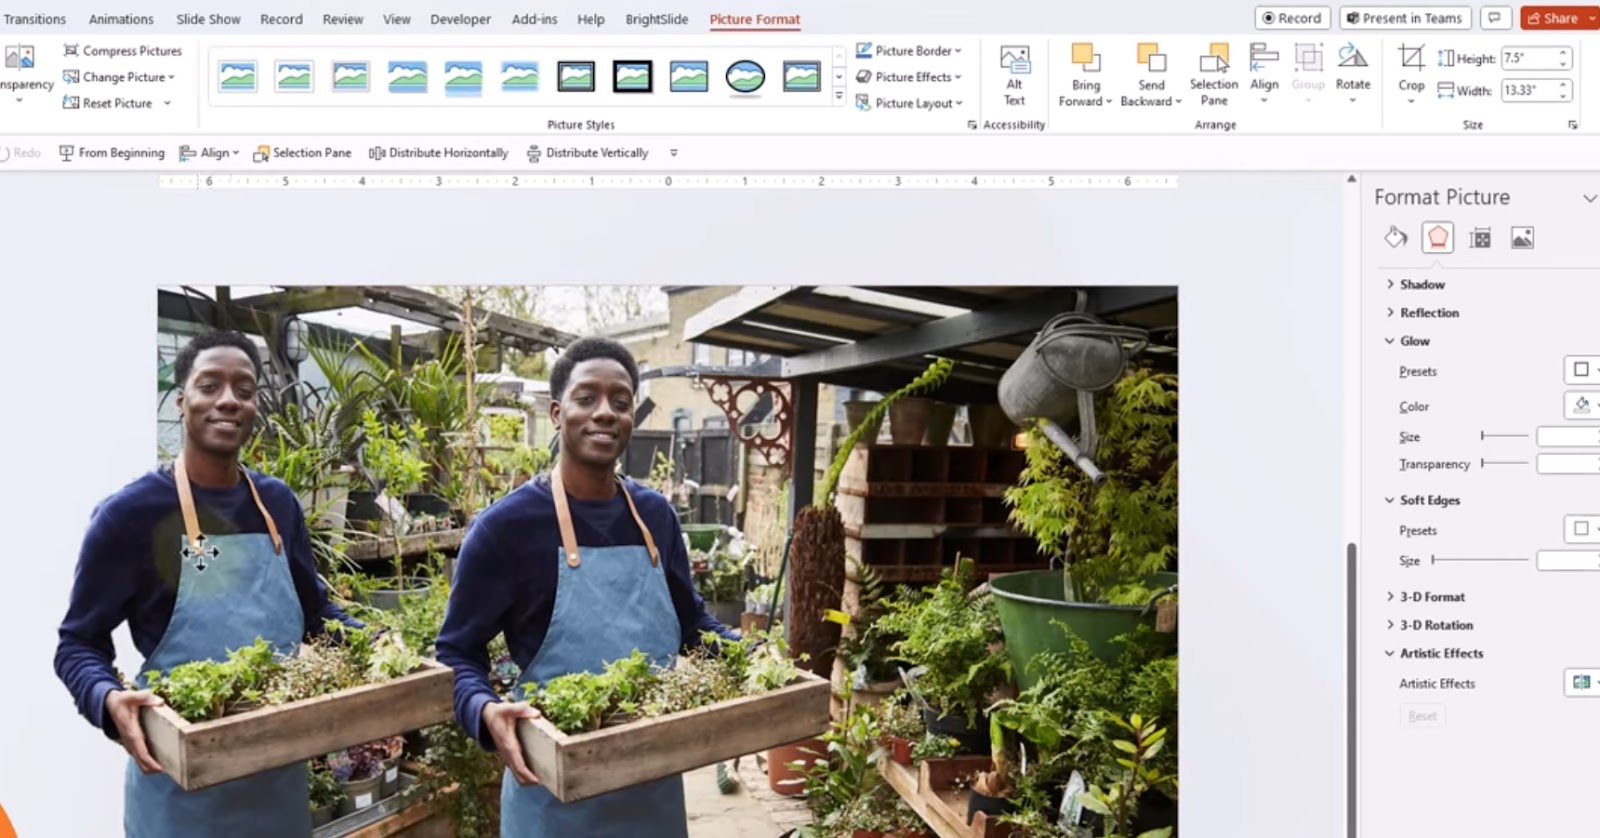
- You can align the blurred image with the blurred original. Then you can get a picture where the background and foreground are blurred.
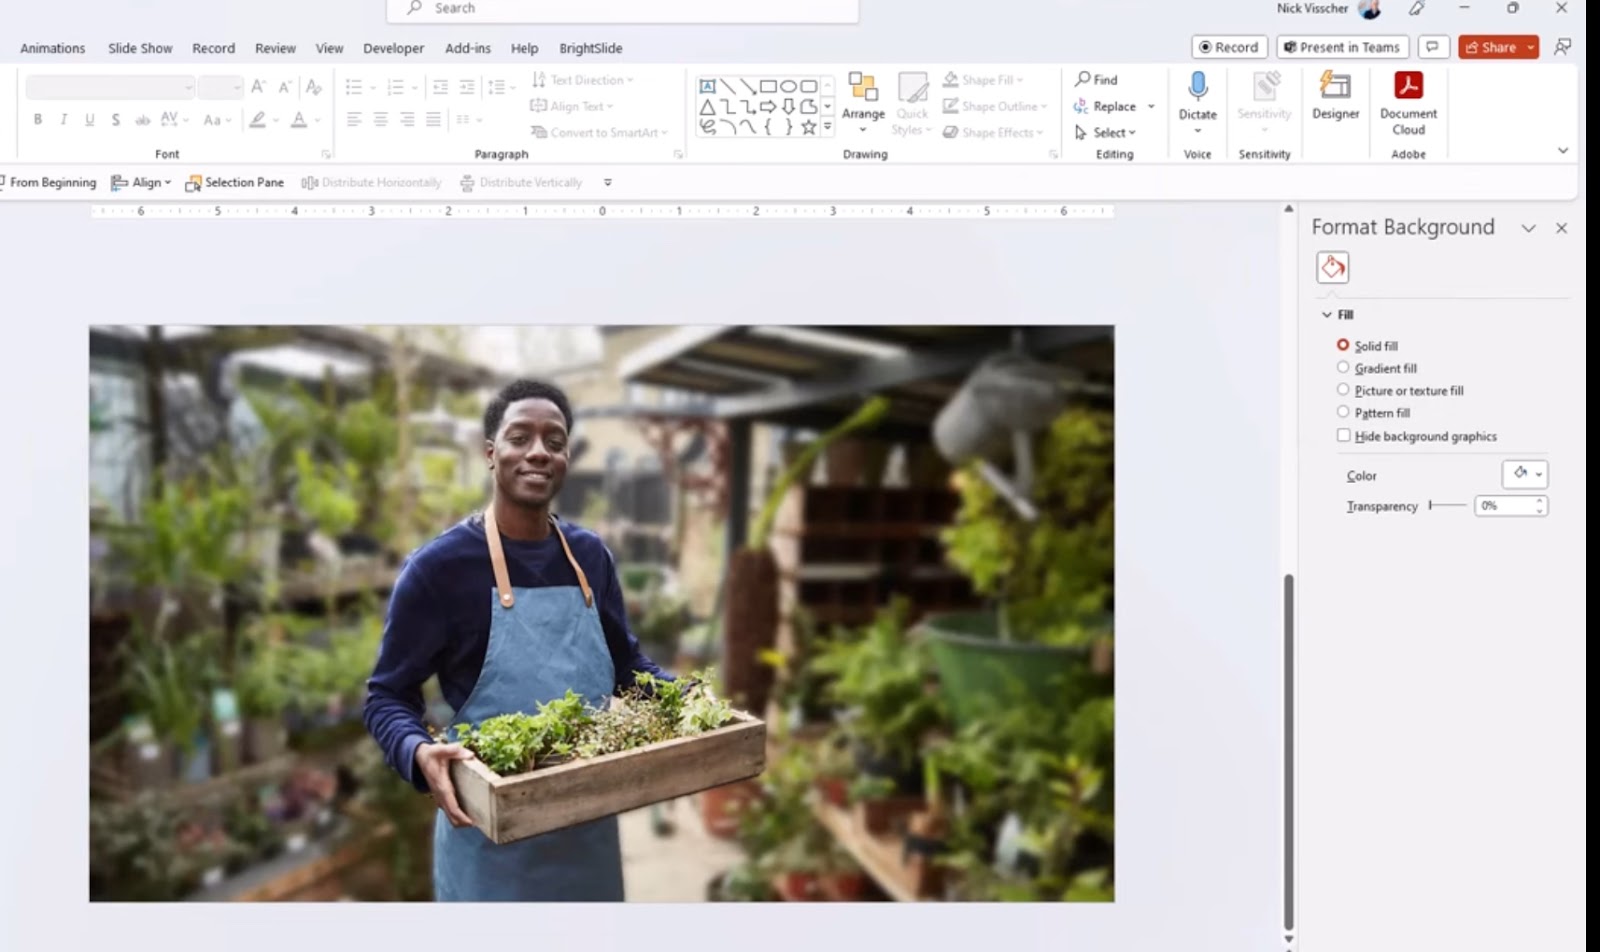
- Once finished, you can get a blurry background photo. Don’t forget to delete the second slide in the PowerPoint.
How to blur background of picture with AI
If you don’t want to spend the time on blurring a photo in the powerpoint with the steps mentioned above, you can blur the background of the picture with AI online photo editor. The AiPassportPhotos photo editor can be a good choice for you to get a blurry background photo in seconds. Whether you need a blurry effect on profile picture, product photo, or group photo, you just need to do a few clicks and get your blurry photo easily. Follow these simple steps to blur the background of the photo online free.
- Upload the photo to AiPassportPhotos blur background.

- Wait for the AI to process your photo. It only takes a few seconds to blur picture background.
- If you want the different blurry effects, you can choose the available blurring options, descreasing or increasing the blur intensity and create a focus on your portrait photo or group photo.

Once done, you can preview and download your photo on the device, if you are satisfied with the blurry effect.
Creative uses of blurring images
There are many creative ways of blurring images that you can use when you need to show your presentations, such as storytelling, educational presentations and product showcase. You can use the PowerPoint to make some basic blurring image editing with these cases.
- Storytelling
When you create a narrative, you can start with a blurry image. Then it can reveal a part of it. In the next slide, gradually becoming clearer as you reveal more information.
- Product showcase
When a tech company wants to showcase the new product to the public, they can use a gradual blur reveal to draw the audience’s attention.
- Educational
When discussing sensitive topics, it should be blotted out some private details. Then it can be a good case study which will create the depth of discussion and understanding.
Conclusion
All in all, it is easy to blur an image in PowerPoint, regardless of whether you want to blur the background or part of a photo or the whole picture. No need to waste time on getting a blurry picture on the complex photo editor, if you are not good with professional ones.