
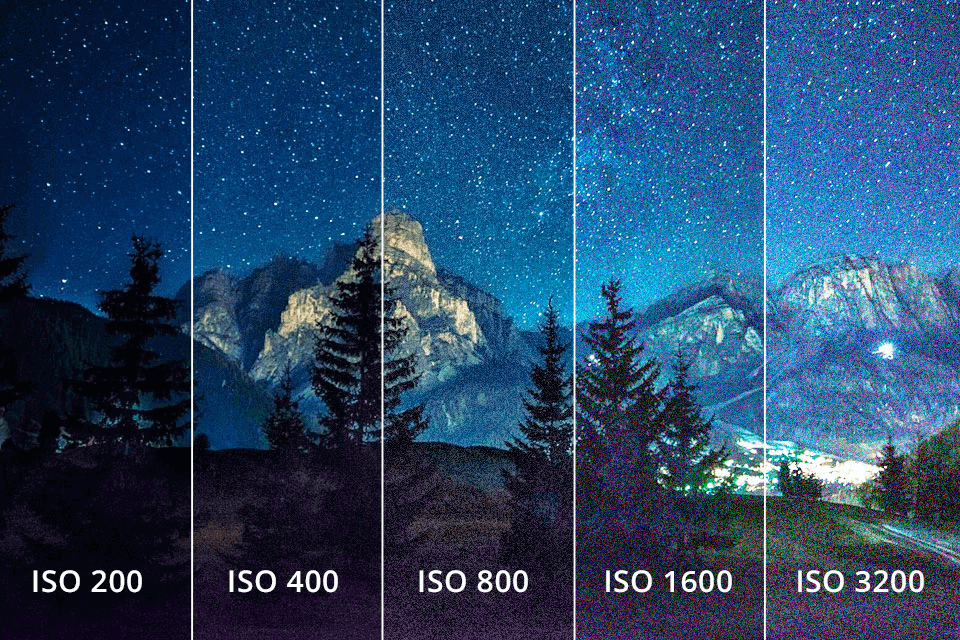
Many factors will cause graininess in photos, such as low light, high ISO settings, camera sensor limitations, etc. While some photographers use graininess to achieve artistic effects, most people wish for photos to be clear and sharp. So, if you face the problem of how to fix grainy photos for free, this guide shows step-by-step methods using Photoshop, Lightroom, and AI tools to restore images easily.
What Does Graininess Mean in Photos?
Grainy photos are caused by the digital noise of the film grain, and some of the causes that we have already mentioned in the beginning include low light, high ISO settings, and camera sensor limitations. Of course, there are artistic processes to make photos look like this.
The grainy feeling can give a touch of nostalgic emotion or unrealities to add more mood and character to the images, such as black and white, file-style photos, etc. However, too much graininess can make the photo look unprofessional sometimes, which can cause distraction to the subjects. So, for some photo types like portrait, produce photography, or high printed prints, etc., it is best to remove the graininess to keep the polished look.
Can Grainy or Blurry Photos Be Sharpened?
Yes, grainy and blurry photos can be corrected, but by different methods. Grainy photos are due to digital noise, whereas blur is due to focus or motion issues.

To reduce graininess, noise reduction tools in Photoshop Lightroom and AI photo enhancers can smooth out rough textures without losing details. For blurred images, sharpening tools, deblurring programs, and AI image enhancement can make them clearer. However, extremely blurry and grainy photos cannot be fully restored to a perfect photo. If you have understood, then let us head to the step-by-step procedure of how to fix grainy photos in Photoshop.
How to Fix Grainy Photos in Photoshop
Photoshop is a well-known photo editing software program that assists users in editing photos to the best condition. It offers powerful tools to reduce graininess and noise and bring clarity to the images. Now, follow the steps to fix the grainy photos in Photoshop.
Step 1: Launch Photoshop
Open Photoshop and load the photo you want to reduce the graininess.
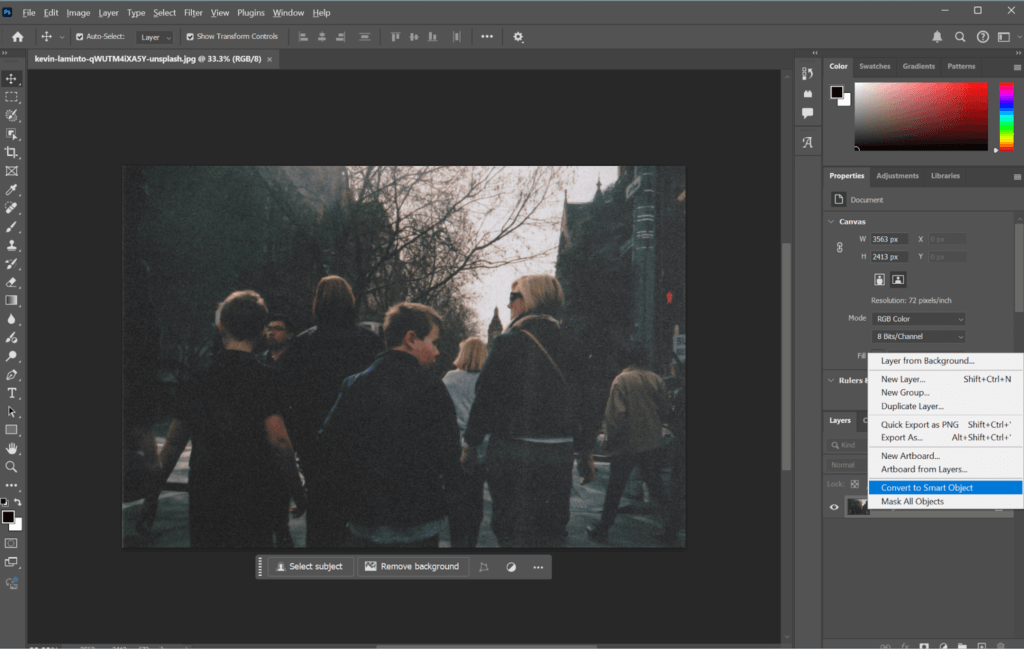
Step 2: Convert the layer to a Smart Object
Right-click on the image and choose Convert to Smart Object to enable non-destructive editing.
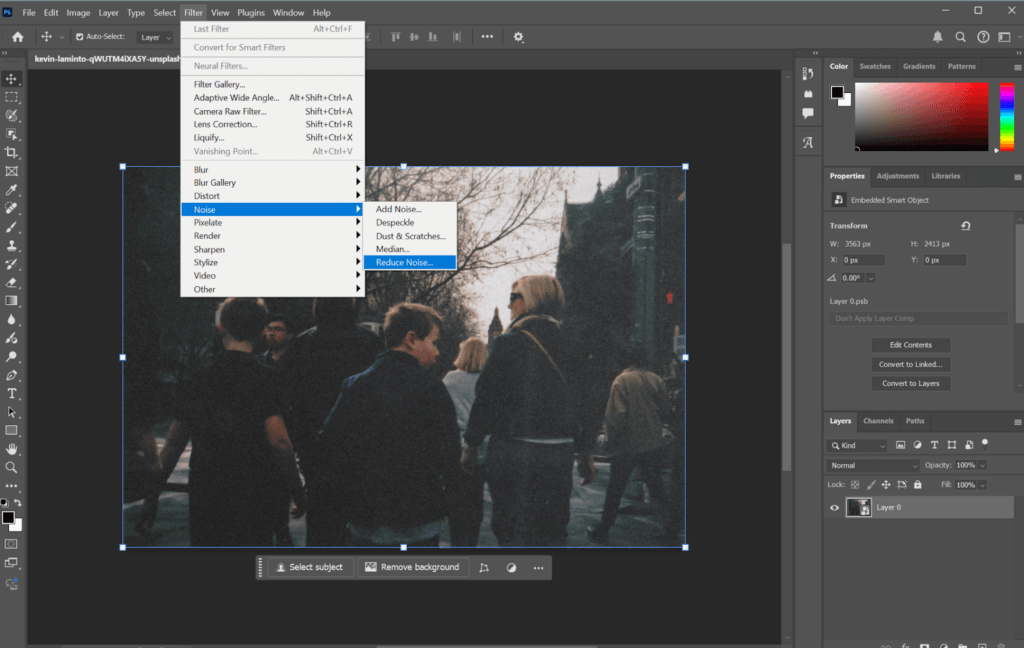
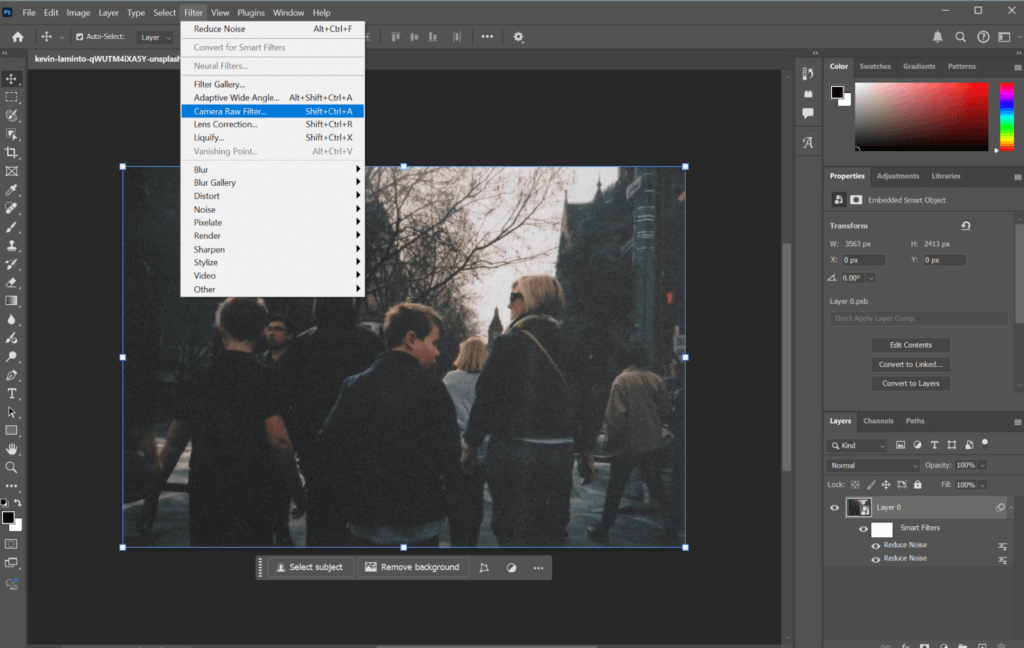
Step 3: Apply noise reduction
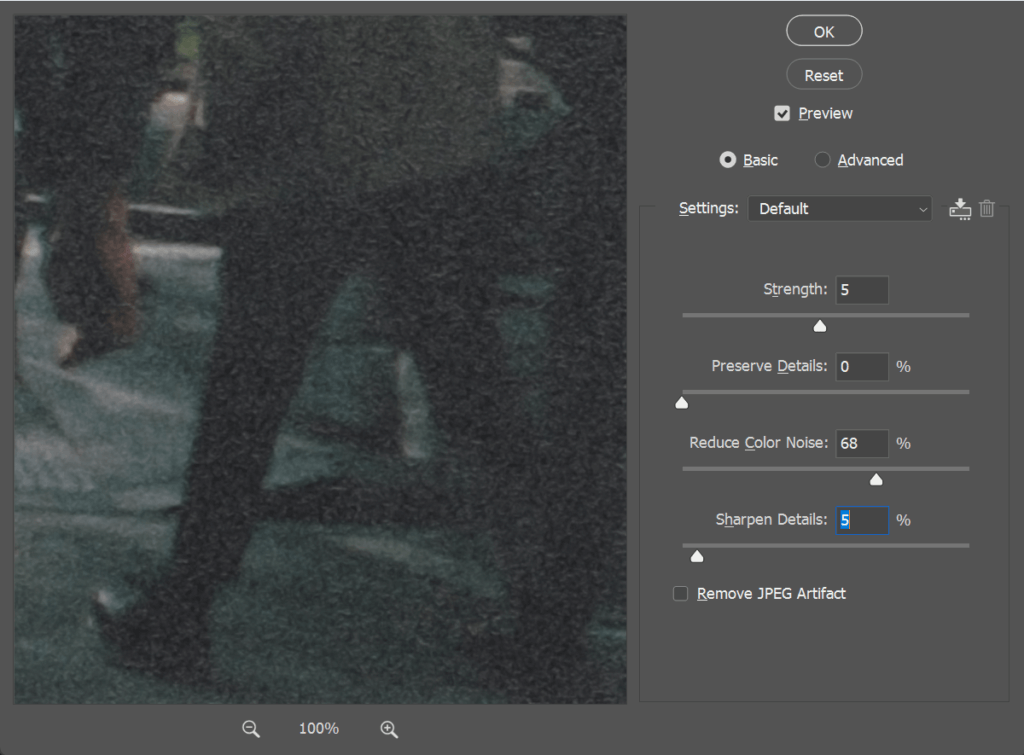
Go to Filter > Noise > Reduce Noise.
- Adjust the Strength to the right side, about 5-10. It will reduce the noise.
- Adjust the Preserve Details to the left, about 0-20%. It will reduce the noise without losing too many details.
- Adjust the Reduce Color Noise to the right, about 50-70%. It will remove the color speckles.
- Adjust the Sharpen Details to the left, about 0-10. This makes sure there is no over-sharpening and does not create more noise.
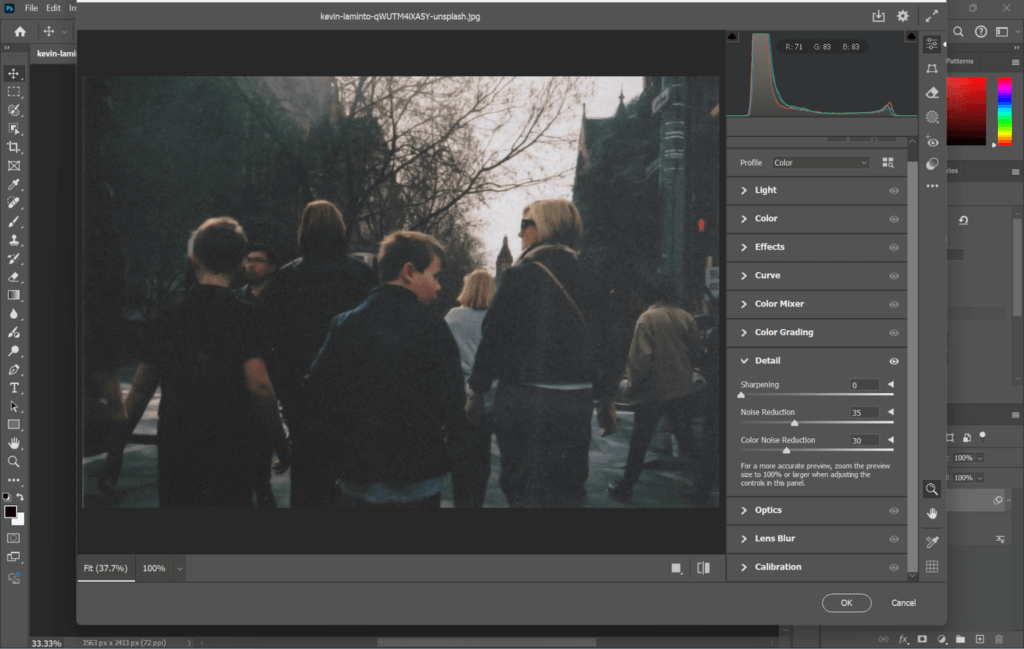
Step 4: Use the Camera Raw filter for additional noise reduction
Go to the Filter > Camera Raw Filter.
- Adjust Noise Reduction to the right, about 20-40. It will reduce noise.
- Adjust the Color NOise Reduction to the right, about 25-40. It will eliminate color specks.
- Click on the OK button to save the changes.
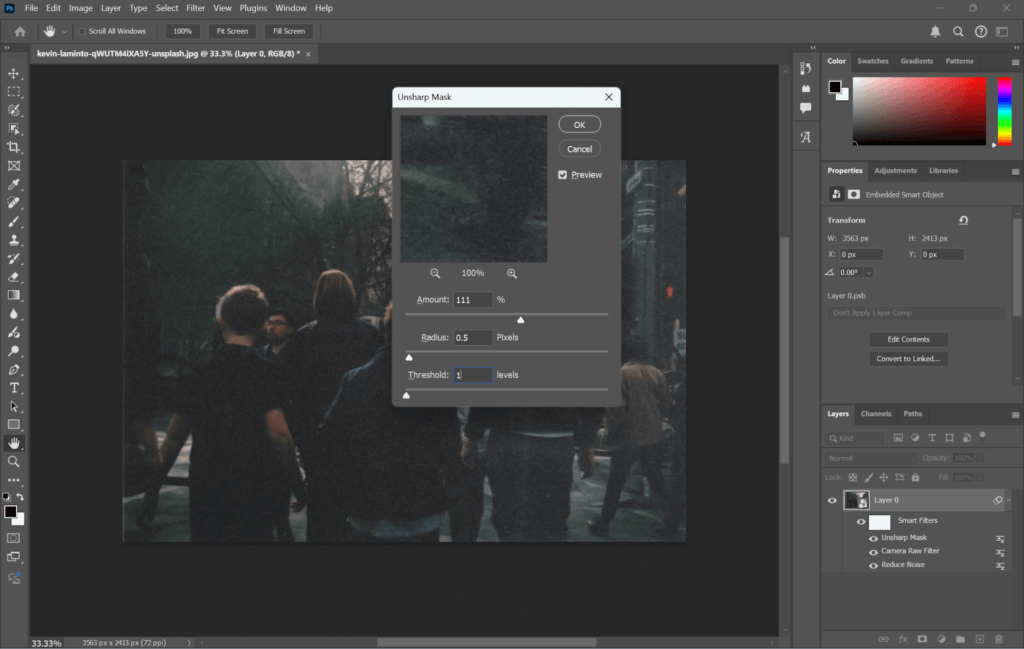
Step 5: Fine-tune with sharpening
Go to the Filter > Sharpen > Unsharp Mask.
- Adjust the Amount to the right, about 100-150%. It will add clarity, but do not overdo it, otherwise it will cause more noise instead.
- Adjust the Radius, for sensitive details, and keep it at 0.5-2.0 pixels. For clearer edges, keep it at 2.0-3.0 pixels.
- Adjust the Threshold to the left, about 1-5. It avoids sharpening the smooth parts.
- Click on the OK button to save the changes.
Step 6: Enhance Vibrancy and Contrast
After reducing the noise and sharpening the image, the image will likely look dull. To correct vibrancy and contrast:
- Go to the Image > Adjustments > Vibrance. Adjust the VIbrance to the right, about 15-30. It enhances colors without over-saturating.
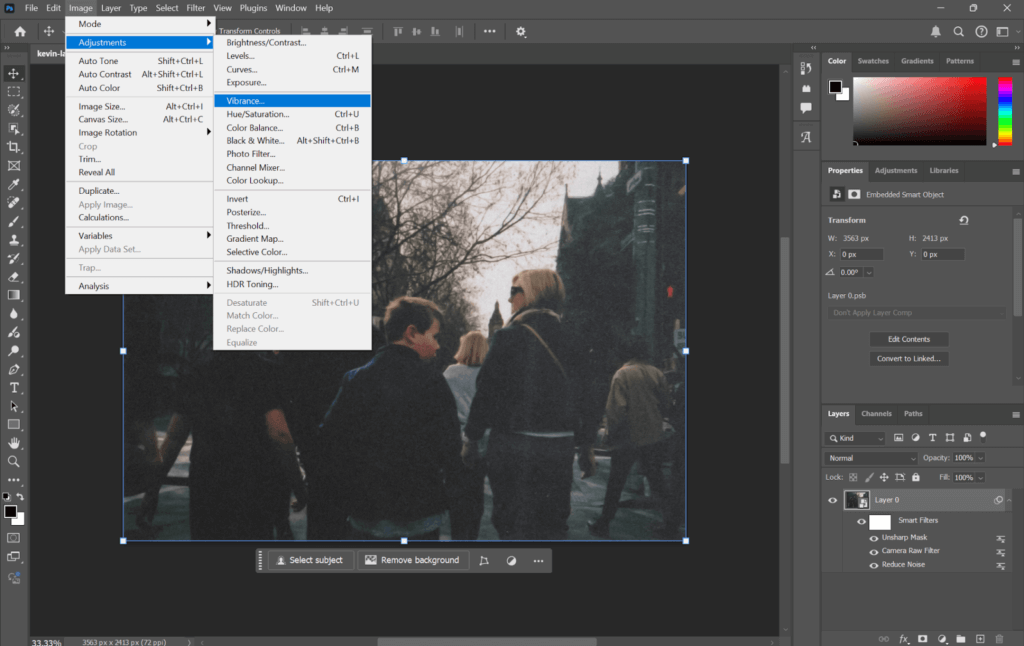
- Go to the Image > Adjustments > Brightness/Contrast. Adjust the Contrast to the right, about 10-20.
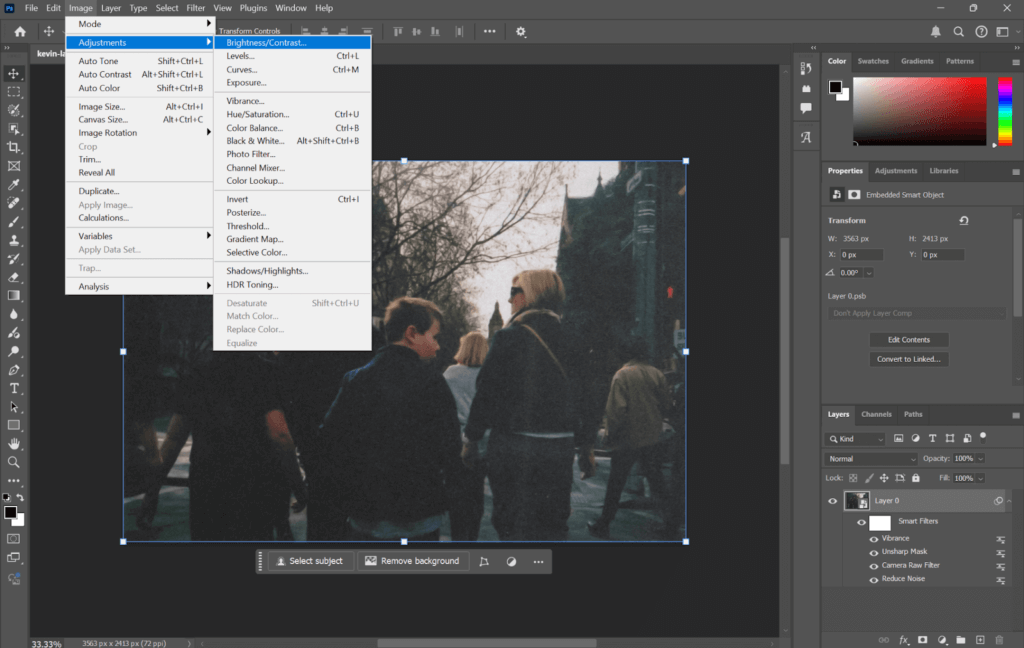
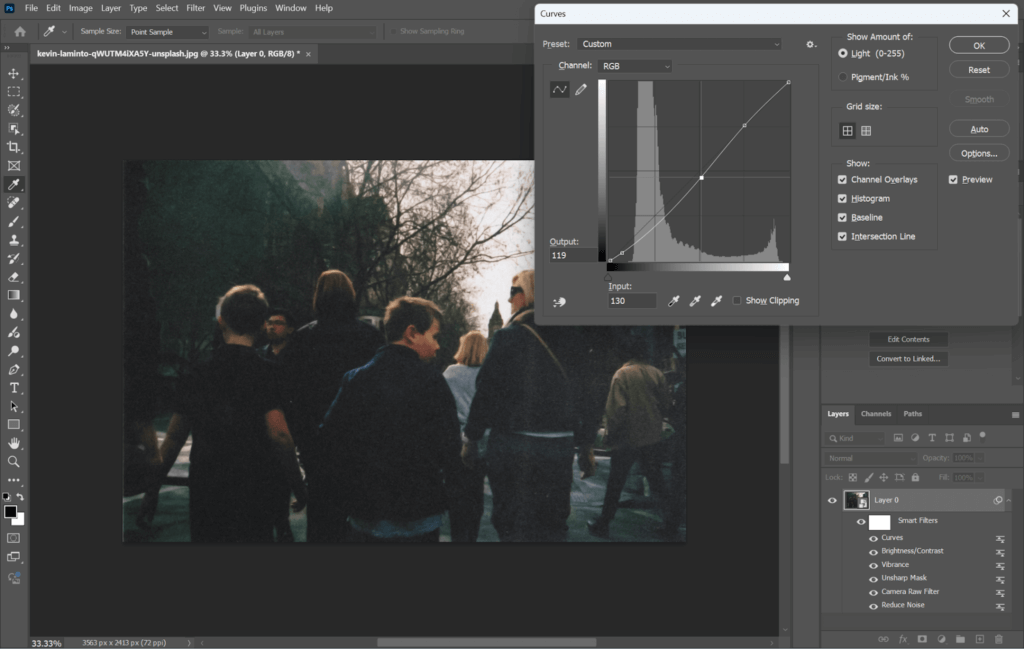
- Also, according to your needs, you can press Ctrl+L (Level) or Ctrl+M (Curve) as needed to adjust the brightness and contrast to make the image more lively.
- After that, click on the button to save the changes.
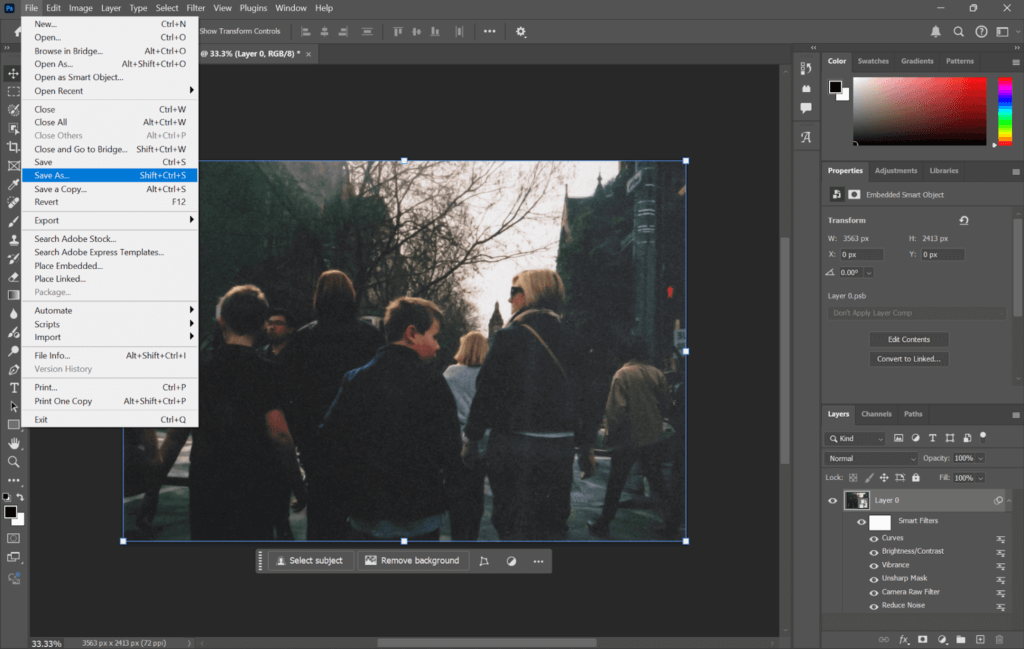
Step 7: Save the picture
Go to File > Save As and choose the desired file format to save the image after you are happy about the result.
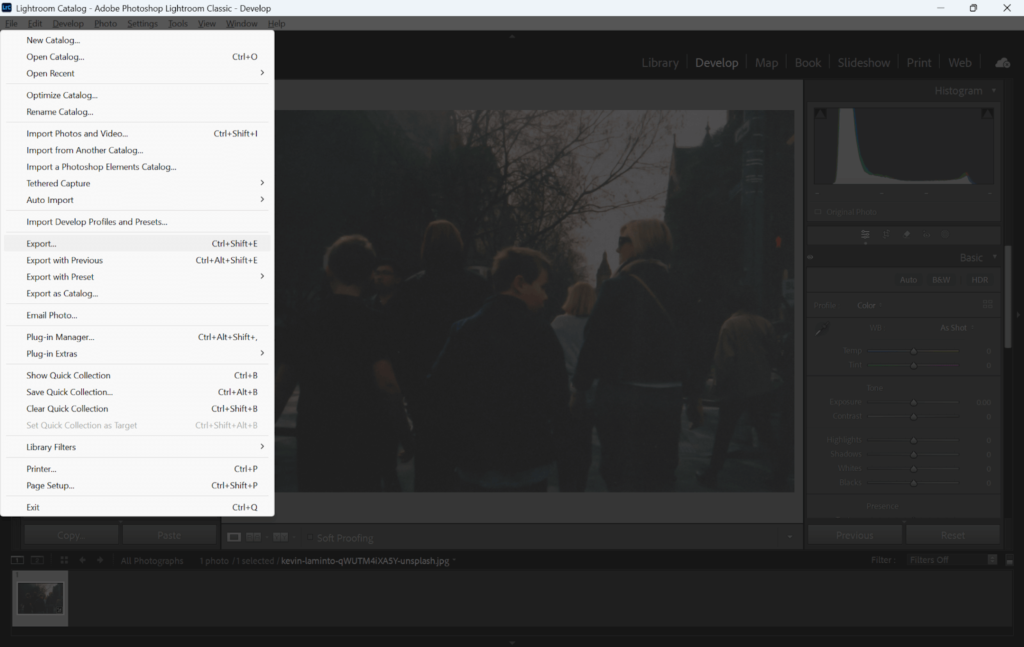
How to Fix Grainy Photos in Lightroom
Lightroom is also a powerful editing program that is designed for photographers to retouch photos. It offers non-destructive editing. Noise reduction is the main feature of it that it can keep the vital details while south the grainy photo. Here are the step-by-step instructions to fix grainy photos using Lightroom.
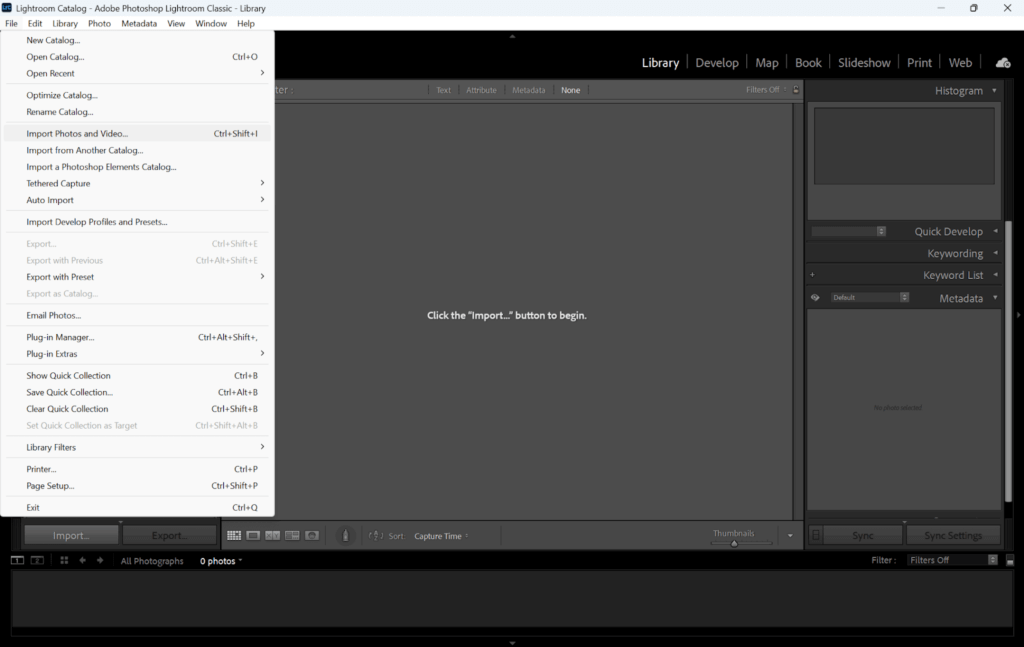
Step 1: Import the image to Lightroom
Click File > Import photos and video. Select your photo to load your image to edit.
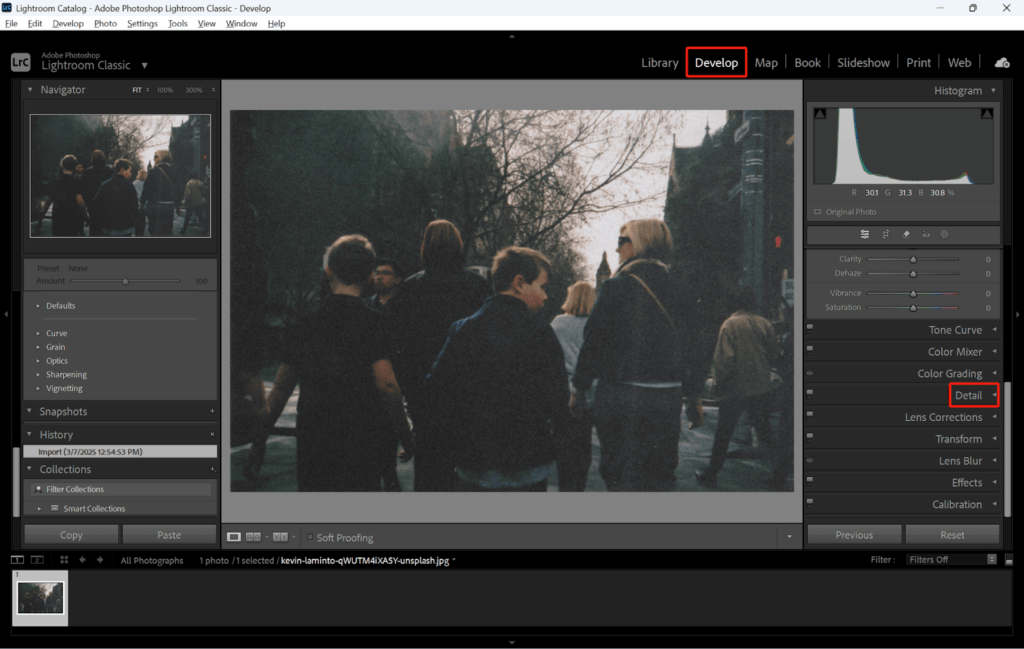
Step 2: Open the Detail Panel
Click on the Develop button and find the Detail panel from the right panel. This section contains the noise reduction tools.
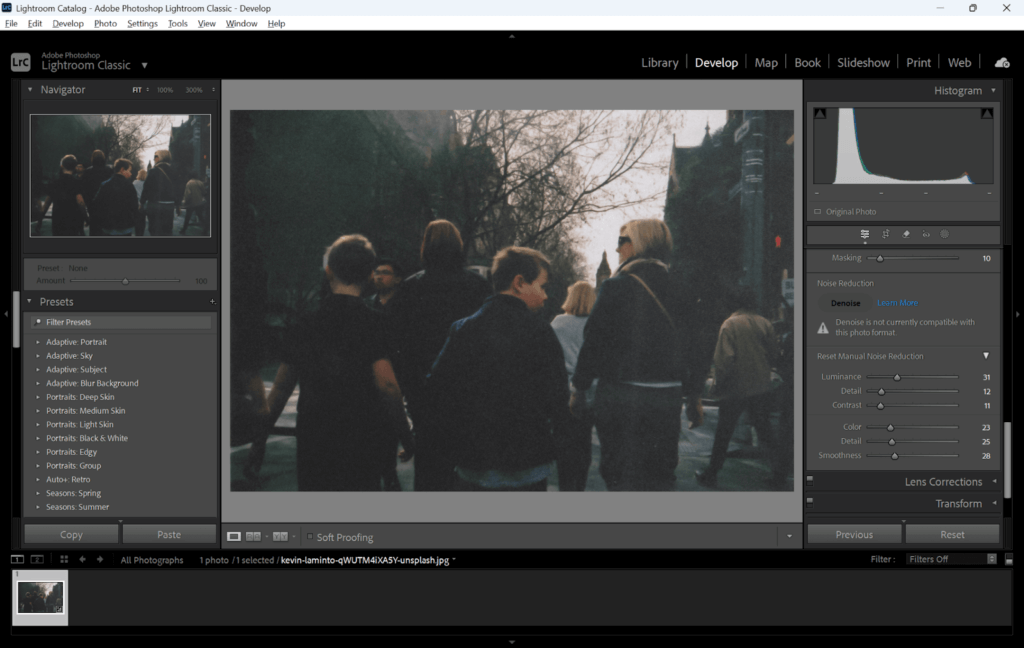
Step 3: Noise Reduction
After you find the Detail panel, you can see some sliders to adjust the parameters. Note if the image format is not raw format like the Denoise is not compatible, so you will need to do manual noise reduction.
- Adjust Luminance to the right, about 20-40. It will reduce grain noise and do not overdo it to lose clarity.
- Adjust the Detail to the left, about 10-20 to keep more details and textures.
- Adjust the Contrast to the left, about 10-20 to restore some of the contrast while reducing the noise. Do not overdo it as well or it will impact the overall effect of the images and make it harsh.
- Adjust the Color to 25-40 to remove the color speckles.
- Adjust the Smoothness to the left, about 10-20. It will smooth parts that are affected by the noise and not lose too many details.
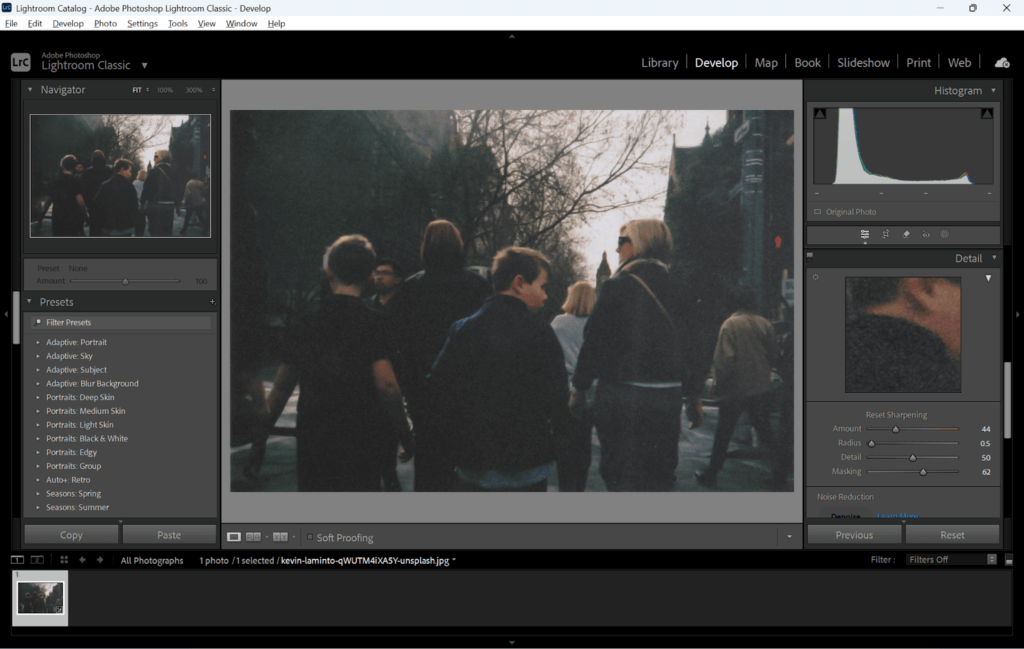
If you think it is a bit blurry after denoise, you can adjust the masking and sharpening.
- Adjust the Amount to 30-50 to control the overall sharpening tensity.
- Adjust the Radius to the left by about 0.5-1.0 to control the surrounding pixels that affected the parenting.
- Adjust the Detail to the 25-50. It will retain the textures.
- Adjust the Masking to the right about 50-70 to reduce the most visible noise. The bigger the value the more selective the noise reduction will be.
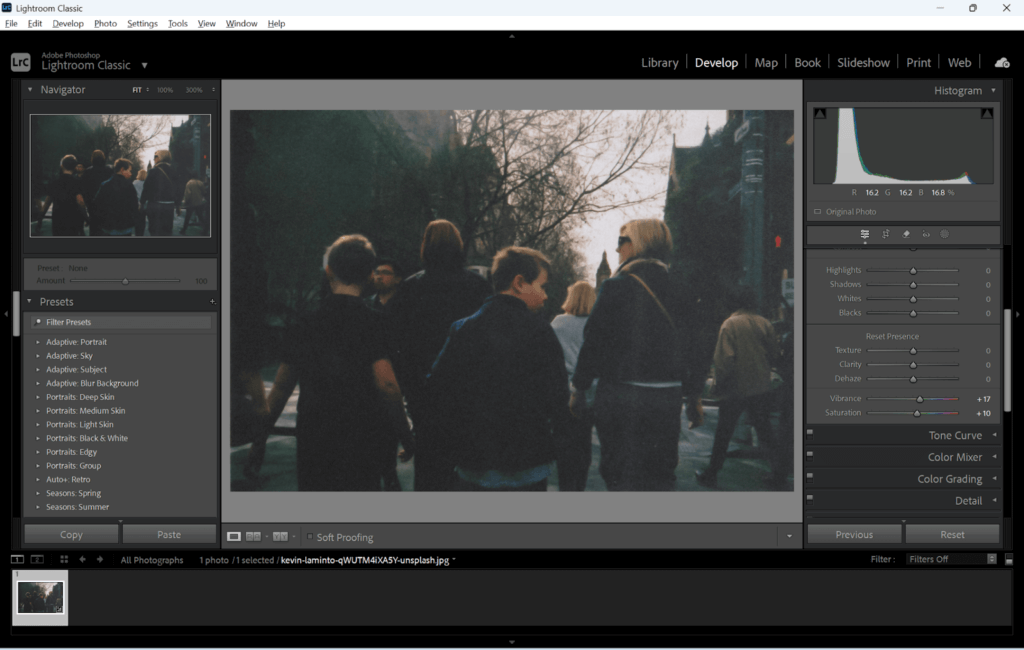
Step 4: Apply Color Enhancements (Optional)
- If the edited photo appears to be dull, you can also do some color adjustments.
- Go to the Basic panel and you can adjust the color parameters.
- Adjust the Vibrance around 10-20 and saturation slightly to 5-10.
Step 5: Save the Image
After processing, if you are happy with it, click on File > Export and choose the preferred image format to save it.
How to Fix Grainy Photos with AI (No Skills Needed)
Reducing grainy photos in Photoshop and Lightroom requires some time and effort. If you are an unskilled person, you may need to take more time. But with AI, you can have faster, simpler resolutions with a few clicks. You don’t have to do manual editing; just upload the photo, and AI will process it for you. Check these AI photo enhancers.
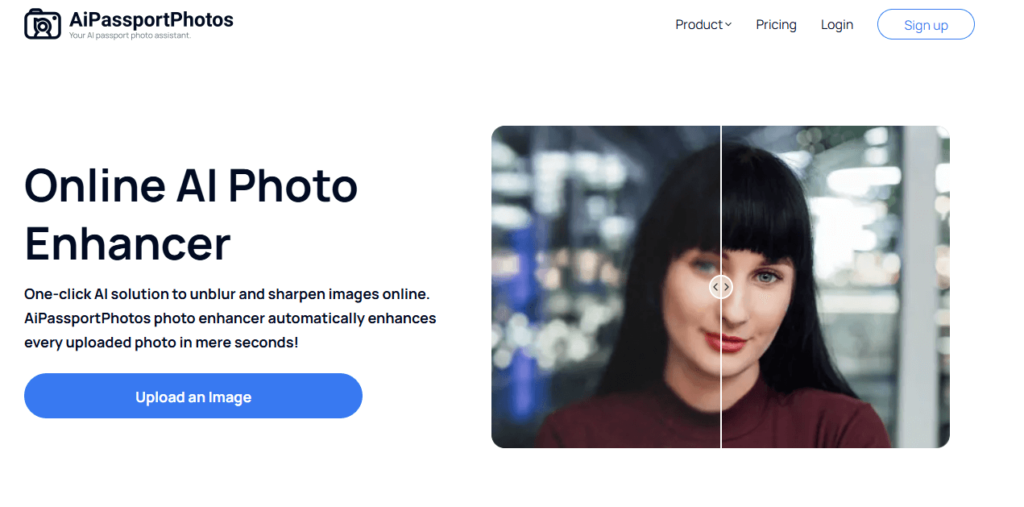
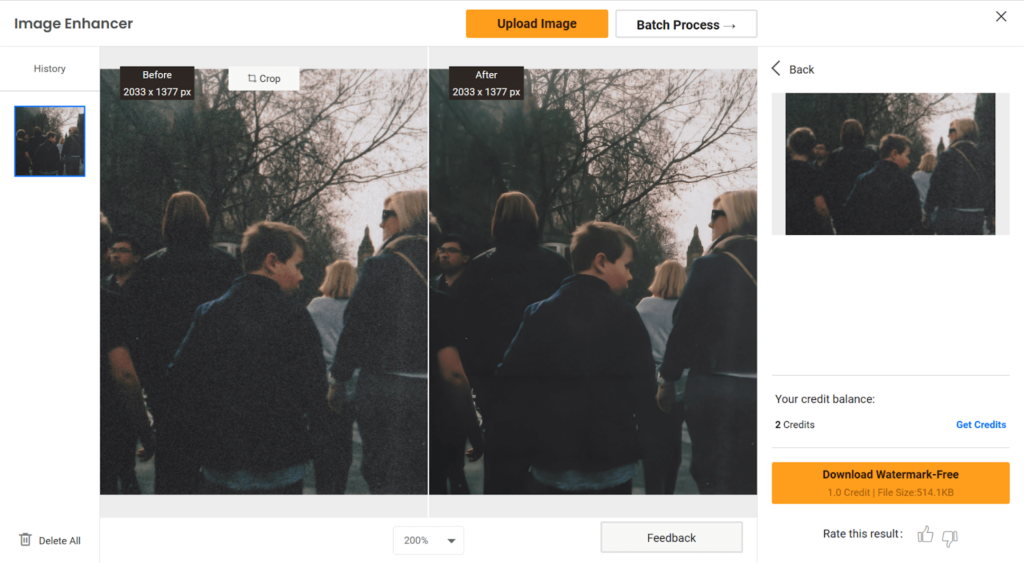
AiPassportPhotos AI Photo Enhancer
AiPassportPhotos AI Photo Enhancer is a versatile online tool that automatically fixes grainy photos free with just a click. It can reduce graininess and noise, sharpen details, and restore clarity in seconds. The photo type covers best for the images with faces. No matter whether you use it for social media or your profile picture, it requires no professional skills. Just upload the photo now, wait a few seconds, and download it.
✨Key Features:
- Cutting-edge AI-powered automatic noise reduction.
- Privacy is guaranteed to delete your information after it’s done.
- Free credits by ads to let you use it completely for free.
💰Price: Free to use.
👉How to use:
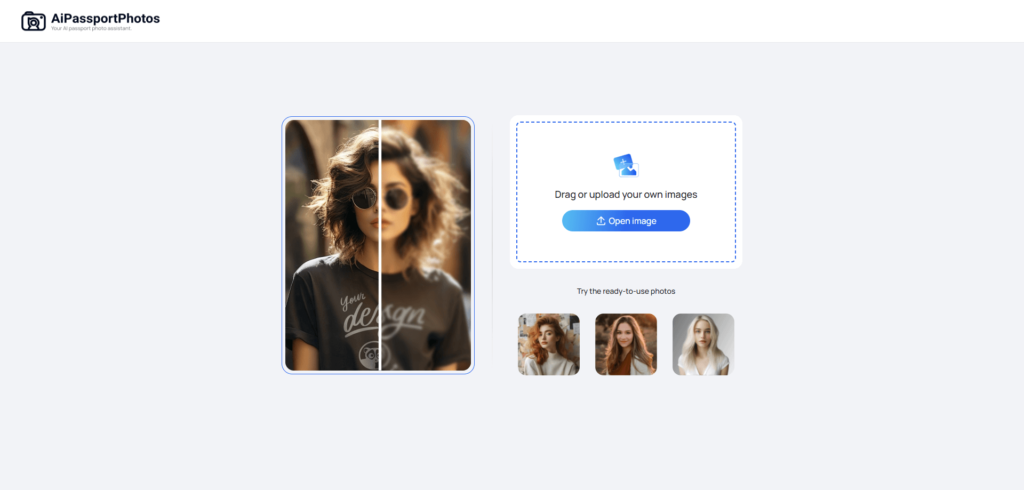
Step 1: Upload your photo to AiPassportPhotos AI Photo Enhancer.
Step 2: Let the AI process the photo.
Step 3: If you think the result is OK, click on the Download button to save the image.
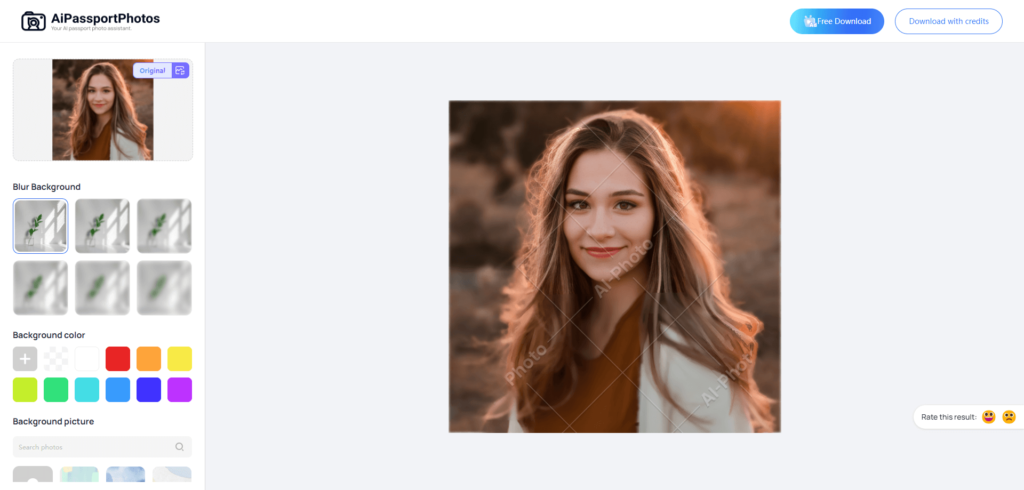
🤩Photo Quality: Enhances resolution, reduces noise, and improves sharpness without loss of detail.

VanceAI
VanceAI is a professional photo-editing platform that utilizes AI to process images. It can remove noise, grain, and JPEG artifacts from photos in seconds. It is dedicated to photographers, content creators, and casual users. Just like AiPassportPhotos, you don’t need skills to use it; it is ideal for night photography, wildlife shots, and social media images. No manual adjustments are needed.

✨Key Features:
- AI noise reduction and artifact removal.
- Manual fine-tuning adjustments are available.
- Remove artifacts from images.
- Batch process.
💰Price: Free trial available; premium plans for advanced features
👉How to use:
Step 1: Open the website and upload your photo.
Step 2: Click on the button to start.
Step 3: After editing, you can click on the Download button to save it on your device.
🤩Photo Quality: Produces clean, sharp images.
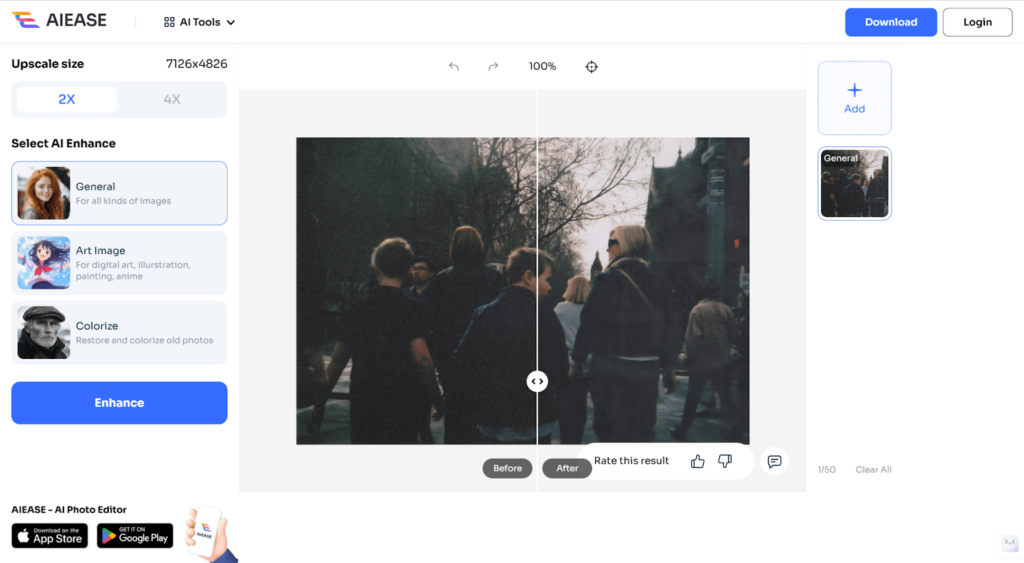
AI Ease
AI Ease offers an AI-powered tool to restore blurry or grainy photos with simplicity. It fixes the image quality and removes pixelation, making the picture brighter with a click. Apply it to grainy photos, product photos, portraits, or old memories to uncover detailed information and clarity. You can choose from different AI enhancement modes, which depends on what effects you want to achieve. Ideal for application on social media, e-commerce, or family photos, the tool brings back stunning, high-resolution photos without editing skills.

✨Key Features:
- AI noise reduction and artifact removal.
- Manual fine-tuning adjustments are available.
- Remove artifacts from images.
- Batch process.
💰Price: Free trial available; premium plans for advanced features
👉How to use:
Step 1: Open AI Ease and import your photo that you want to reduce the graininess.
Step 2: Choose the AI mode like General from the left panel and click on the Enhance button.
Step 3: If you are happy with the result, click on the blue Download button to download the image.
🤩Photo Quality: Produces clean, sharp, and natural-looking images with minimal loss of detail.
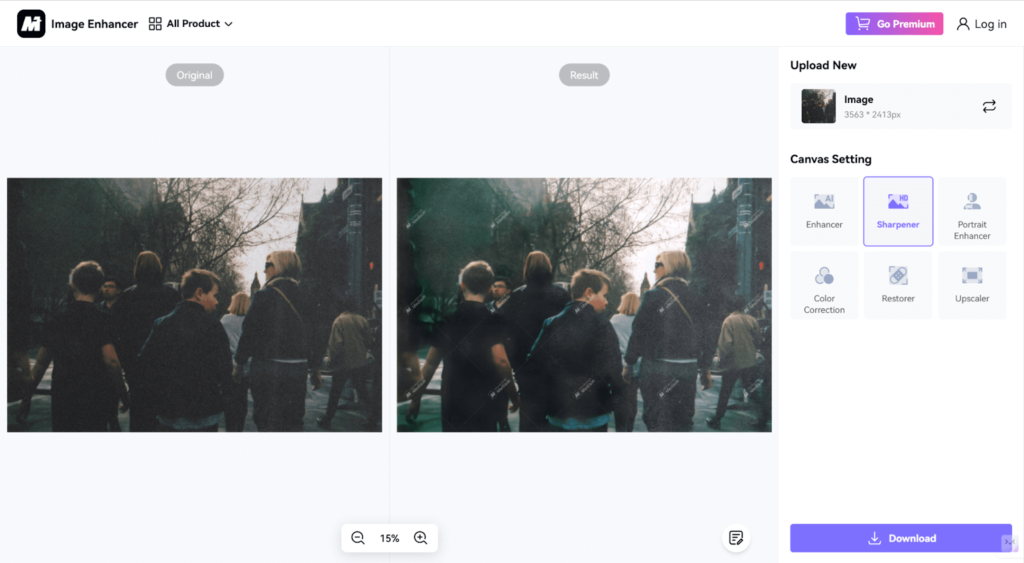
Media.io
Also try Media.io AI Image Denoiser, an advanced AI-powered tool that removes noise and grain from photos instantly. Whether you’re working with low-light shots, wildlife photography, or portraits, this tool enhances clarity while preserving fine details. It also serves as a portrait enhancer, color correction tool, restorer, and upscaler.

✨Key Features:
- AI-powered automatic noise removal.
- One-click denoising for fast results.
💰Price: Free and premium subscription.
👉How to use:
Step 1: Upload the grainy photo that you want to edit.
Step 2: Choose the sharper from the Canvas Settings.
Step 3: Wait a few seconds to get the result, and if you are OK with it, click on the button to download.
Photo Quality: Enhances clarity by reducing noise without losing essential details.
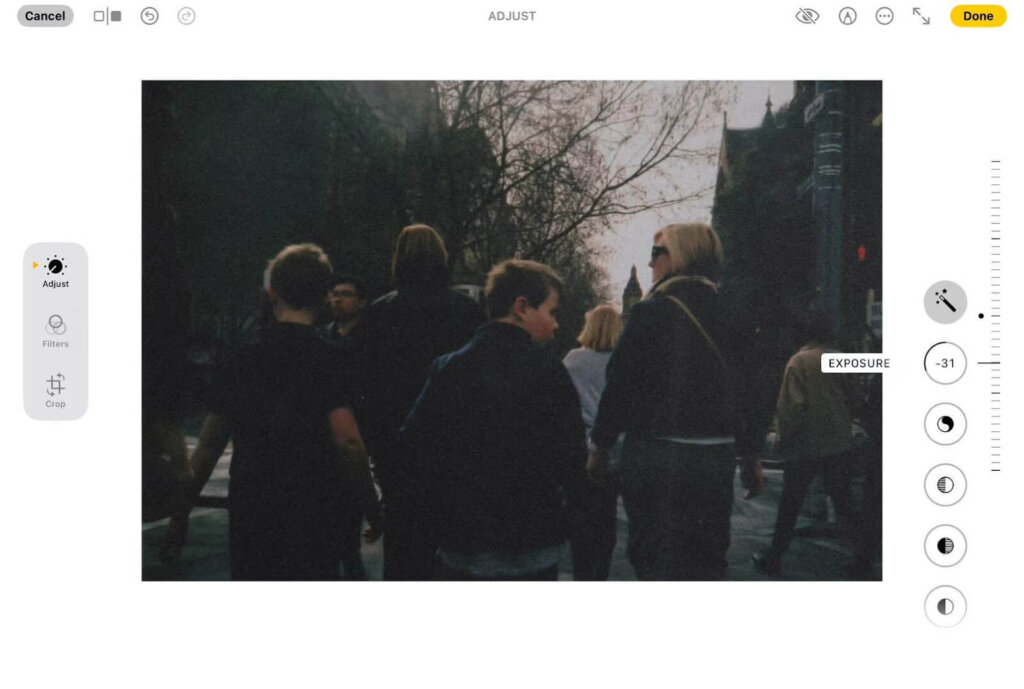
How to Fix Grainy Photos on iPhone
Luckily, you can fix grainy photos using the built-in Photo App on your iPhone or other iOS products like iPad if you don’t find the computer available. This method doesn’t require you to hold any skills and download any extra apps.
👉Steps to Reduce Grain in iPhone Photos App:
- Open the Photos App and select the photo that has grain.
- Press “Edit” to locate the in-app editing options.
- Use the “Noise Reduction” Tool by going to the adjustment controls and sliding it to the left to reduce grain.
- Adjust “Brilliance” and “Exposure” to balance the light and drive noise away.
- Increase Sharpness A Bit to restore details without hardening the photo.
- Press “Done” to implement your changes.
Conclusion
Grainy pictures can lower picture quality, but they can be fixed using Photoshop, Lightroom, AI tools, or even the iPhone Photos app. Photoshop and Lightroom have manual adjustments for aggressive noise reduction, whereas AI programs give quick, easy fixes for beginners. The best method is yours. Just choose based on your needs.