
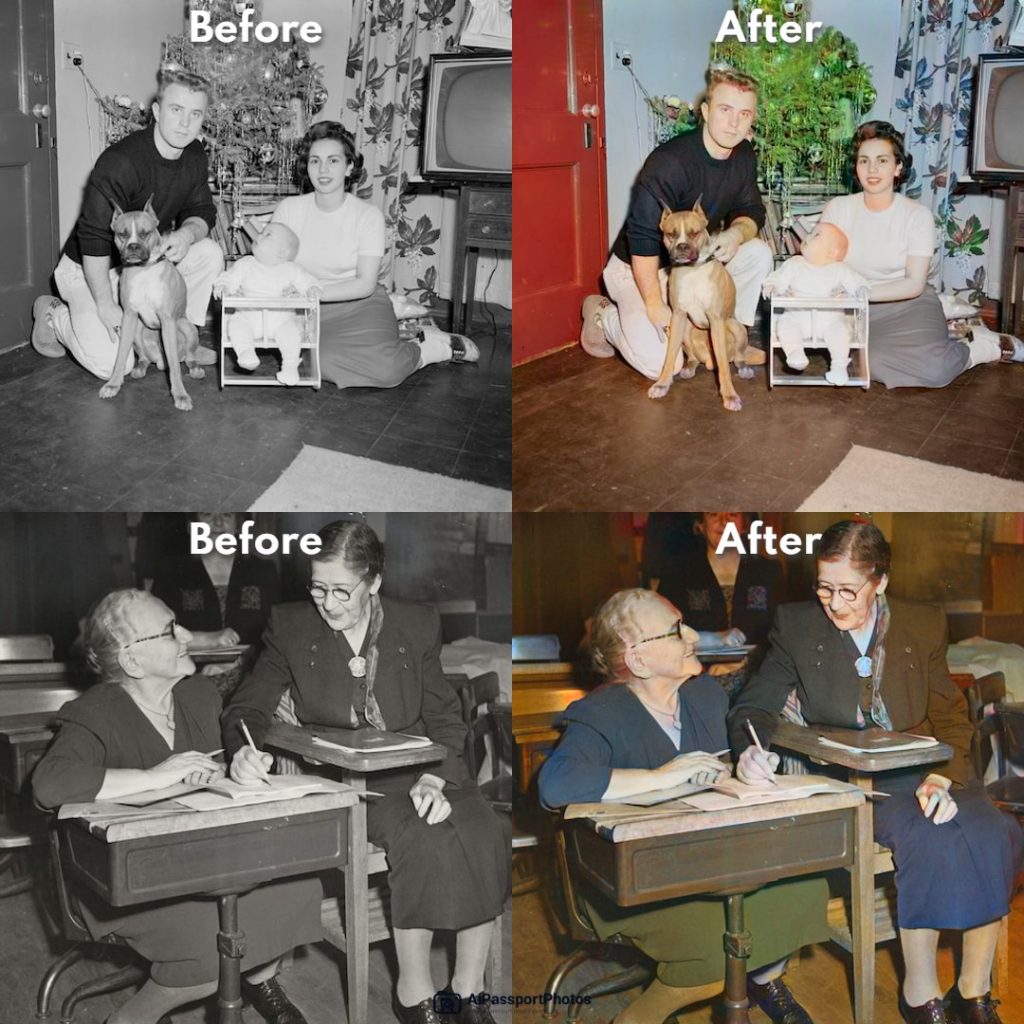
Every funny, happy, touched, sad, or ceremonious moment comes back to us each time we look at the photos. We are passionate about taking photographs to capture every smile, moment of joy, ray of sunshine, and glow of beauty. But due to the printing and the material feature, photos are susceptible to deterioration due to time, water, scratching, or crease. You may wish the old photos could be as new as they were, or you may be eager to turn the black-and-white photos into colorful ones but need to know how.
In this article, we will walk you through the tutorials on colorizing a photo in Photoshop and introducing an easy and fast way to colorize your image online. Let’s start and get our old photo colorized!
Colorize a black-and-white old photo in Photoshop
Embraced by many skilled photographers, artists, and advertisers, Photoshop is a powerful and professional tool to edit and create photographs. But do you feel intimidated by the bountiful tools and layers? Thanks to the new artificial technology, Photoshop has developed a new filter to convert black and white photos into colorful ones automatically. Let’s have a glimpse of how to use this new feature.
The “Colorize Neural Filter”
The new filter, automatically adding colors to the black-and-white photos, is an efficient timesaver, and we don’t have to start from scratch.
If you already have the application on your device, launch it and do magic on your old black-and-white photos by following the below steps.
- Import your own photo
Click the “open” on the home screen or drag and drop the target image to the area as indicated on the interface.

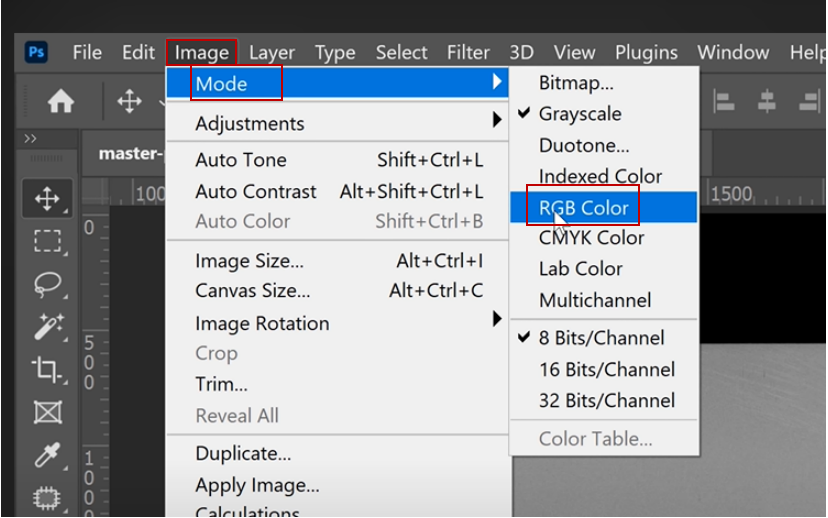
Now, you have arrived at the workplace of Photoshop. Hit the “Image” button on the top menu bar, choose “Mode,” and click on the “RGB Color” to use the Colorize Neural Filter.
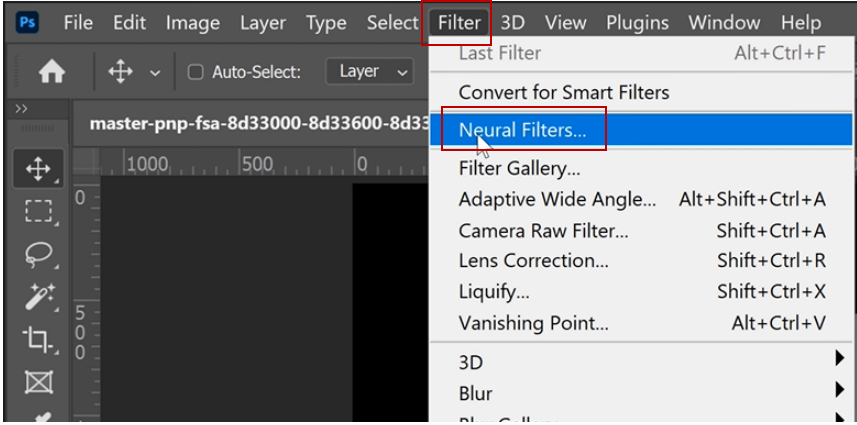
- Go into the “Filter” and hit the “Neural Filters”
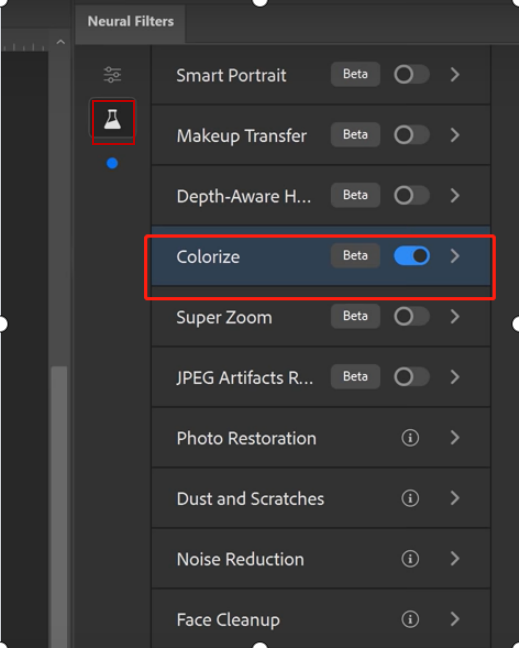
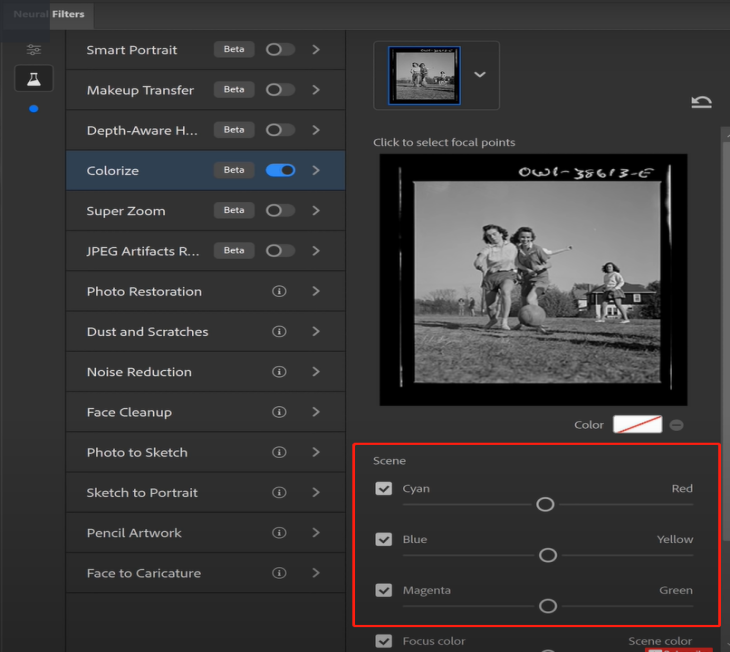
Click on the “Beta Filter” on the right side of the “Neural Filters” options menu and ensure you enable the colorize on-off button. With just one click, Photoshop uses AI to colorize your photo.
- If you need further refinements, there are some additional functions for you to operate.
- For example, if you are not satisfied with the result under the default, you can move the sliders on the right side of the screen to retouch the scene color.
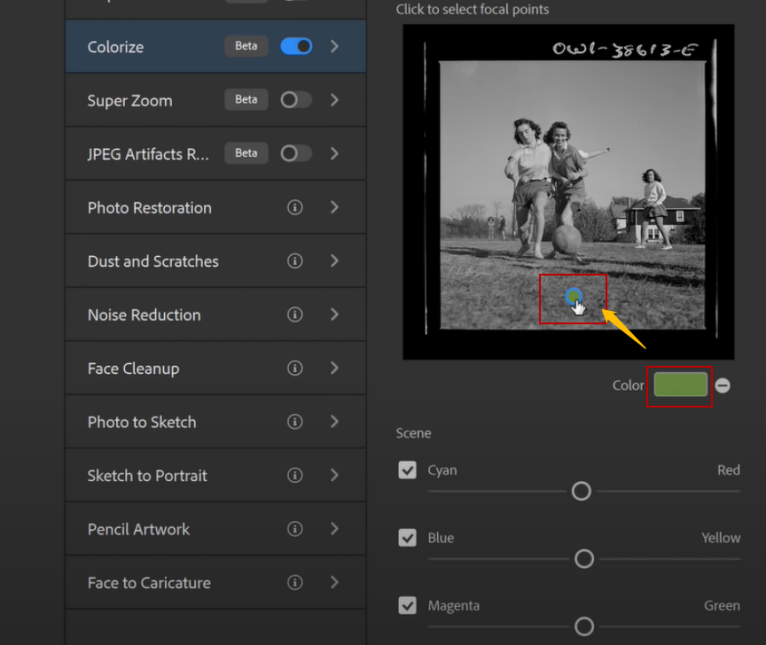
- Or, if you want to change the color of a particular area, you can click on “Color” and pick a color on the shown-up swatch, then click over the area in the image that you want to paint, which displays on the upper small window.
Add new colors to the image manually
As for now, most of the photos have been colorized. Are you considering bringing in some new colors or changing the AI-generated color of a particular area? Then it would be best if you did some creations manually.
Before you go, lock the original background to avoid accidental mishandling and go to the output set to duplicate a layer of the AI-colorized layer so you can go back to the step any time you like.
- Navigate to the function panel “Layer”
- Change the blending mode from “Normal” to “Color”
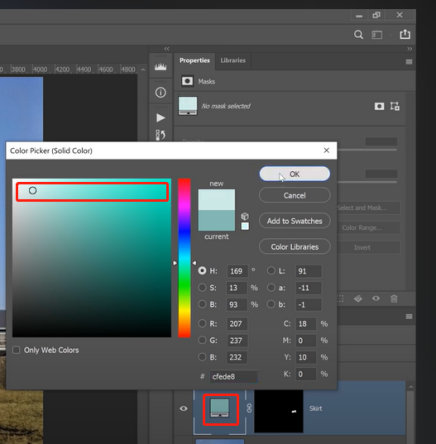
- Click the adjustment layer to add a “Solid Color” layer
- Choose a color for the target area in the “Color Picker” and click “OK” to apply the color
- By now, you can see next to the color you chose, and there is a white layer on the right.
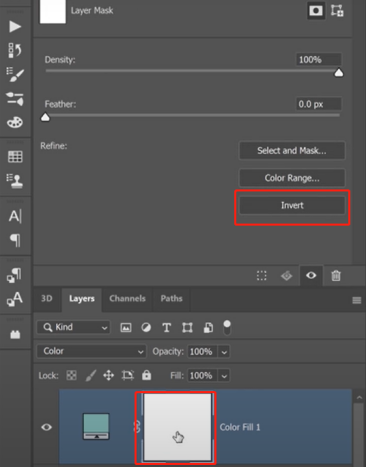
- Press “Invert” or “ Ctrl+I” to invert a layer mask and the white layer turns black.
- Select “Brush Tool” on the left side of the toolbar and set “Opacity” and “Flow” of the brush at 100% at the top options bar.

- Use the brush to paint the area on the layer mask that you want to reveal the color.
- If you want to change the color or saturation, double-click at the color layer, then drag the color from left to right to adjust the saturation.
- Repeat the process for other areas until you have finished all the areas that you want to change the color of it.
It’s OK to paint beyond the selection area accidentally. To remove the wrong color, select the black color, switch the foreground color from white to black, and paint it black.
Suppose the subject you are painting is small. In that case, you must be patient and careful, fine-tuning the tiny details despite Photoshop being brilliant at detecting the boundaries between different subjects.
Online colorizer
As Powerful as Photoshop might be, it is only user-friendly to some users, and you need to buy it. Besides, if you only have a few photos to colorize or adjustments to make, paying for such a professional tool is unnecessary. Further, the complex and professional process of cropping, adjusting, and tone-tuning might cost plenty of time, particularly for those who barely know about photograph-related technology. In this case, using the tool to colorize a photo is far from hassle-free.
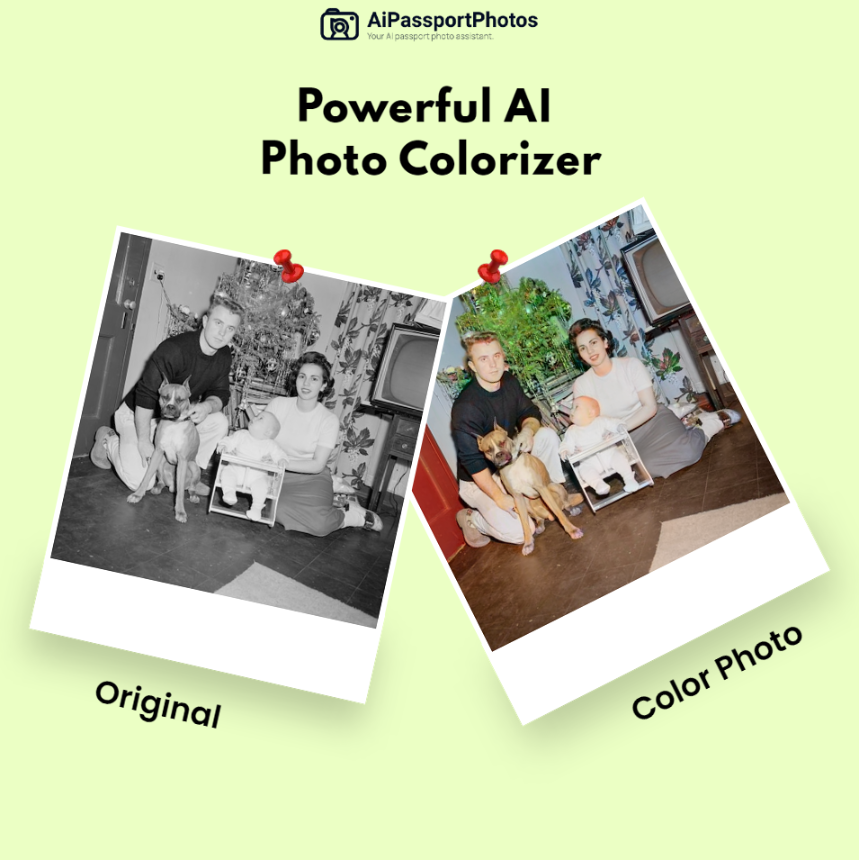
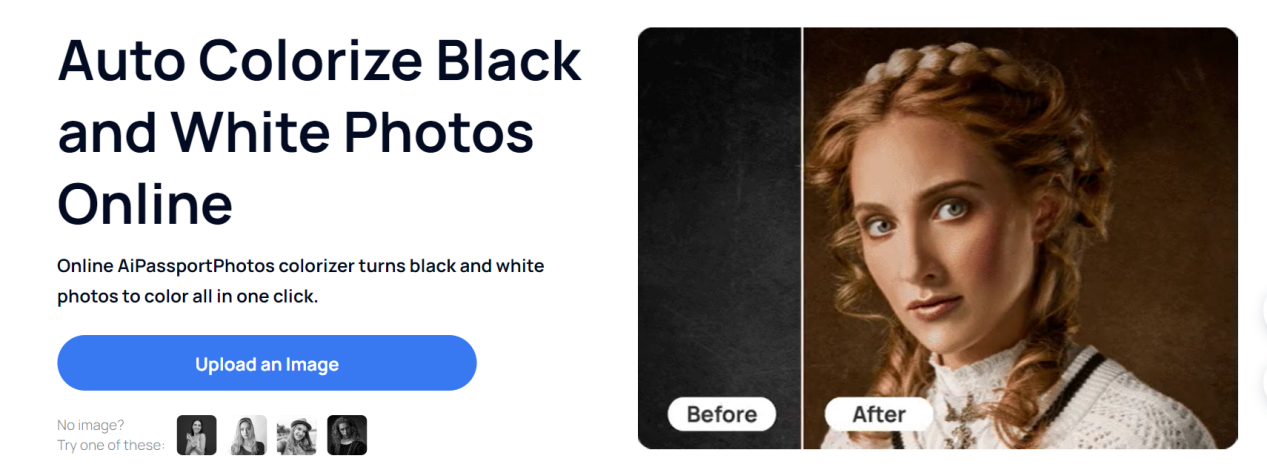
Want an application to help you colorize your photo in just one click? Try AiPassportPhotos. This online colorizer can transform black-and-white images into colorful ones with only one click. In an instant, AI technology and deep learning will restore the blissful scene in the photo, bringing you back to a happy time.
Steps on colorizing a black and white photo online:
- Visit AiPassportPhotos on any web browser
- Navigate to “Product” and click on “Photo colorizer”.
Under “Product”, you have a glimpse of all products and services provided by AiPassportPhotos.
- Click the blue button “Upload an Image” and choose the photo you want to process
Once you have chosen the picture, the colorizing process will start automatically. Just give this colorizing tool a few seconds and let it surprise you!
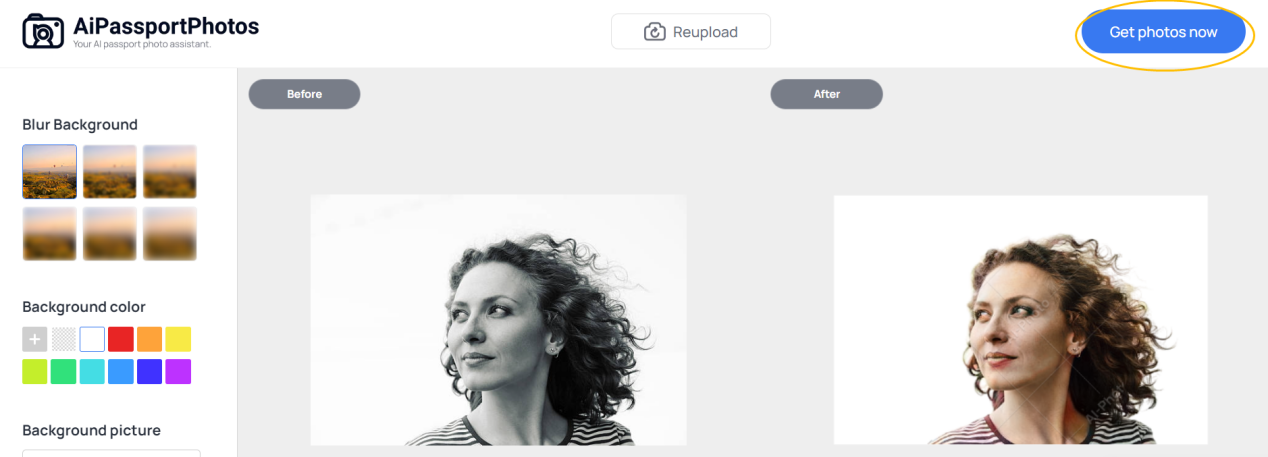
- Soon, you’ll have the result with the original photo on the parallel left. Click the button “Get photos now” on the right top corner on the screen.
Please note that the tool only works on photos with facial expressions. Landscape photographs or other photos without a face will not be supported.
Further personalize the background of your photo
Amazingly, you have more diversified and personalized options on AiPassportPhotos.
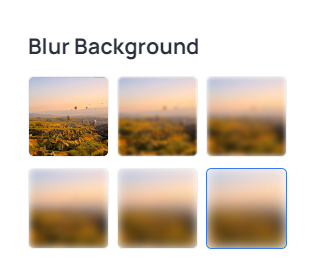
If the background is a bit messy, you can blur it by clicking your mouse on the left bar. There are different levels of blurring for your option.
You are able to change the background color of the photo as shown below.
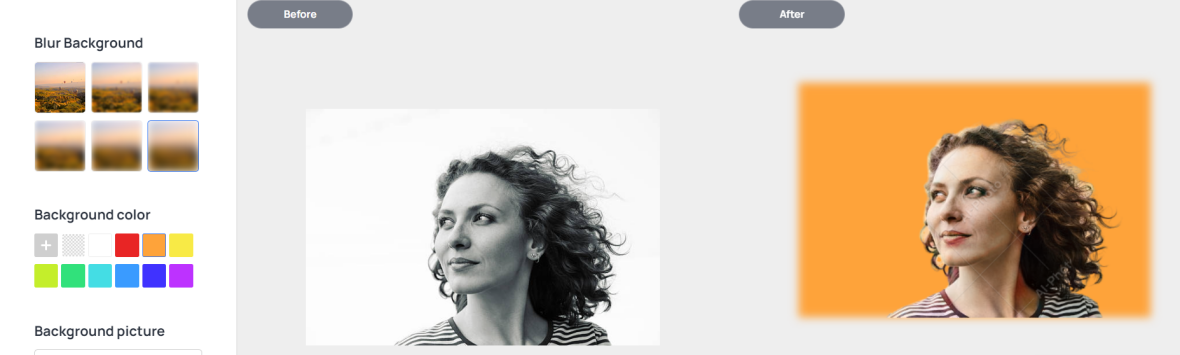
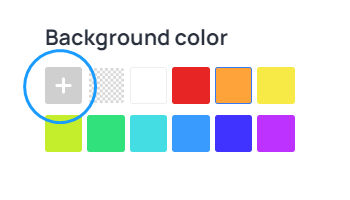
Find more colors or set the RGB by clicking the plus icon to choose more.

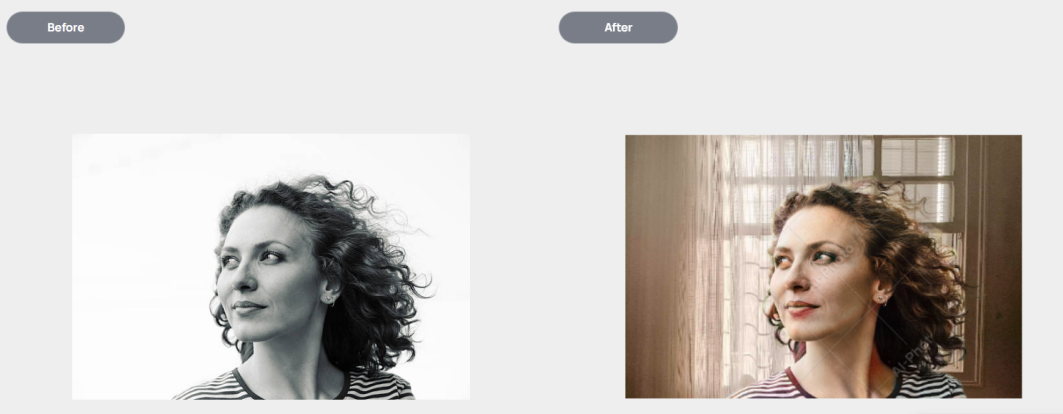
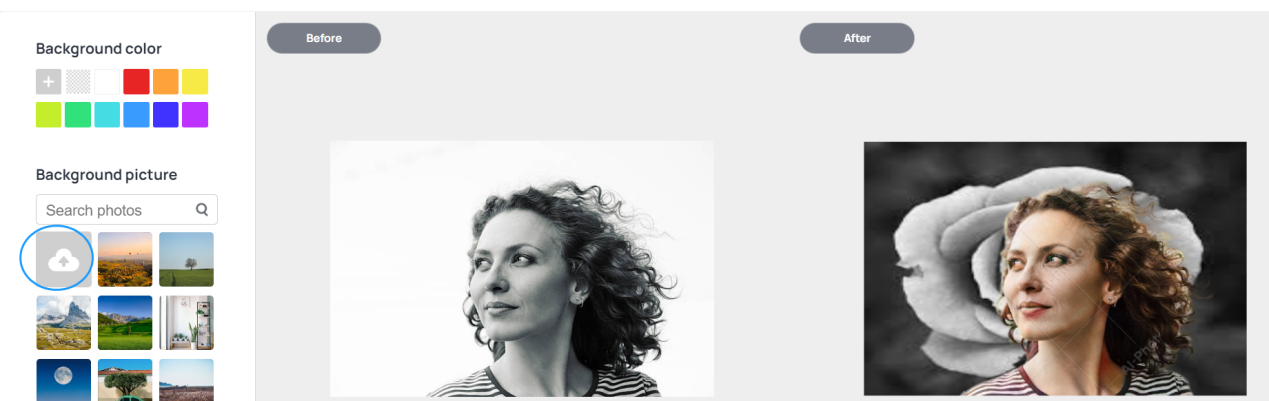
Or, you can replace it with another picture. You can type the keywords at the search bar to search images that are provided by Pexels.
AiPassportPhotos also supports uploading a local picture on your PC as well. Click the gray icon to upload your local image as the background.
Old Photo Restoration
AiPassportPhotos cannot only turn your black and white photo more vibrant and vivid but also has the tool to restore your old damaged photos, such as scratches or creases. It can also enhance the image resolution and photo quality online. You will only expect some of these features to be done with one click and generated automatically. Explore more on AiPassportPhotos!
Final thoughts
In the past, we could only capture the precious moment in an inch black and white photo. But today, we can attach colors to black-and-white images thanks to advanced technologies. Use Photoshop or online Photo Colorizers to give a second life to the black and white photos according to the scenes in your mind.