
To capture precious moments, knowledge of photo lighting is vital. It is difficult to take that perfect shot when light conditions are challenging. When you have a dimly lit scene or a photograph that is overexposed, a common picture can be turned into an extraordinary keepsake by using the light photo editor. In this article, we have carefully selected the top light photo editors for enhanced brightness, contrast, and general visual appeal with ease.
Light Photo Editor Online
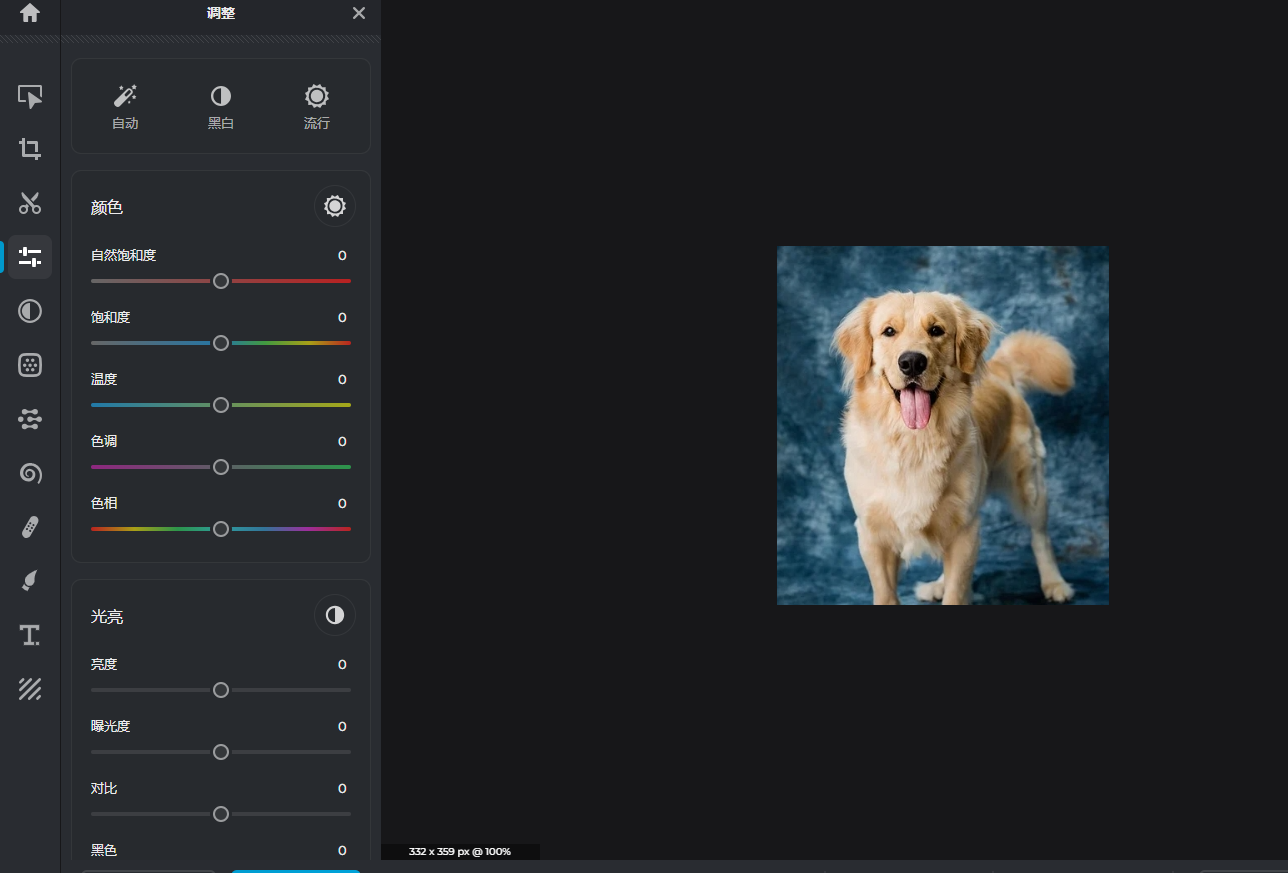
By improving the lighting of your photos, you can greatly enhance their quality and visual appeal. Below are some useful online light photo editors with brightness adjustment, contrast control, and other features to refine your images.
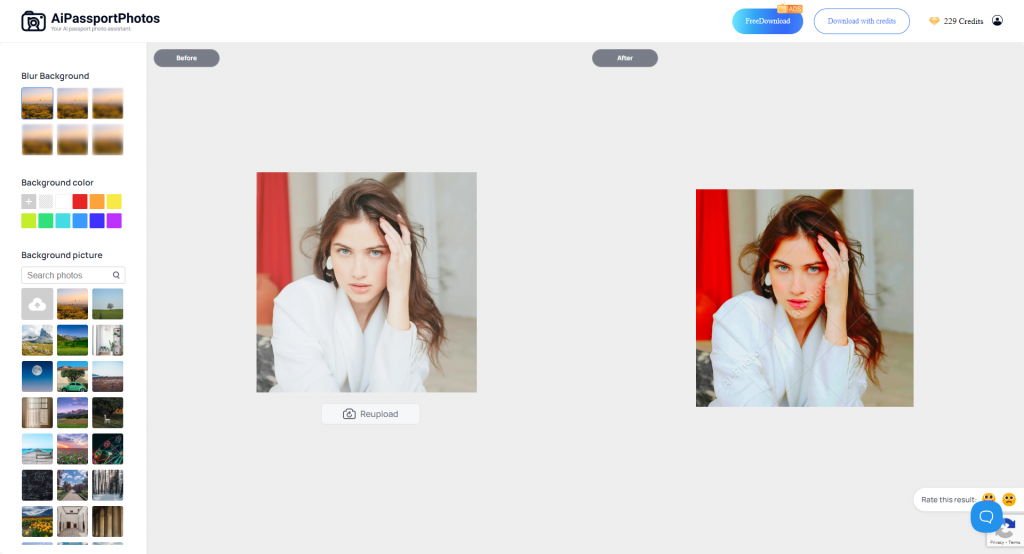
AiPassportPhotos
AiPassportPhotos is an easy-to-use AI photo editor that can dramatically increase the brightness of images online free. It has a light photo editor for increasing brightness and adjusting light effects, contrast, and exposure. Whether you want to retouch portrait photos or conduct photo color correction, it can be done quickly.
Here is how to use the light photo editor online:
1. Go to AiPassportPhotos Photo Color Correction
2. Upload the photo to make lighting adjustments easily
3. The AI tools will automatically color correct photos, fix dark or overexposed shots, and adjust image contrast.
4. Preview your edited picture and save it directly.
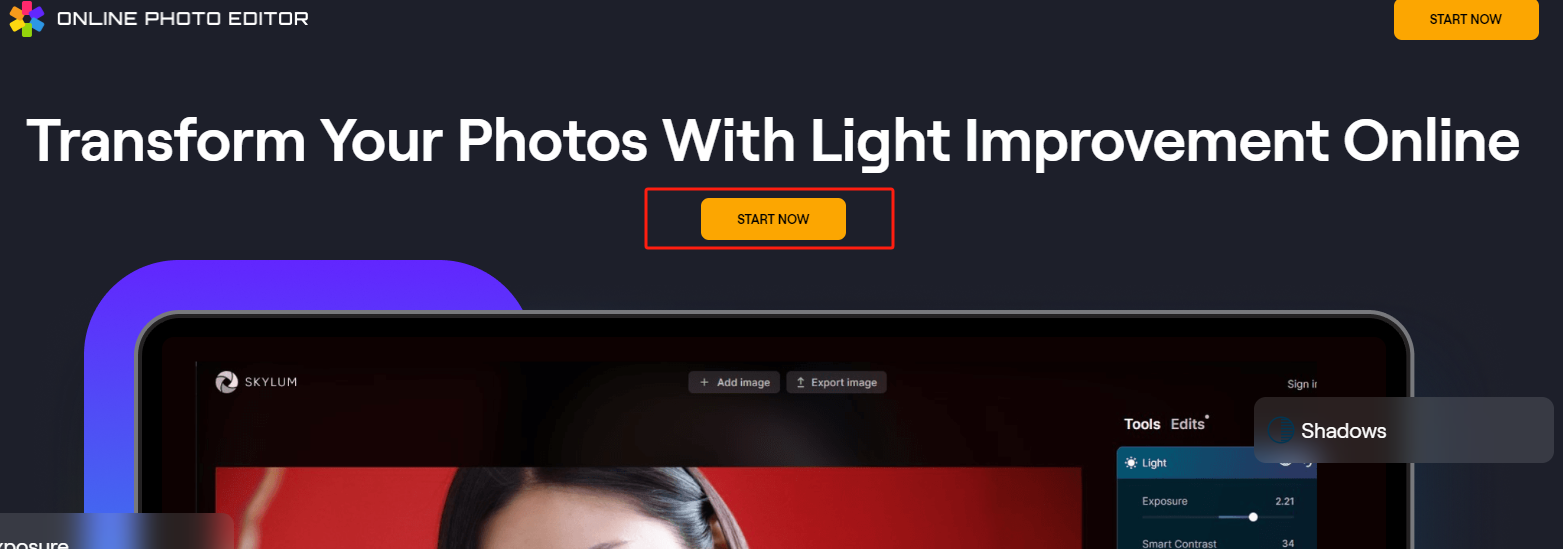
Skylum
Skylum is a great online tool that can add light to photos while improving overall image quality. With Skylum, you can easily brighten up photographs making them more lively and attractive.
Here is how to use it:
1. Go to Skylum Light Improvement.
2. Upload your photo by clicking the “Start now” button
3. You can use the auto-enhance feature for quick light adjustments or manually adjust the brightness, contrast, highlights, and shadows to achieve the desired lighting effect.

4. Check how these changes look before downloading and saving it.
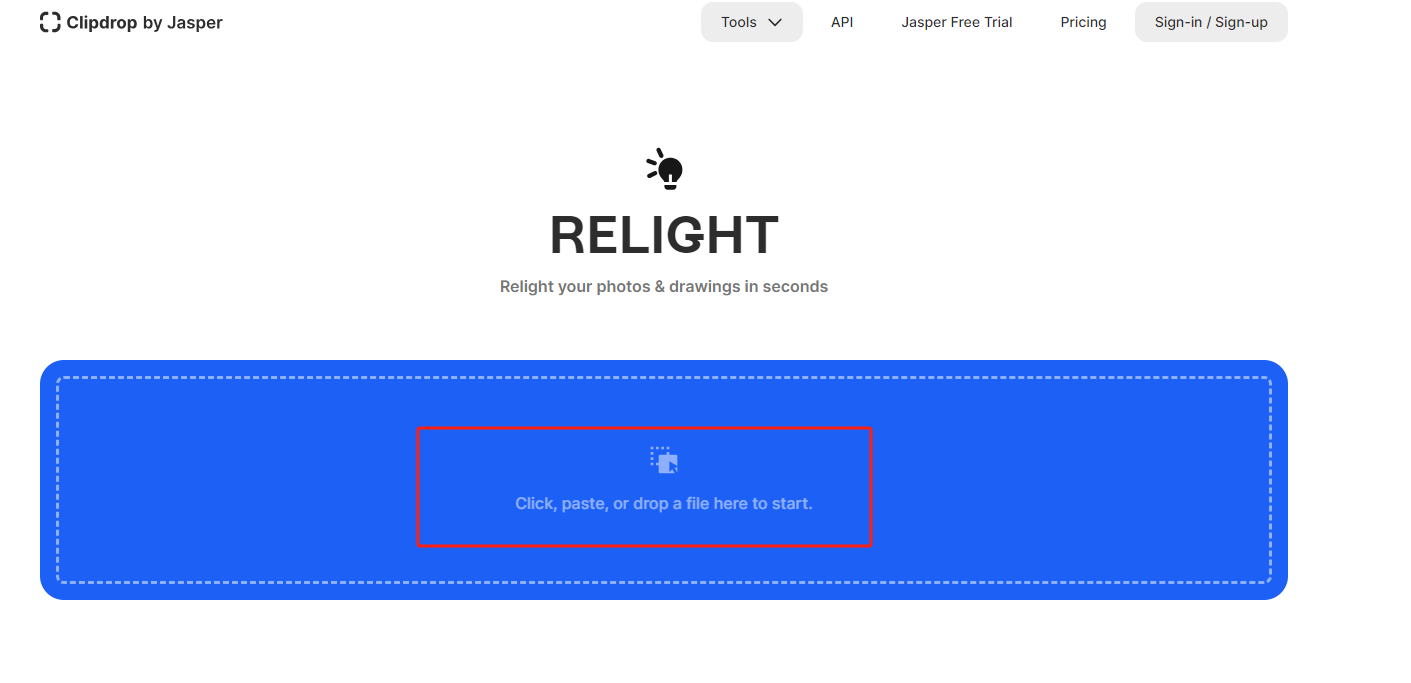
ClipDrop
ClipDrop can effectively relight photos and is a fixing tool for illumination condition adjustment and image enhancement. It is especially useful in lighting improvement and can easily transform your ordinary photo into stunning and professional-lit photos.
Here are the steps on how to use ClipDrop:
1. Visit ClipDrop Relight
2. On ClipDrop’s easily accessible interface, upload your photograph.
3. Check out ClipDrop’s relight tools so that you can easily set up lighting for the best results later on.
4. Make changes to your photo instantly while saving it on your device, ensuring enhanced photos with better lighting conditions.
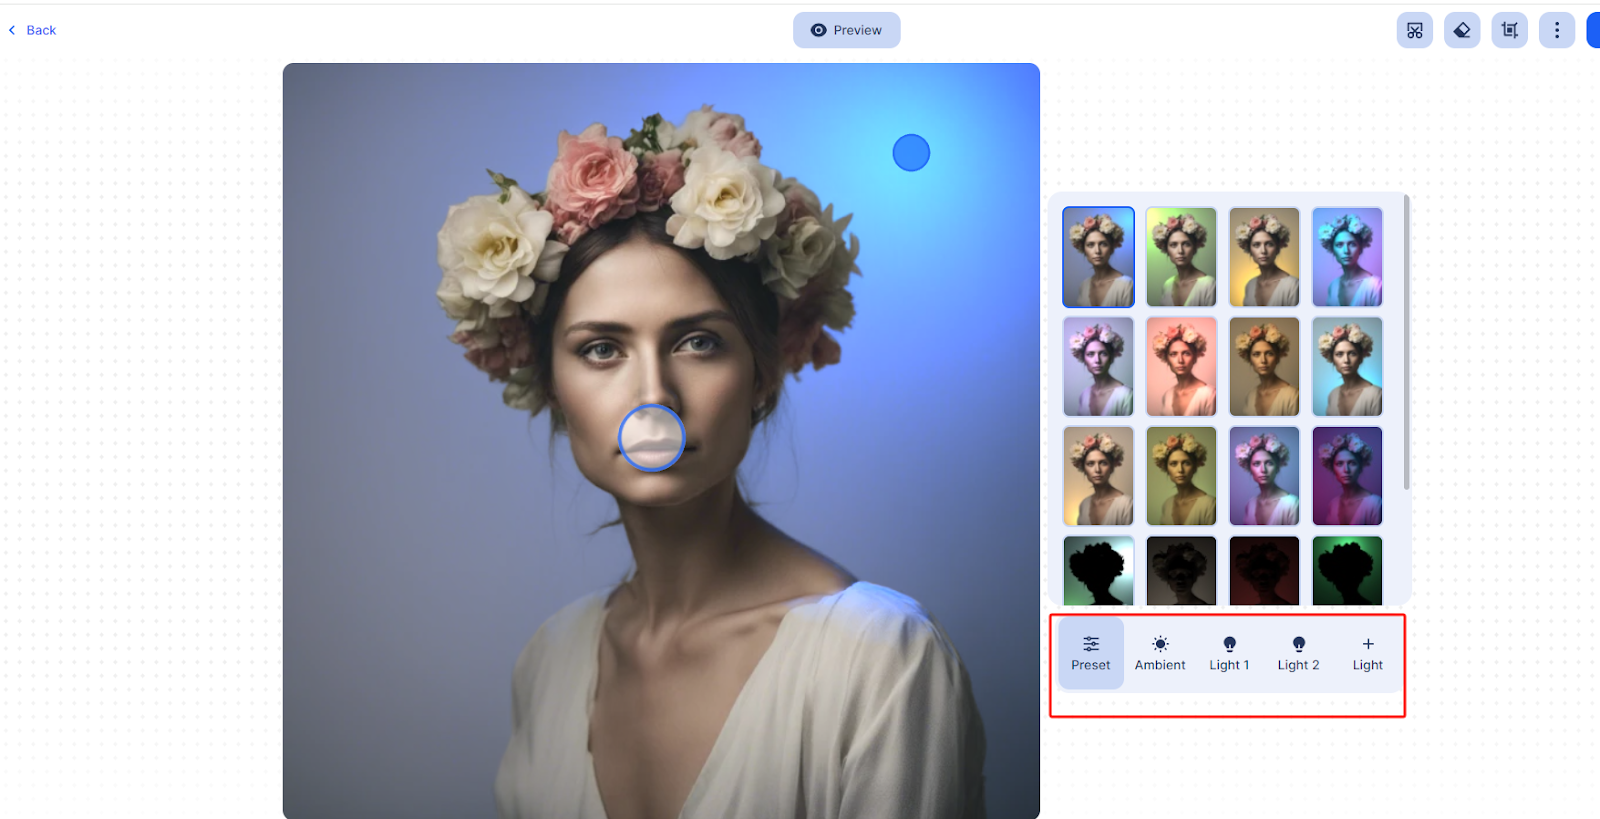
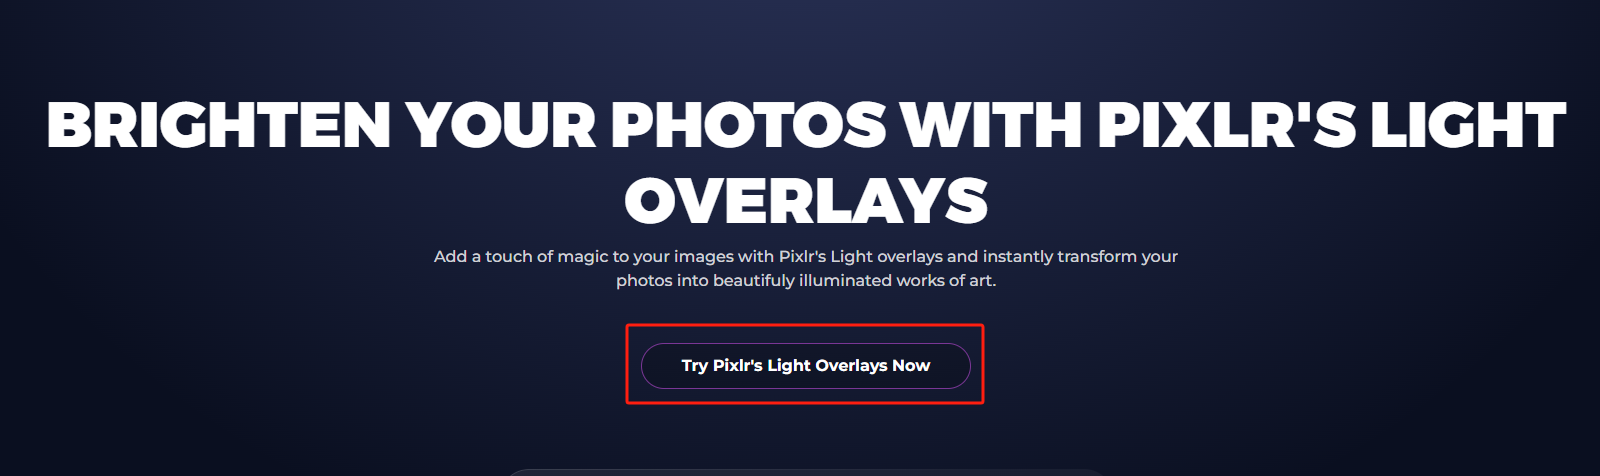
Pixlr
Pixlr offers various online photo effects including lighting improvement tools. Hence, it is possible to make various settings for brightness and other parameters for different lighting options to improve photographs.
How to add light to photo using Pixlr:
1. Access Pixlr Light Effects.
2. Go to the intuitive editor of Pixlr where you can upload a photo.
3. Choose the light effects tools to adjust the photo.
4. Apply these adjustments and save your improved pictures through the same Pixlr platform.
Picsart
Picsart is unique because of its features on different picture effects, including specific light adjustment tools designed to improve color balance. This creative platform allows users to try out various light effects and get the right visual aesthetics desired.
Learn how to add light to photo using Piscart:
1. Visit Picsart Light Effects.
2. Upload your photo into Picsart.

3. Click the “Adjustment” and select the light effects & tools

4. Download your edited photos from PicsArt after completing all improvements with enhanced lighting effects.
Mobile Apps to Relight Photo
To significantly relight your photos, you can also make use of mobile photo editors. They can improve the image lighting completely and give you more control over photo editing. The following are two mobile phone apps for relighting photos. Keep on reading to find their spotlights!
LightX
LightX offers a wide range of editing tools, including lighting modification features, brightness adjustment, and overall image quality enhancement. The app’s user-friendly interface and intuitive options make it ideal for both photography enthusiasts and professional photographers alike.
- Compatibility: It can run on Android and iOS devices.
- Pros: Easy-to-use interface; User-friendly options; Advanced tools.
- Cons: Certain advanced capabilities might necessitate purchases within the app. Occasionally, users will come across ads when using the free version of this application.

Lightroom
Acting as a powerful photo editing tool, Lightroom has the ability to retouch a photo, adjust color tones and optimize image details. It is nicely integrated with Adobe’s Creative Cloud ecosystem enabling synchronization of edits between devices.
- Compatibility: Available on both Android and iOS devices (iPhone and iPad).
- Pros: Easily Adjust color tones; Optimize image details; Integrated with Adobe’s Creative Cloud ecosystem.
- Cons: Although there is no initial cost for downloading this app, full permission to access every function requires one to subscribe to Adobe’s Creative Cloud Photography plan which may be considered expensive by some users who do not intend to use it often.

How to Add Light in Photo Using Photoshop
The photo relighting function in Photoshop is a powerful feature designed to enhance the lighting of your images. It helps to correct or change the lighting in your photo, which can improve the mood, highlight details, or correct exposure issues. Follow these steps to add Adobe Photoshop realistic light rays or any other lighting effects to your image.
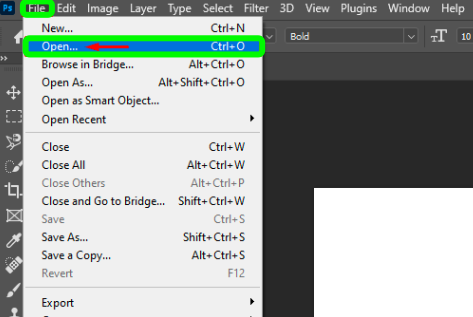
Step 1: Open the Image
To add lights to a picture using Adobe Photoshop, you have to open the image. To avoid altering the original picture, create a new project.
Step 2: Duplicate the Background Layer
Go ahead and duplicate the background layer by right-clicking on it in the Layers panel and selecting “Duplicate Layer”.
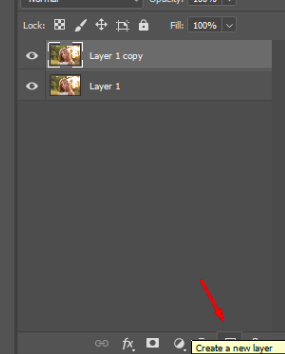
Step 3: Create a New Layer
On the bottom of the Layer panel click on the “new layer” icon. This will be where lighting effects are applied.
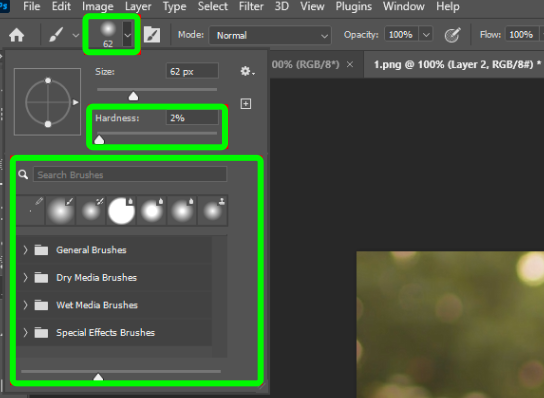
Step 4: Choose the Brush Tool
Selecting the brush tool from the toolbar (shortcut = B). For smoother blending of lighting effects, choose a soft brush with low hardness. If need be, adjust settings for brushes under the shape dynamics section.
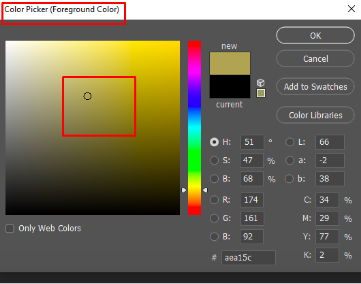
Step 5: Set Foreground Color
Use warm colors like yellow or orange that often simulate light when setting your foreground color for light effects.
Step 6: Paint the Light
Using the Brush Tool, paint wherever you want the light to appear on the new layer. Start off with gentle strokes then gradually build up intensity as needed. Try out various brush sizes and opacities for real effectuality.
Step 7: Adjusting the Blend Mode
Change the blend mode of a light layer to something like “Overlay” or “Soft Light” to make the effect blend with the image more naturally.
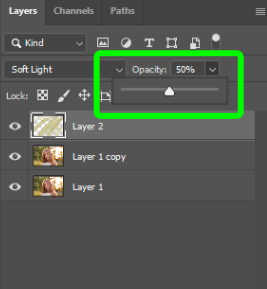
Step 8: Adjust Opacity
Fine-tune this effect’s strength by modifying layer opacity. By reducing it, we can get a less explicit effect, whereas increasing the opacity causes drama.
Step 9: Add Highlights
Create a new layer and set its blending mode to “Overlay” or “Soft Light.” With this, use a white brush to add some highlights where actual light would hit as well as making your effect look more real.
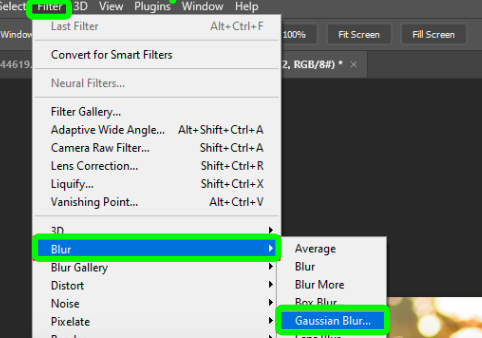
Step 10: Apply Gaussian Blur
Apply Gaussian blur on layers containing lights and highlights in order to soften and diffuse the lighting. To do so, go to Filter > Blur > Gaussian Blur and adjust the radius for desired softness.
Step 11: Refine with Layer Masks
To hide or modify particular areas of light effects, use a layer mask on a lighting layer. Paint black using a soft brush to hide parts of an effect or white to reveal them.
Step 12: Fine-Tune Colors
Use adjustment layers like color balance or hue/saturation to modify colors, thus integrating the special effect with other image’s color schemes.
Compare Different Light Photo Editors
A light photo editor is necessary for adjusting lighting, brightness, contrast, and exposure. They differ in compatibility and features that make them suited for different needs and platforms. Here is a comparison table for you to check.
| Light Photo Editor | Compatibility | Best For | Pricing |
| AiPassportPhotos | Online | Color correction; brightness, contrast, exposure adjustment | Watch ads for free |
| Skylum | Online, Android, iOS, Windows, Mac | Brighter light enhancement | From $79 / £79 per annum, $99 / £95.92 for 24 months, $249 / £149 one-off for lifetime |
| ClipDrop | Online, iOS, Android | Relight your photos automatically with AI | $9/month |
| Pixlr | Online | Dimights/special effects manipulation | Pixlr X and Pixlr Pro are available for free. Subscription plans for Pixlr Pro edition start from $5/month. |
| Picsart | Online, Android, iOS | Creative light effects | Picsart has 2 pricing edition(s), from $55.99 to $74.98. A free trial of Picsart is also available. |
| LightX | Android, iOS | Comprehensive photo editing | Annual Membership $39.99 |
| Lightroom | Windows, Mac, iOS, Android | Professional photo editing | US$9.99/mo or US$119.88/yr. |
| Photoshop | Windows, Mac | Advanced photo editing | Photography plan at $19.99/month. |
FAQ
Can lighting affect photos?
Lighting affects the quality and the atmosphere of the photos. Soft lighting makes the colors stand out and further makes the small details and even the texture of the subject more realistic. On the other hand, low or severe lighting can make the photo look hazy, dull, or simply too bright to see the main detail of a photo.
How to brighten dark photos?
To correct the main problems and increase the brightness in dark photos, one can utilize the photo editing tools like AiPassportPhotos, Adobe Photoshop, Lightroom, GIMP or Pixlr etc. You can try to use the below methods to brighten dark photos.
- Adjust Brightness and Contrast.
- Use Exposure Adjustment.
- Highlights and Shadows Adjustment.
- Curves Adjustment.
How to increase the lighting of a photo?
Exposing a photo more refers to a process of enhancing the light in a photo, which makes it brighter as well as lighter. Here are the steps you can follow:
- Exposure Adjustment: Turn the exposure slider up to make the whole picture brighter.
- Highlight Adjustment: Boost the Intensity of the highlights and adjust the amount to lighten or darken specific bright areas in the photo. This can assist in giving emphasis on details in points of brilliance.
- White Balance Adjustment: Change the lighting by correcting the white balance. Moving to a warmer hue makes the image seem to be brighter and contrast.
- AI Tool: In some editing software, you can use the AI tool to lighten specific parts of the photo automatically.
Conclusion
In conclusion, these top-rated light photo editors offer powerful tools to correct exposure issues and elevate your photography effortlessly. For those seeking to expand their creative horizons, these editors provide intuitive interfaces and advanced features to craft stunning visuals that resonate with the essence of your memories. Discover the perfect tool in this article to unleash your artistic vision and transform your photos into captivating works of art.