
Are you looking to add blur effect to your photos? Blurring can be a great technique to draw attention to specific areas of your pictures while adding a touch of sophistication. If you are looking for recommendations on how to begin, this guide is perfect for you! This article will present the six most efficient tools that can help you add blur effect to photos conveniently.
4 Blur Effects in Photos
There are a lot of blur effects that can be applied to photos and make a big difference. Each effect provides a separate possibility to improve the concentration and enrich the elaboration with artistic components.
Motion blur
Motion blur is used to depict the movement phenomenon, making some parts of the image blurred in the direction of the movement. It is particularly ideal when shooting active sequences and adding the element of movement.
Radial Blur
Radial blur has blurriness moving from a central point outwards and is useful to call attention to the central region of the image. It is useful when illuminating a subject with a subtle background.
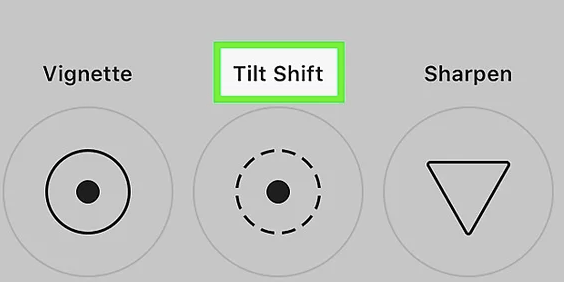
Tilt-shift blur
Tilt-shift blur is done to simulate the miniature look of the photograph. By blurring the top and bottom regions of the picture, which looks like a fun-filled toy world. This effect is perfect when used to give perspective by making certain aspects of the image stand out from the rest.
Bokeh blur
For the background blur, there is the bokeh blur which paints it with nice circular blurred light. It also improves the aesthetics in the way, as it sharpens the edges of the picture by blurring the background or foreground part of the picture.
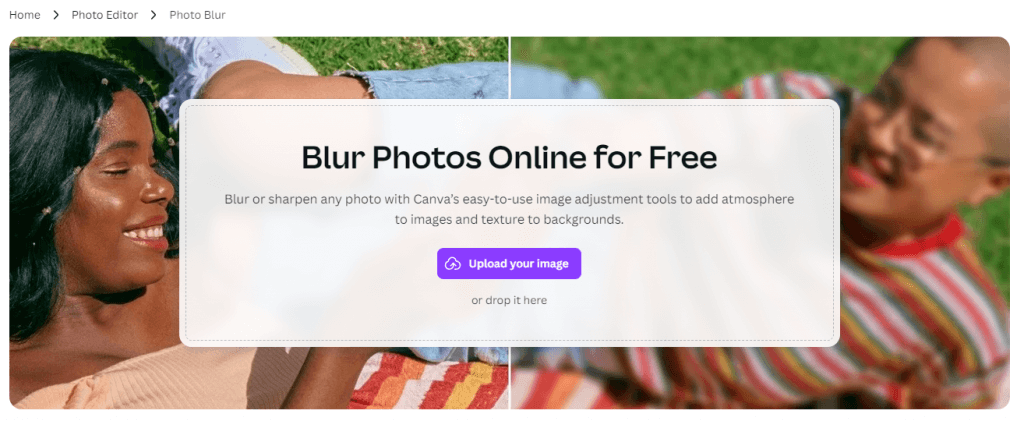
How to Make a Photo Blurry
Canva is a comprehensive application for graphic design where users can retouch images and make outstanding creations. One of its handy features is the Blur tool, with this tool, one can make a photo blurry and attract attention to a specific moiety of the image.
Here is how to make a photo blurry with Canva.
Step 1. Visit the Canvas website and log in to your account.
Step 2. Drag your uploaded photo onto the canvas.
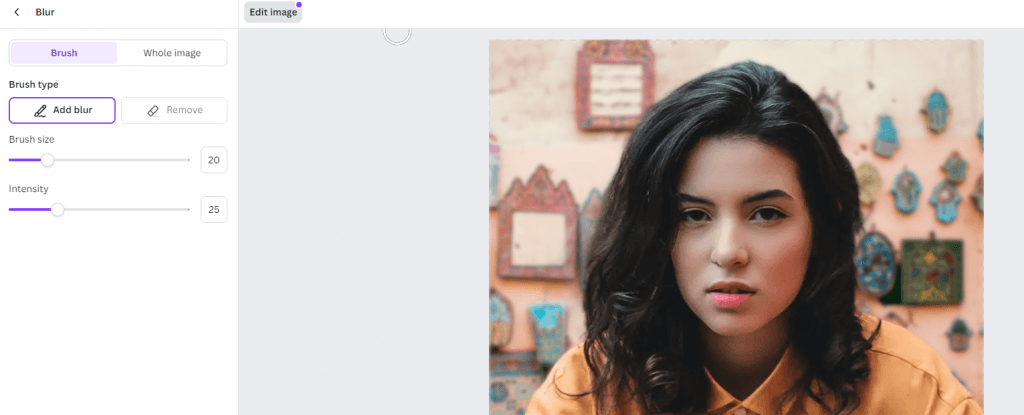
Step 3. Click “Edit Image”, then “Adjust” to use the Blur slider tool of our photo editor.
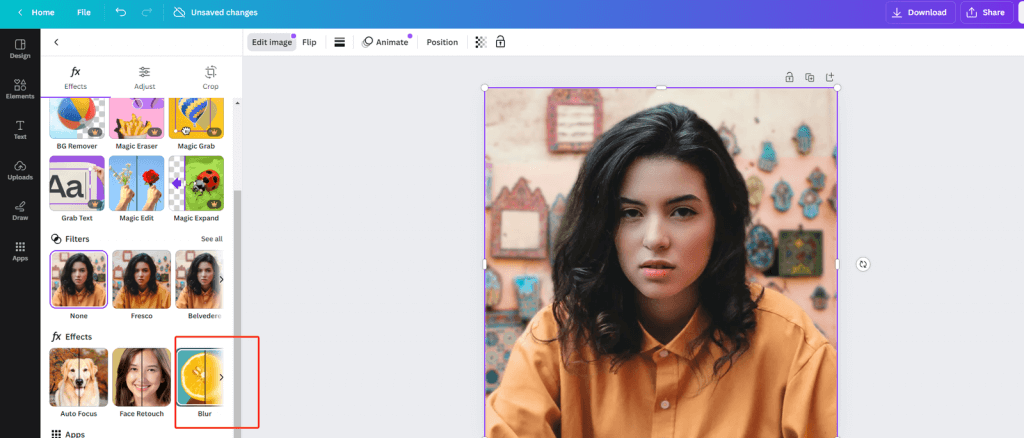
Step 4. Use the slider to adjust the blur intensity to your liking.
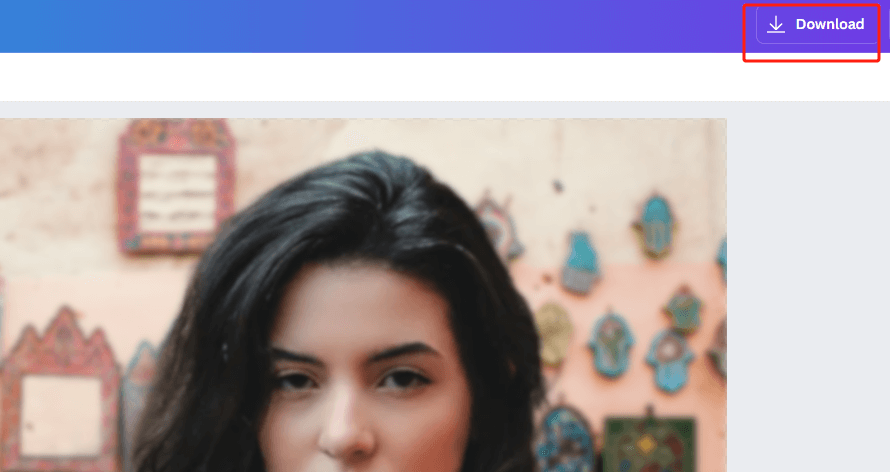
Step 5. Click “Download” to save the edited photo to your device.
How to Blur Background of Photo
Blurring the backgrounds of the photographs can sharpen subject recognition and provide a professional touch. Here we will introduce how to blur the background of the photo.
iPhone Portrait Mode
The iPhone Portrait mode works together with depth-sensing technology and optics to take photos with a shallow depth of field in which the main subject is in focus and the background is blurry. Here is how to use it.
Step 1. Launch the Camera app and switch to the Portrait mode.
Step 2. Follow the instructions on the screen are displayed. When Portrait mode is ready, the lighting effect option which might be Natural light, for instance, changes to yellow.

Step 3. Now, you can take a picture by pressing the shutter button!
AiPassportPhotos
If you are looking for superb quality photos, you can try AiPassportPhotos that can blur background of photo online free. This tool helps to save a lot of time as it can automatically differentiate the foreground and blur the background. Plus, it comes with several blur intensities for various purposes. Let’s see how to get started.
Step 1. Go to the website and upload your photo.
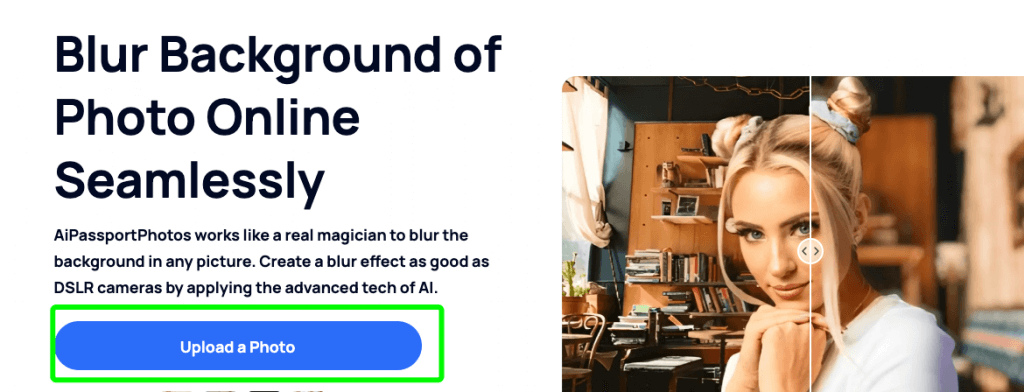
Step 2. Wait 15 seconds, the AI tools will automatically blur your photo background. If needed, you can adjust your blur effect.

Step 3. Save the image to your device in its edited form.
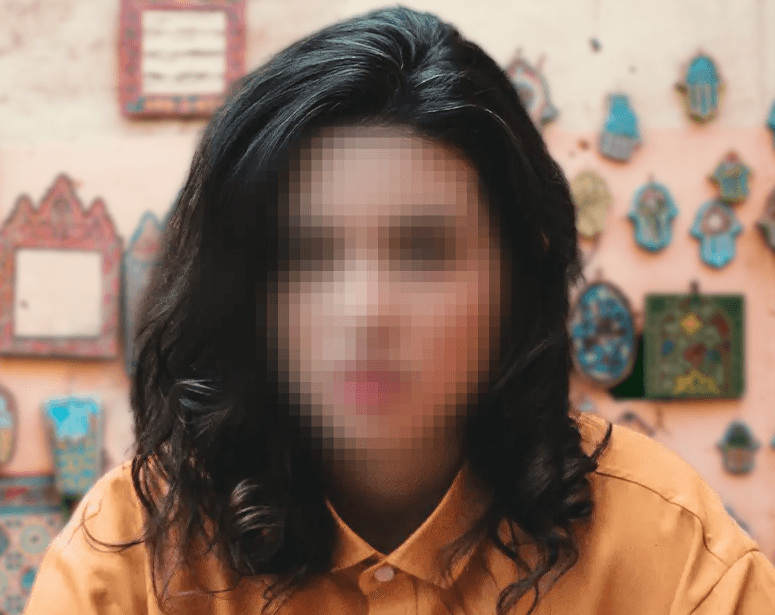
How to Blur Faces in a Photo
Blurred faces in the photo are unavoidable, for instance, when a photo captures a person’s identity or when an image has information that might not be desirable to reveal. Here is a simple will guide you through the process of blurring faces.
How to Bane Faces in an Image using Img2Go.
Step 1. Go to the face blur tool on Img2Go.
Step 2. Click on the ‘Upload Image’ button to select the picture from the device and post it.
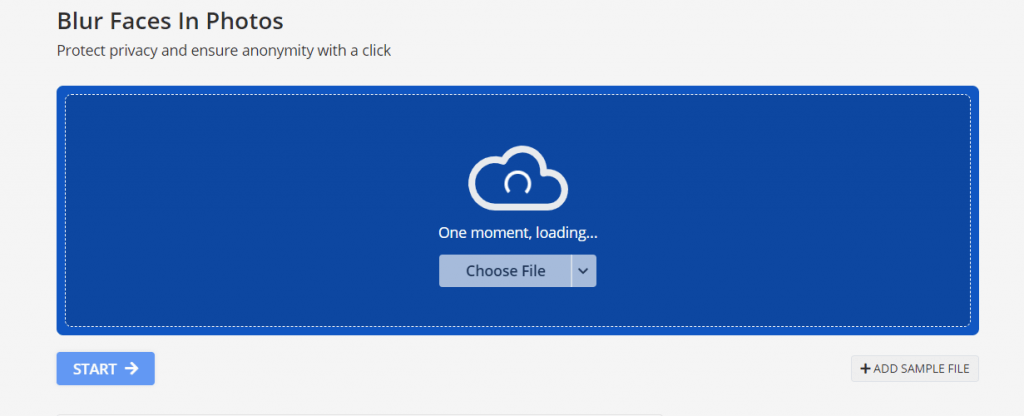
Step 3. Determine the intensity and adjust the blur effect. Click on the “START” button.
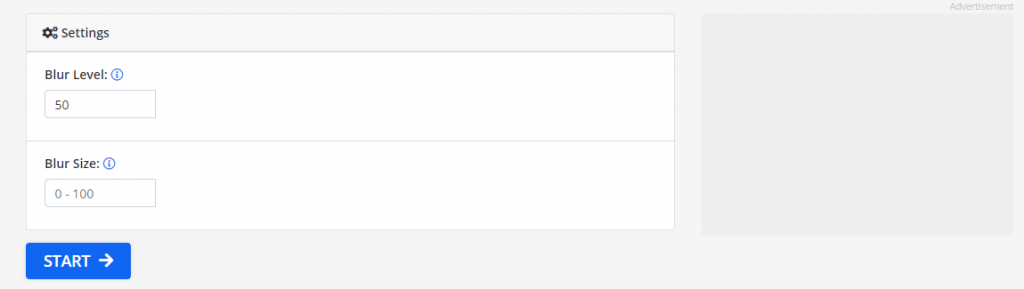
Step 4. The tool will automatically recognize those regions in the photo that contain faces, and you can adjust the blur intensity.

Step 5. After the edition is completed, download it.
How to Blur Wallpaper iPhone
iPhone has the feature of blur wallpaper. This feature can make the app icons more distinguishable from each other and it will give it a cool and polished look. Here is a simple guide that will teach you how to blur wallpaper.
Steps to enable and disable blurry home screen wallpaper.
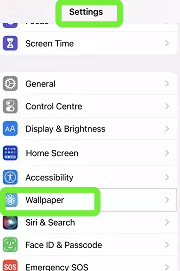
Step 1. Open Settings.
Step 2. Navigate to the Wallpaper Option.
Step 3. Click on Customize at the bottom of the Home screen to access more options.
Step 4. Click on Blur to turn on/off background blur.
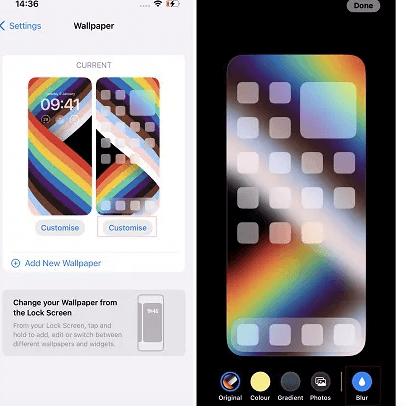
Step 5. And tap Done to complete the process.
How to Blur a Part of Picture
In this section, we are going to discuss how to blur specific parts in pictures, using two different techniques involving PowerPoint and Microsoft Word. These methods are very simple and you can use them to blur your images easily. With these tools, you don’t have to run to professional photo editing software to get the job done for you.
Powerpoint
PowerPoint is mainly used for creating slide shows and it also contains some drawing tools by which you can blur a part of picture. Here we will show how to make a blur effect on an image using PowerPoint:
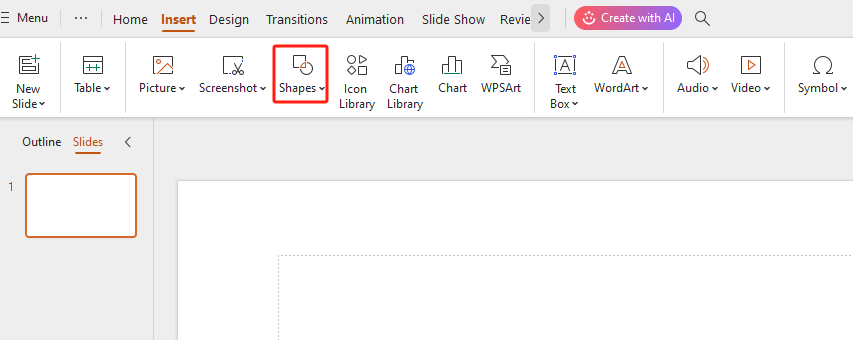
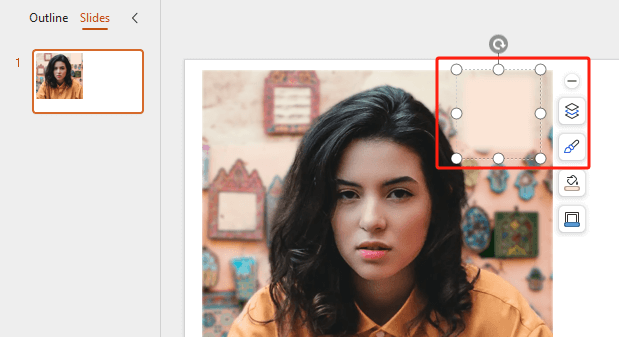
Step 1. Insert a Shape
Go to the top of the screen click ‘Insert’ and then click on the ‘Shape’ to draw a shape over the area that you want to blur.
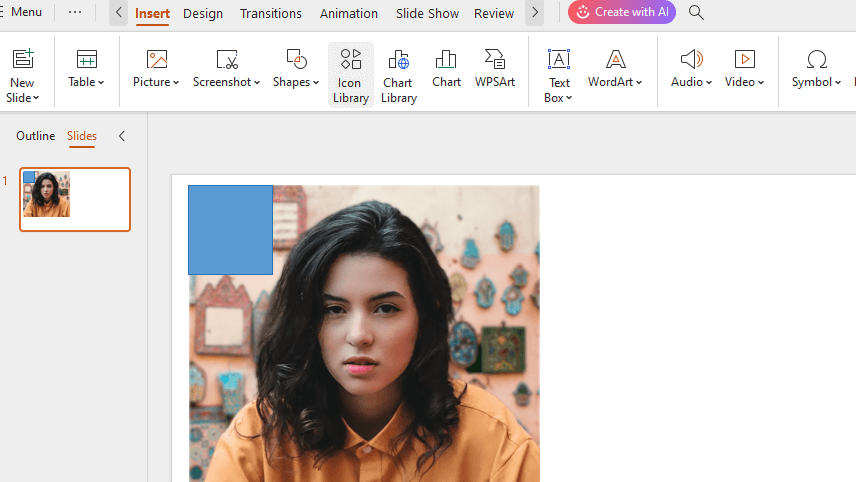
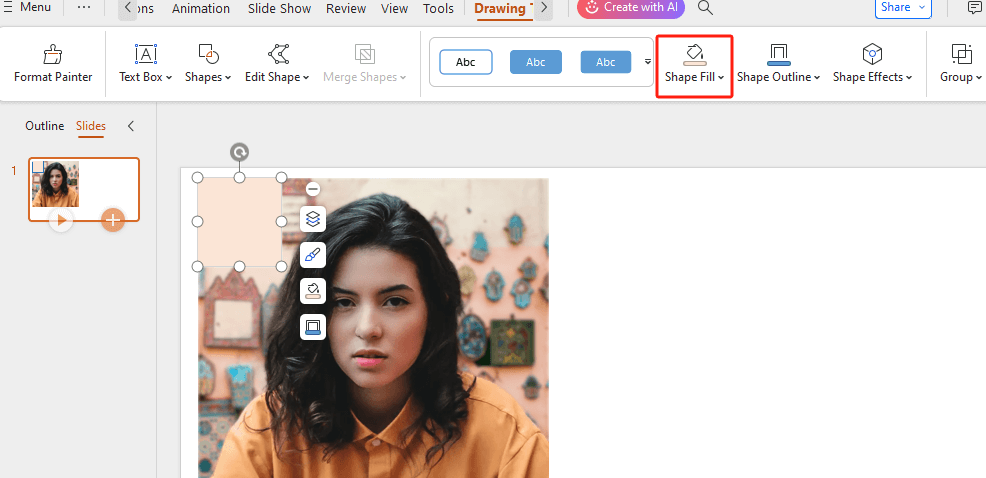
Step 2. Fill the Shape
Click on the “Format” tab and click the “Shape Fill” option to color the shape according to the delimited area or a shape with similar color to that area.
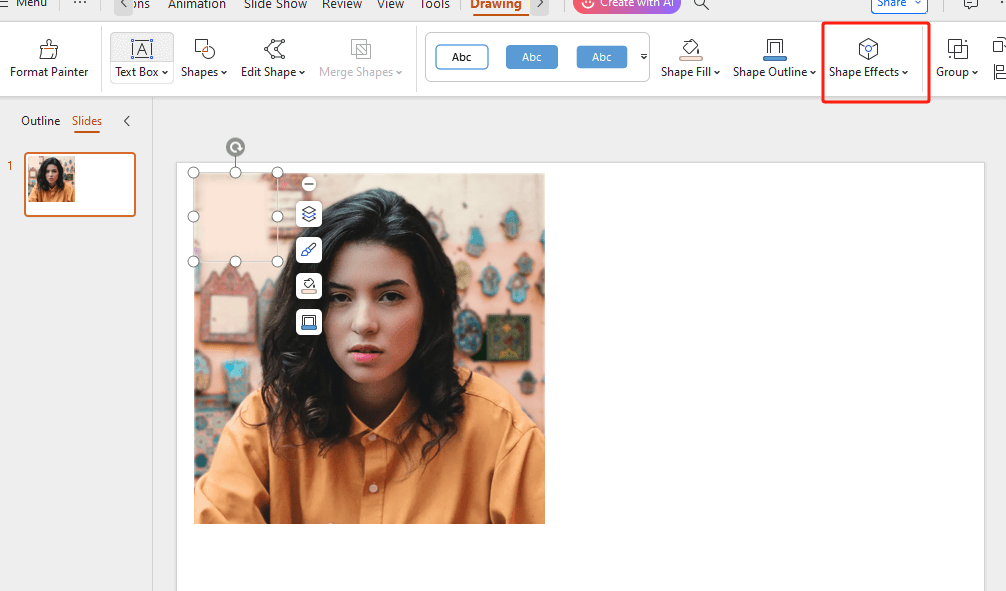
Step 3. Apply Soften Edges
Navigate the menu bar and click on “Shape Effects” > “Sofern Edges” then adjust the blur to the preferred level.
Step 4. Group the Elements
Now, hold the Ctrl key, and then choose between the shape and the image, and click on ‘group’. Finally, the image is blurred and you can ready to use it.
MS Word
Most of us are familiar with MS Word as a word-processing tool, but besides that, MS Word has features that enable you to blur certain areas of an image. Here’s how to create a blur effect on an image using MS Word:
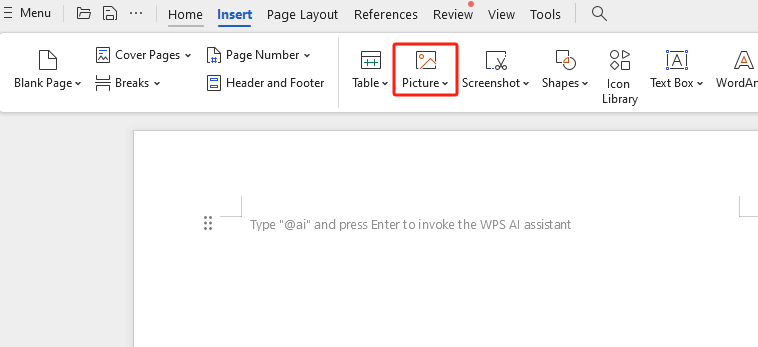
Step 1. Insert the Image
Use Insert > Pictures to insert the photo in your document.
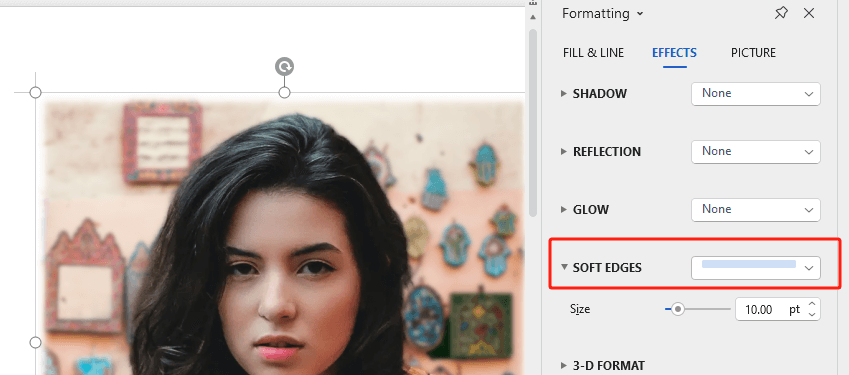
Step 2. Apply Blur Effect
Choose the image, right click and choose Format Picture, the select “Effects” > “Sofern Edges” and then Blur.
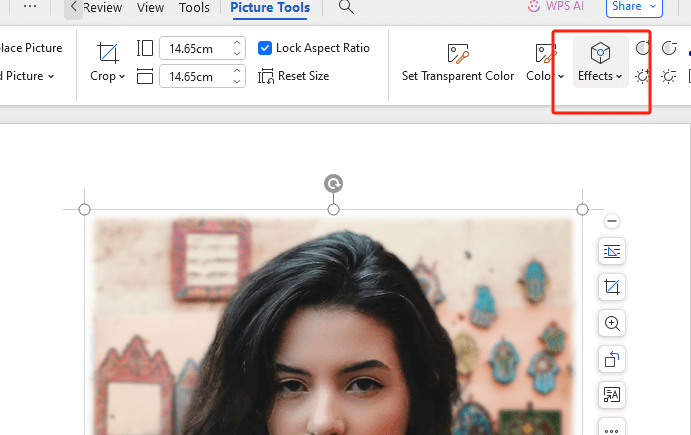
Step 3. Overlay the Blurred Section
Adjust the radius value to blur the area of an image.
How to Blur Text in Image
Blurred text can help to protect personal privacy or information in pictures. For example, you can blur text including license plate number, bank card number, door number, and more to protect our privacy.
Fotor is an efficient online photo editor that can be applied to blur text in an image within several mouse clicks. The blur function is one of the most effective tools in Fotor features. Here are the steps on how to do it.
Step 1. Launch Fotor’s editor and switch to the editing tab page.
Step 2. Upload the image in which you have the text that you want to blur.
Step 3. Choose the “Blur” tool to apply the chosen blur to the image. You have circular and linear blur options at your disposal.

Step 4. Once the text has been blurred, you can save the new image.

FAQ
How to make a photo blurry on Instagram?
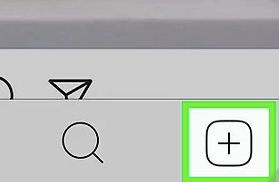
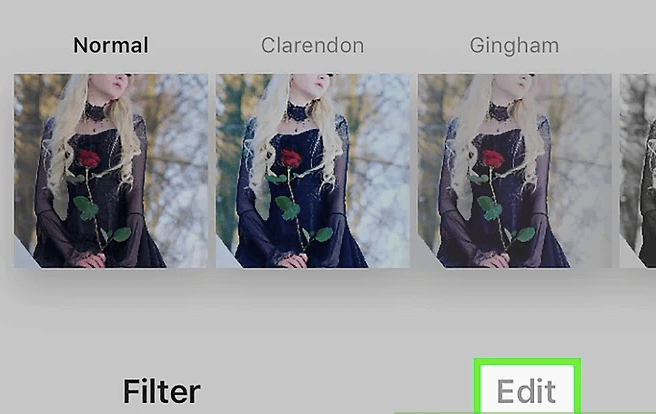
This may be realized through Instagram’s Tilt Shift filter. After you have uploaded your picture, you are going to click on “Edit” select the “Adjust” tool, and then scroll to the right of the tools and select “Tilt Shift.” And move the “Blur” slider until your desired blur effect is obtained.
How do you reduce the blur effect?
To revert the effects of blurring in the picture, one should consider using photo-editing tools where the blurring settings can be adjusted or where sharpening tools can be applied. Software including Adobe Photoshop or AiPassportPhotos will make it possible for you to preview the amount of blur you need.
Can the blur effect be removed?
Removing a blur effect can be challenging and often depends on the degree of blur. Although some programs may effectively recover details from minor blurs, full elimination of blurs might not always be possible. Luckily, most blur effects can be addressed using the undo function within tools or by utilizing photo enhancer tools to improve clarity.
Conclusion
After the techniques have been learned, it will be easier for you to apply different types of blurs on your pictures. We recommend users try out these tools correctly in order to attain the right level of blur and also make the pictures more appealing.