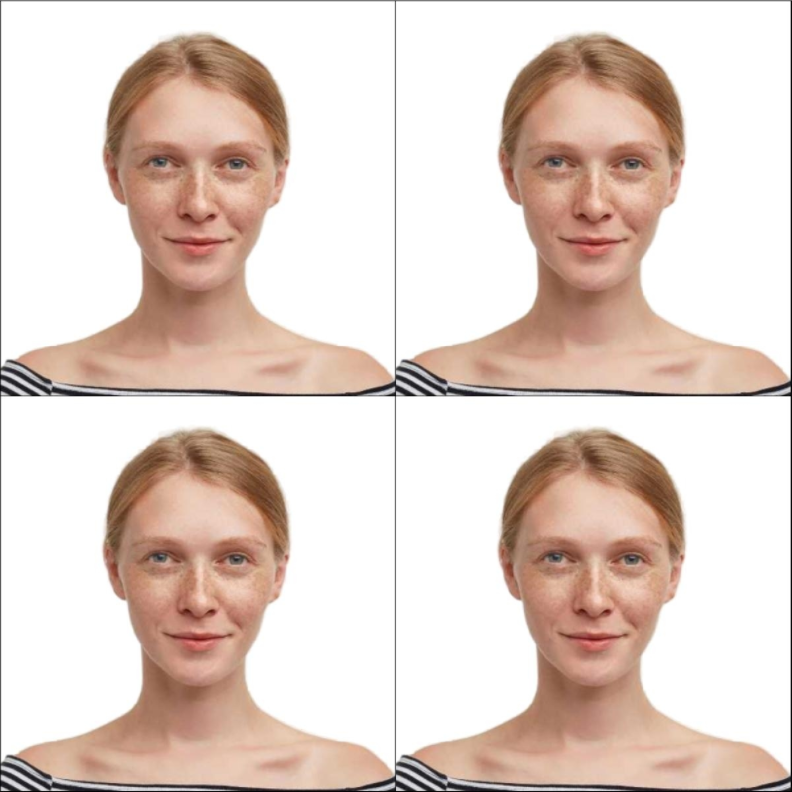
Photo size might differ according to document types and countries. Sometimes you can prepare a universal dimension in digital form and crop it to your real needs. A 2×2 photo is a common size for many countries’ passports, such as the United States, India, etc. With the help of ID photo makers and advanced smartphone cameras, it is possible to take a passport-style photo at home, which saves time and money compared with visiting a physical store. In this article, you are going to learn how to take and resize a 2×2 passport photo without leaving your home.

Proportions & Pixels of 2×2 Photo
A 2 x 2 inches photograph can be converted into 51 x 51 mm or 5.1 x 5.1cm. Please note that the ratio of width and height should be 1:1.
For a digital version, the pixels might differ according to the resolution (dpi). The simplest way to calculate the pixels is to multiply inches by dpi resolution. For example:
For a dpi resolution of 300, the pixels should be 600 pixels in both width and height.
For a dpi resolution of 600, the pixels should be 1200 pixels in both width and height.
The higher resolution it is, the clearer the photo will be. However, many countries would restrict the acceptable pixels. Dimensions of US passport photos must lie between 600×600 pixels and 1200×1200 pixels in square aspect ratio.

Step-by-step Instruction for Taking a 2×2 Passport Photo at Home
If you are planning to take a passport photo at home, you have to make full preparations. In this section, we are going to guide you through it step by step.
Step 1: Go Over Passport Photo Requirements
If you want to take passport photos at home, it is necessary to get acquainted with the official rules and guidelines. You should be aware of what qualified photos look like and what is not allowed. Taking US passport photos as an example, here are the official requirements.
- Photo quality: colored photo; no shadows on the face or background.
- Photo validity: taken within the last 6 months before passport application.
- Facial expression: neutral expression, no pouting, grinning, laughing, frowning, squinting, or making faces.
- Position: look straight at the camera and show the entire face; head in the center without tilting.
- Dressing: plain casual clothes that are daily worn. No uniforms or veils are allowed unless for religious reasons.
- Accessories: hats, glasses, headphones, hair ornaments and shiny jewelry are prohibited unless you have to wear glasses for medical reasons.
Step 2: Find a Suitable Location
Where you take the photo is important because it is related to the background and lighting.
As the background of a 2×2 passport photo is required to be plain white or off-white, you should stand or sit in front of a white wall, curtain or sheet. Make sure it is smooth and non-textured. If there is none of it, don’t stick to it and we would recommend a tool to replace the background for you.
More importantly, lighting should be the main consideration when choosing the location. Your passport photo should be properly exposed and clear of shadows, glare or reflection. That is to say, the intensity and direction of lighting matter. Photographers in studios use powerful key light to illuminate the subject, fill light to supplement the shadows cast by the subject and sometimes backlight to define the outline. However, this is too complicated for photography at home. Natural daylight is hence recommended. You should find a well-lit room on a sunny day.
While taking photos, face to the window so that the whole face would light up. If the sun shines on either side of you, a flashlight should be placed on the other side, acting as a fill light.
Step 3: Dress Properly
Passport photos are not used to display your fashion taste. You have to know that not every attire is suitable. Although there are no specific regulations on dress codes, here are some important notes.
- Attire—Wear casual clothes (eg. T-shirts, shirts, jackets, etc) instead of uniforms or formal dress (eg. military, flight crew, doctors’ overall, or other professional uniforms). It must not be light-colored or off-shoulder tops, which contrasts with the white background. Don’t wear clothes with shiny or dazzling ornaments.
- Headgear——head coverings and scarves are not allowed unless you wear a traditional religious veil. In no case covering the face is acceptable.
- Glasses—It is prohibited in the US 2×2 passport photo unless you offer a doctor’s statement verifying that you have to wear it for medical treatment. The lenses must not obscure your eyes or cast shadows on the face.
Step 4: Take Your Own Photo
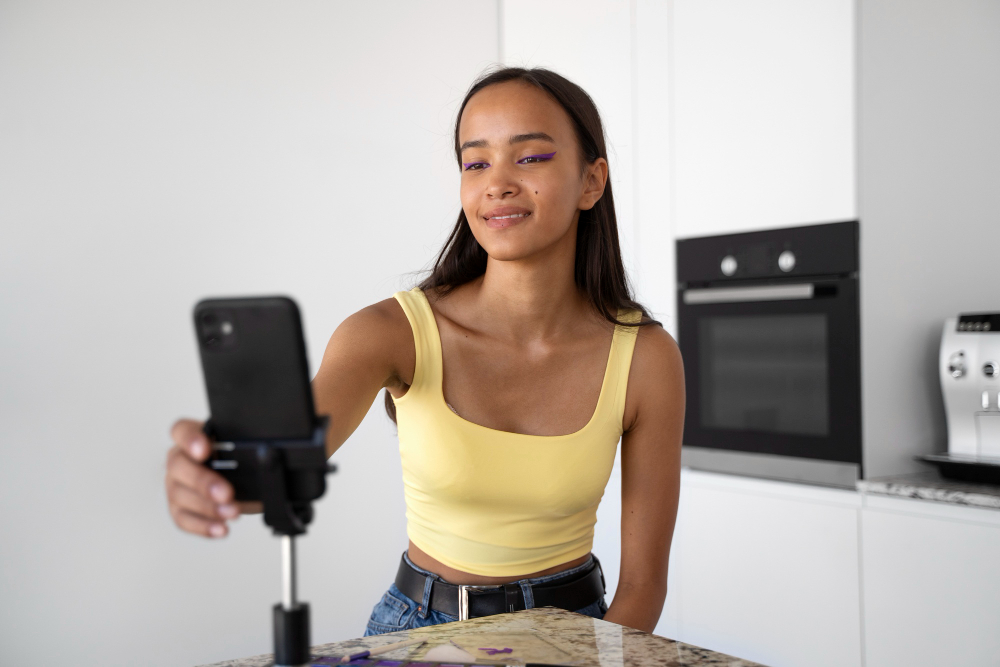
Now it’s time to set up the camera and take your photo. Ask your family or friend to take the photo for you or use tripods to place the camera about 1-1.5m away from you. Raise the camera or smartphone at eye level so as to create a front view. Don’t blink while pressing the shutter. Take as many shots as possible, so you can pick the best one.
Step 5: Crop a 2 by 2 Passport Photo
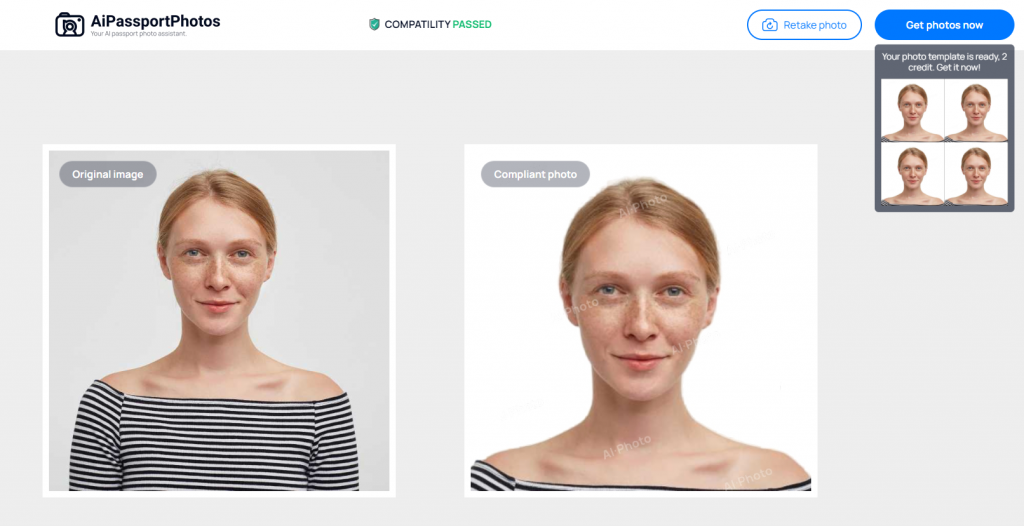
Here comes the final step: convert it into a required 2 x 2 passport photo. There are several ways to resize a photo. However, all adjustments you made on your own might have the risk of rejection because you are not the officer who decides the qualification of a photo. If you use AiPassportPhotos, things are becoming easier. This online AI tool would check the compliance of the uploaded photo, crop it to the proper size, and replace the background.
Summary
As you can see, it is possible to take a 2 x 2 passport photo at home. For one thing, it saves time and money in visiting a photo booth or studio. For another, it is friendly to make baby passport photos at home because kids would feel more comfortable in a familiar environment. We hope this article would help you make a perfect photo by following these steps: learn about official requirements, choose a well-lit room, dress properly, take a shot and resize it. You are bound to be approved if you do as per our instructions.
