
Minecraft pixel art is such cute simplicity, bound with nostalgia, and perfectly combined with modern creativity. Whether you are a Minecraft lover or not, the art of making pictures in pixels is just as engaging and fun. Here is a guide that will take you through various ways how to turn a picture into pixel art using different approaches.
What Is Minecraft Pixel Art?
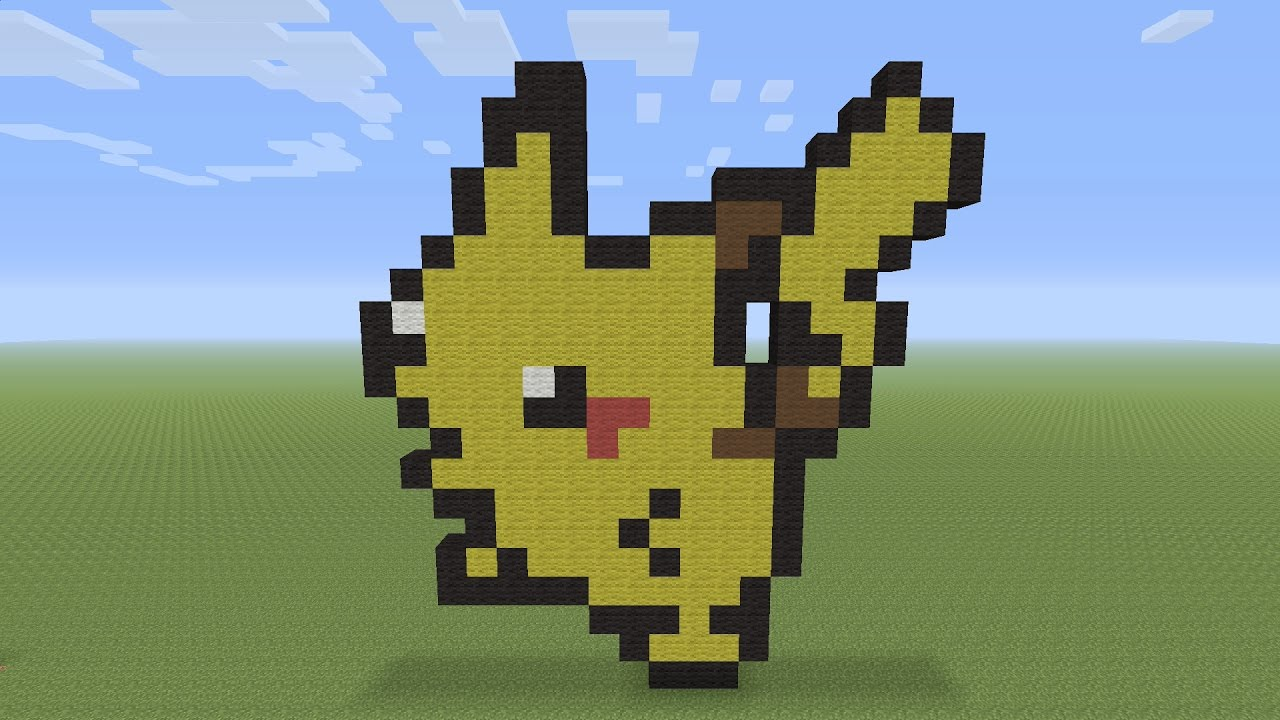
Minecraft is a popular game and the Minecraft pixel art is a very interesting form of digital art whereby game players get to make detailed and colorful images from blocky elements in the game. Using wool, wood, and concrete blocks, Minecraft lovers create pixelated designs replicating everything from flat 2D pictures to 3D sculptures. This art type is very special due to its retro look that is pixelated, thus copying the basis of the game, which are blocks. While these creations don’t affect gameplay or offer in-game rewards, they provide an inspiring way for a lot of artistic expression and rewarding ways to show creativity within the Minecraft universe.
How to Turn Pictures to Minecraft Pixel Art
Turning your photos into Minecraft-style pixel art can be done using several methods. Each method offers unique advantages, so you can choose the one that best fits your needs.
How to Turn Pictures to Minecraft Pixel Art Online
One of the simplest ways to create pixel art from your photos is by using an online Minecraft Pixel Art Generator. One convenient online tool for this transformation is AiPassportPhotos. This platform provides a straightforward and efficient way to convert your pictures into pixel art, including the Minecraft style.
To get started, visit the AiPassportPhotos website, where you’ll find a range of photo conversion filters, including a pixel art online filter. Here’s how you can use it:
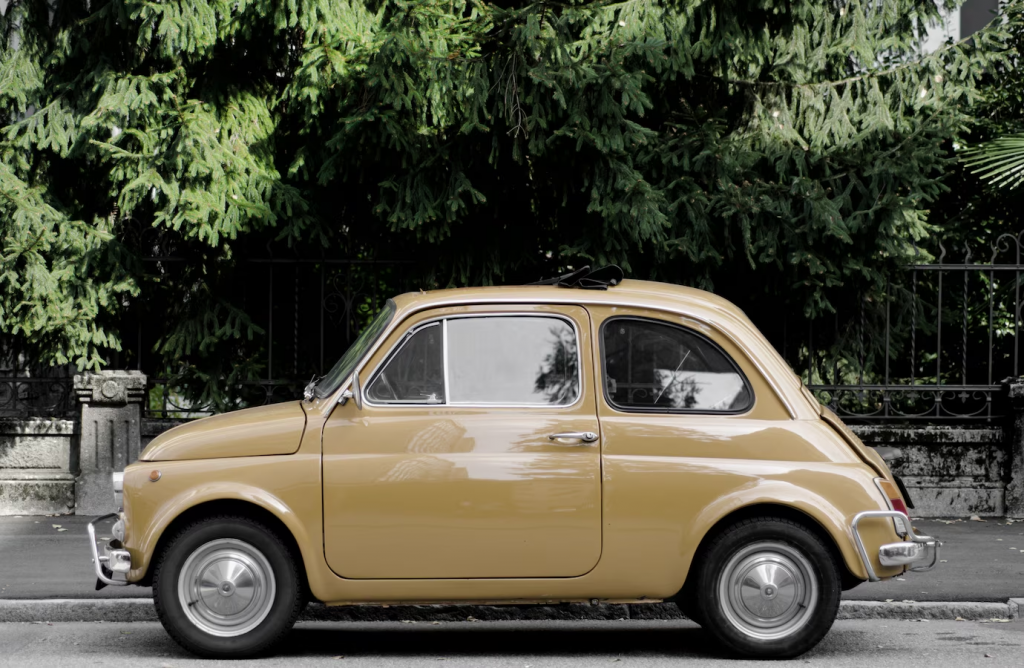
Step 1. Upload your photo.
Step 2. The page will tell you to wait for the AI processing. After it redirects, choose the Pixel Art filter from the left side.
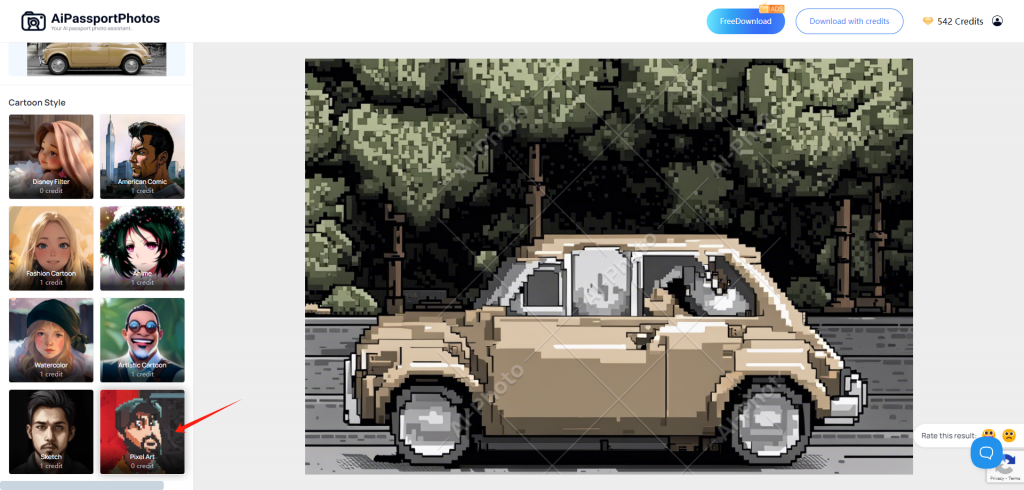
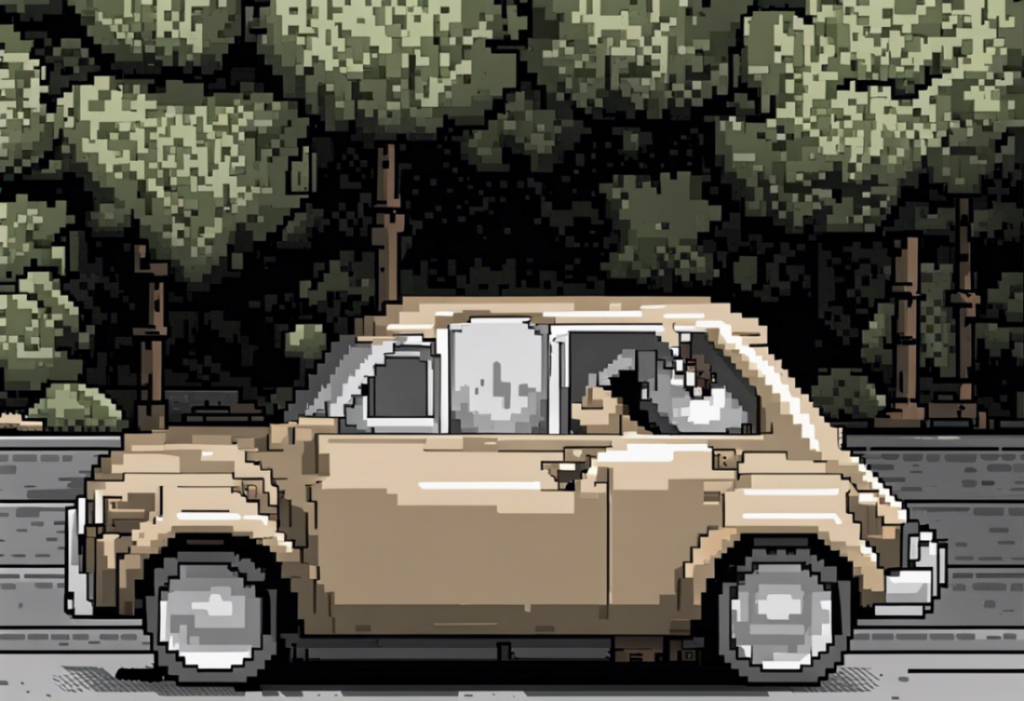
Step 3. Within seconds you get the result. Click on the Download button to save it. Plus, you can get free credits by watching ads.
How to Make Pixel Art in Google Sheets
Google Sheets can be an unconventional yet effective tool for creating pixel art. This method involves using cells as pixels to build your image.
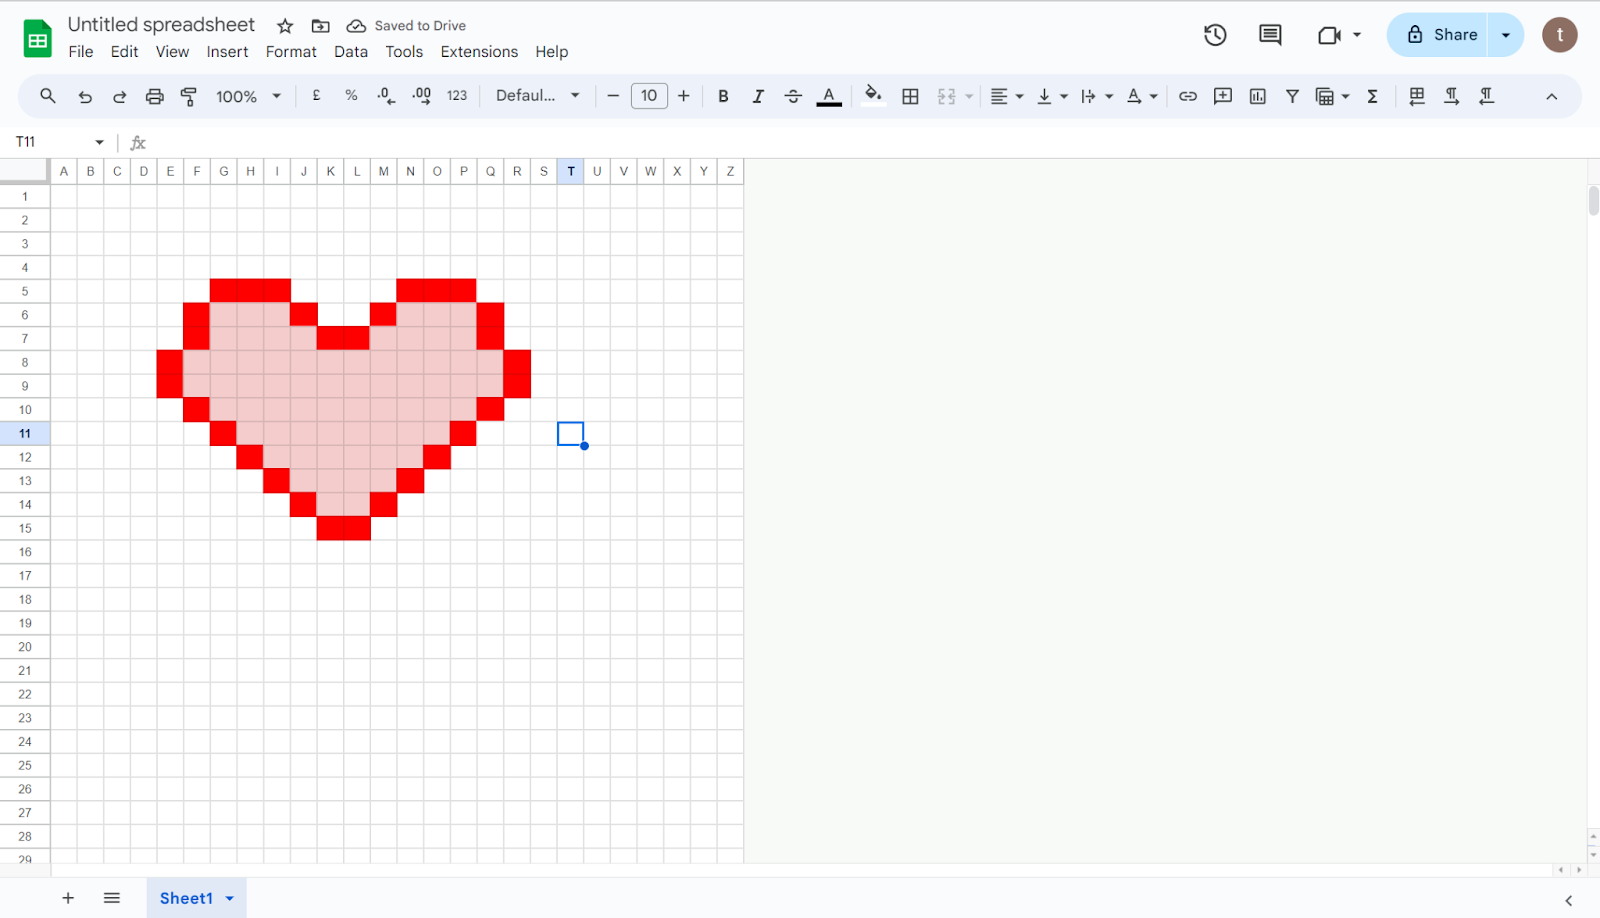
Step 1. Turn each of your Google Sheets cells into squares. Press Ctrl+A to select all the cells. Then, adjust the A1 cell into a square so that all the cells will turn into squares.
Step 2. Use the fill color tool to color each cell, creating your pixelated image. You can zoom in to make precise adjustments.
Step 3. Once finished, take a screenshot of your pixel art or use the “Download as” feature to save it in your preferred format.
How to Make Pixel Art in Photoshop
It is always wise to use Photoshop to create images. Photoshop offers powerful tools for creating detailed pixel art.
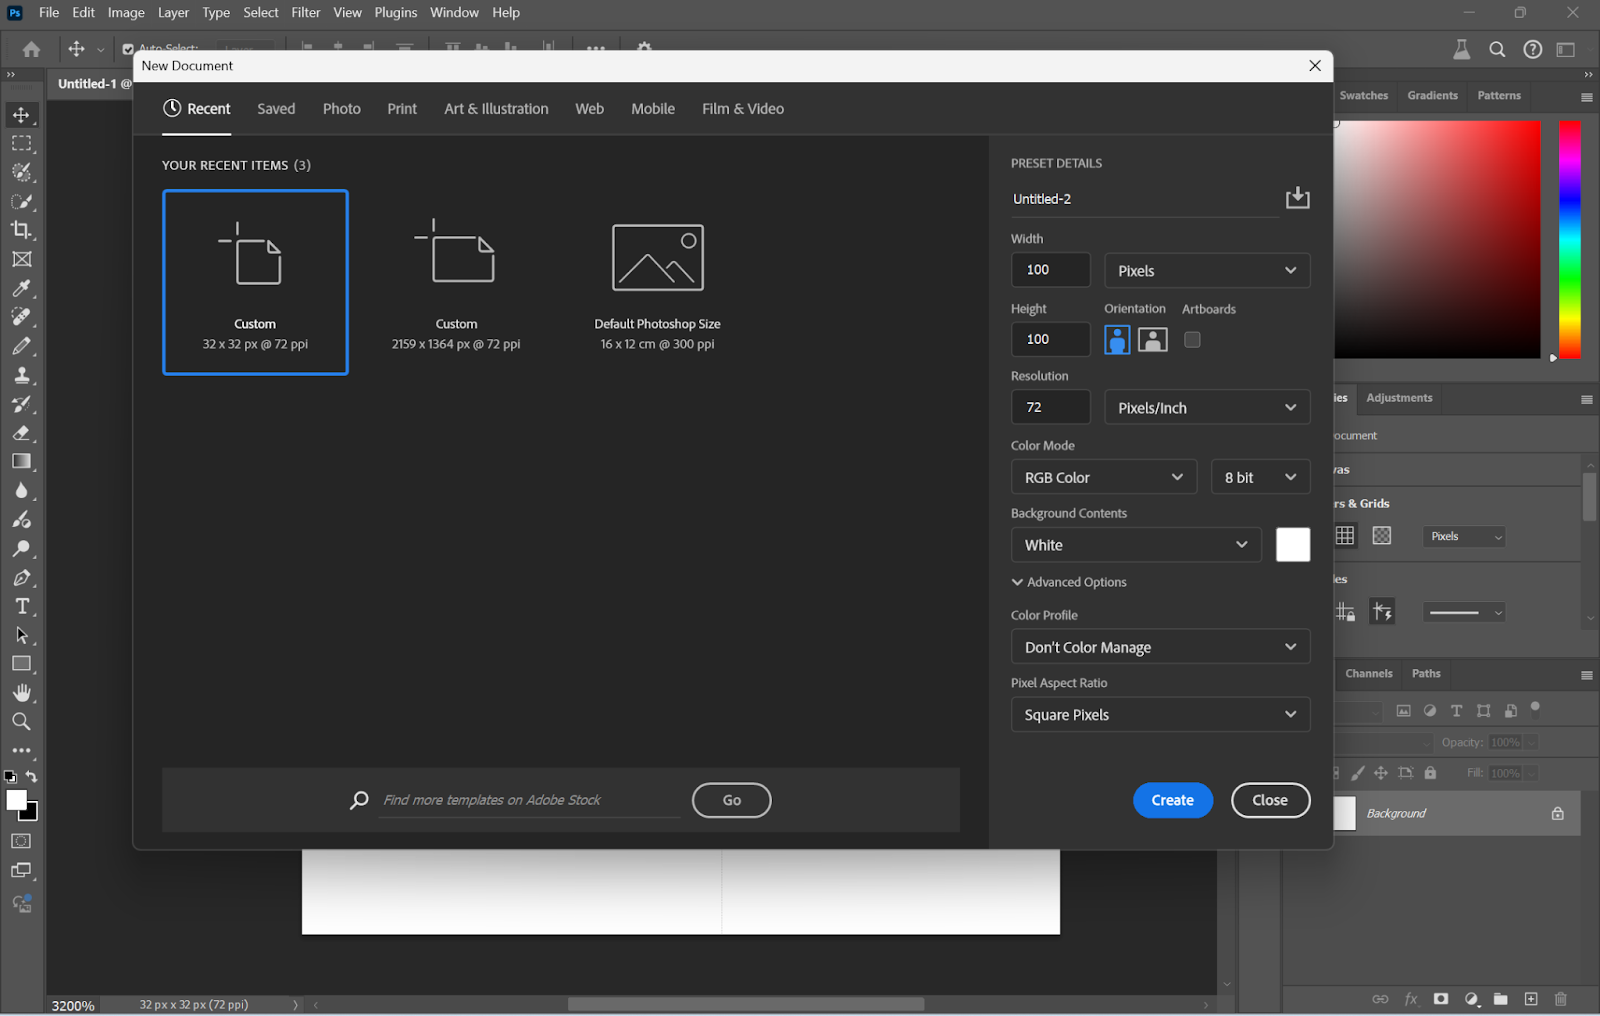
Step 1. Open Photoshop and create a new document by going to “File” and then hitting “New.” Make the dimensions suitable for your image, name your file, and then click “Create.”
Step 2. Now that you have your canvas open, zoom in by pressing CTRL + (Windows) or CMD + (Mac) until you reach 3200%, so you can get a closer view.
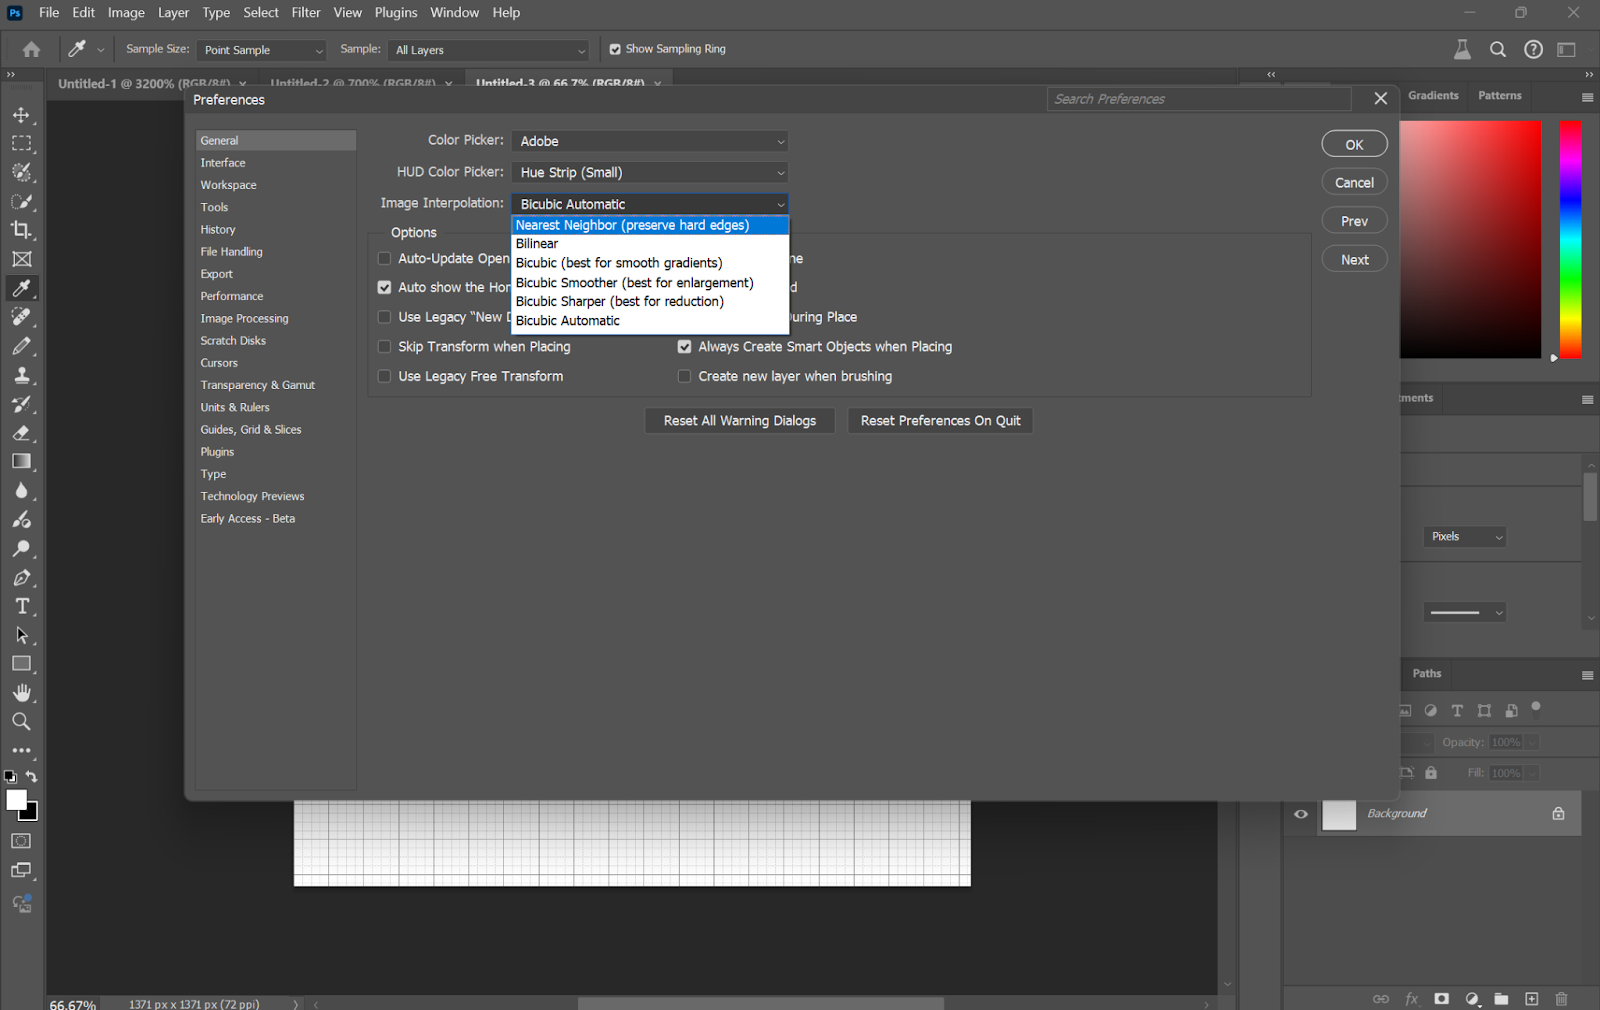
Step 3. To ensure that pixel edges remain sharp, go to Edit > Preferences > General and change “Image Interpolation” to “Nearest Neighbor (Preserve Hard Edges)”.
Step 4. For grid settings with lines every 1 pixel, go to Edit > Preferences > Guides, Grid & Slices and change “Gridline Every” to 1 pixel and “Subdivisions” to 1.
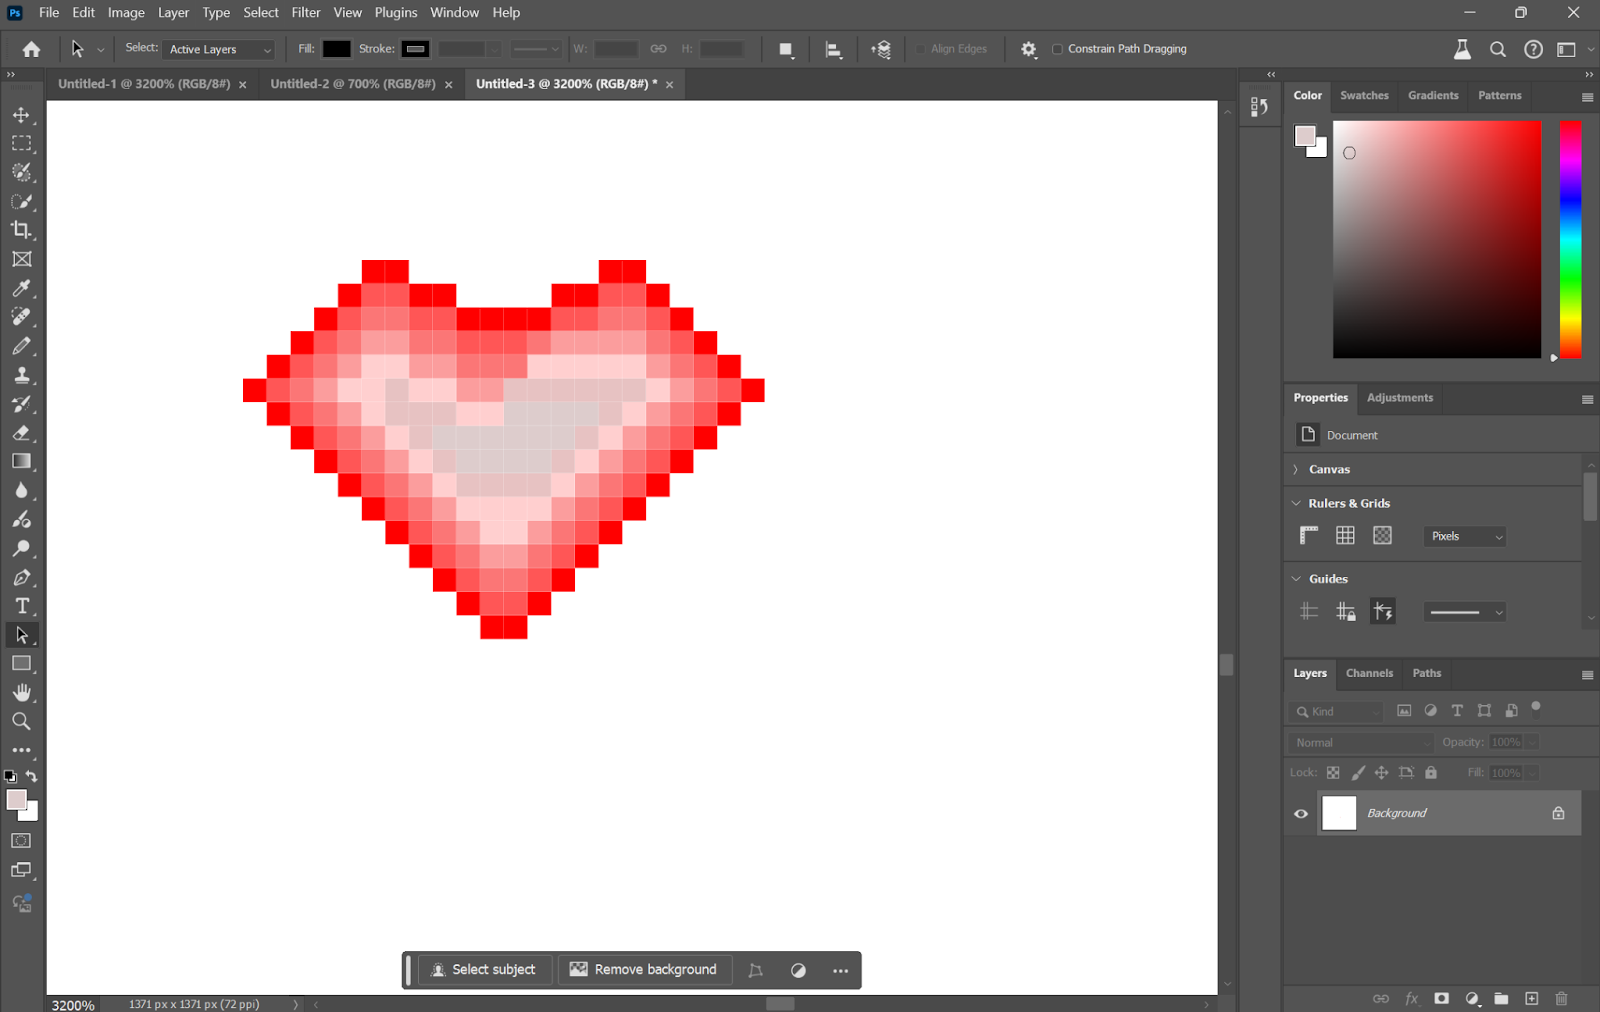
Step 5. Create nice crisp pixel edges with the Pencil Tool selected from the toolbox, set to 1 pixel in size and a Hardness of 100%. Using this tool, draw the outlines for the design, clicking on a canvas to put down each pixel.
Step 6. Add details to your artwork by changing colors and filling areas using the Pencil Tool. The Shift key will let you draw continuous lines by merely clicking the start and end points for your line.
Step 7. When you think you’ve got your design nailed, you can turn off the grid by going to View > Show > Grid and examining your finished pixel art without the grid lines.
Step 8. Save it in an appropriate format, such as a PNG. Just go to File > Save As and select your preferred file type.
How to Make Pixel Art in Procreate
Procreate is a very powerful digital painting and illustration app developed by Savage Interactive. Exclusively available for iOS, Procreate comes with an enormous set of features and tools to simulate traditional photo editing software that lets users create stunning pieces of digital artwork. With its user-friendly interface and very extensive brush engine, Procreate is extremely popular among various artists, designers, and hobbyists looking to produce premium quality illustrations, concept art, and even animation. It is also useful for pixel digital creatives since it can work with layers and customizable brushes and supports a variety of file formats.
Step 1: Open up Procreate and tap the “+” symbol to open a new project. Select a small working canvas size with a view that best suits pixel art, for example, 50 × 50 or 128 × 128 pixels, or another square size where the pixels are nice and clean within the grid. Set the Color Profile to sRGB as well.
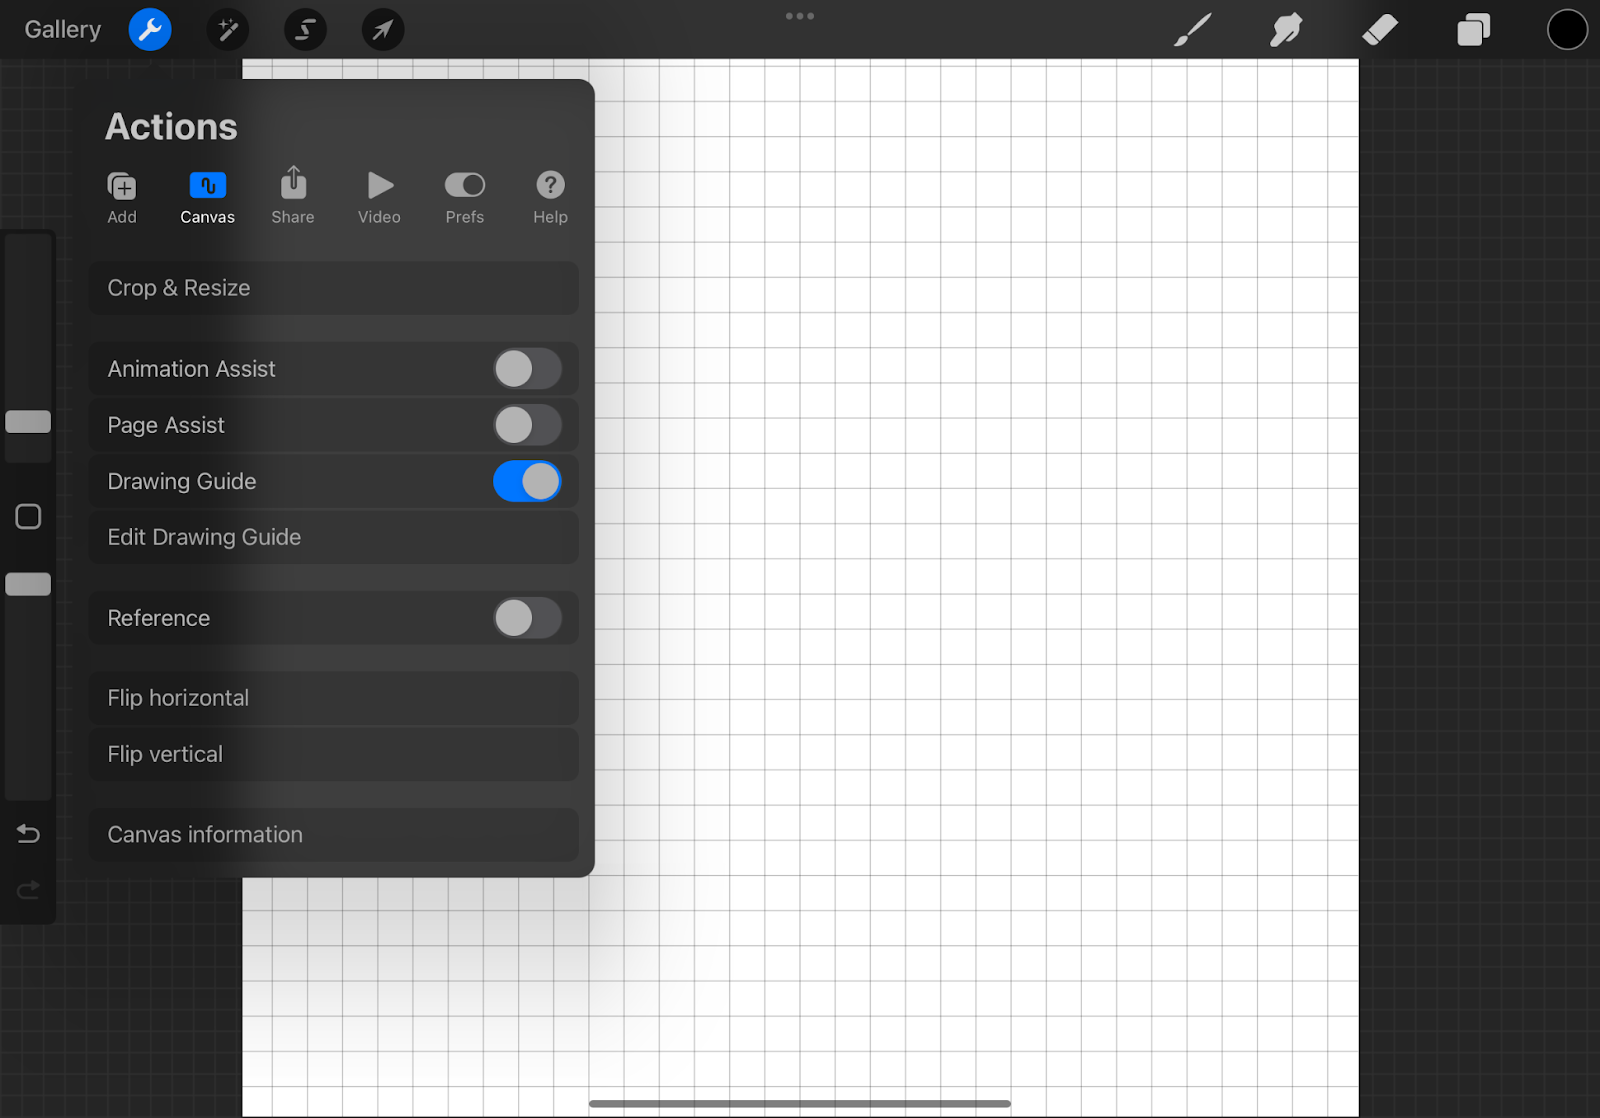
Step 2: Now turn on the grid feature for pixel-perfect work. Just go to the “Actions” menu, wrench icon, then to “Canvas” > “Edit Drawing Guide” and check “Grid.”
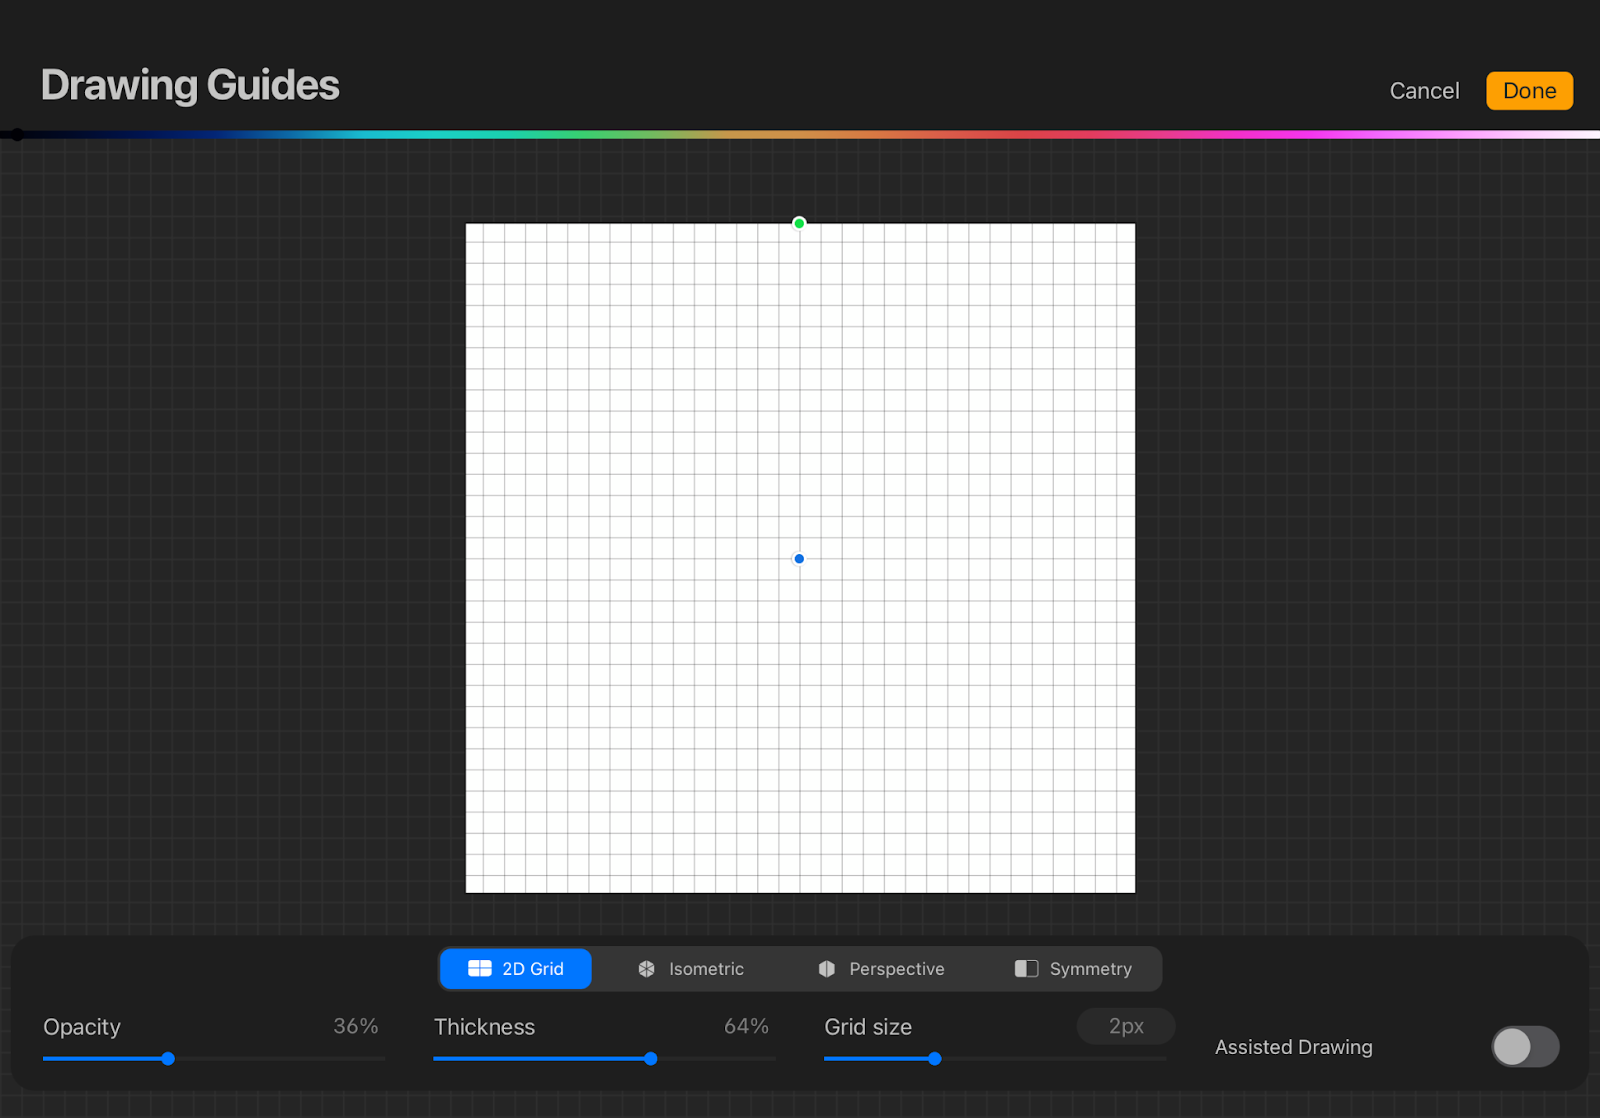
Step 3. Depending on the canvas resolution, you may need to configure the Grid Size. For example, one pixel for every grid line. You can further customize the Opacity and Thickness, or even the color of the grid.
Step 4. Choose the right brush and draw the pixel properly.
Step 4. Zoom out on your canvas to get super close to every pixel. This level will allow you to place pixels perfectly while looking at the finer details.
Step 5. Color your pixel art by choosing colors using a pixel brush. Fill in the pixel grid, one pixel at a time.
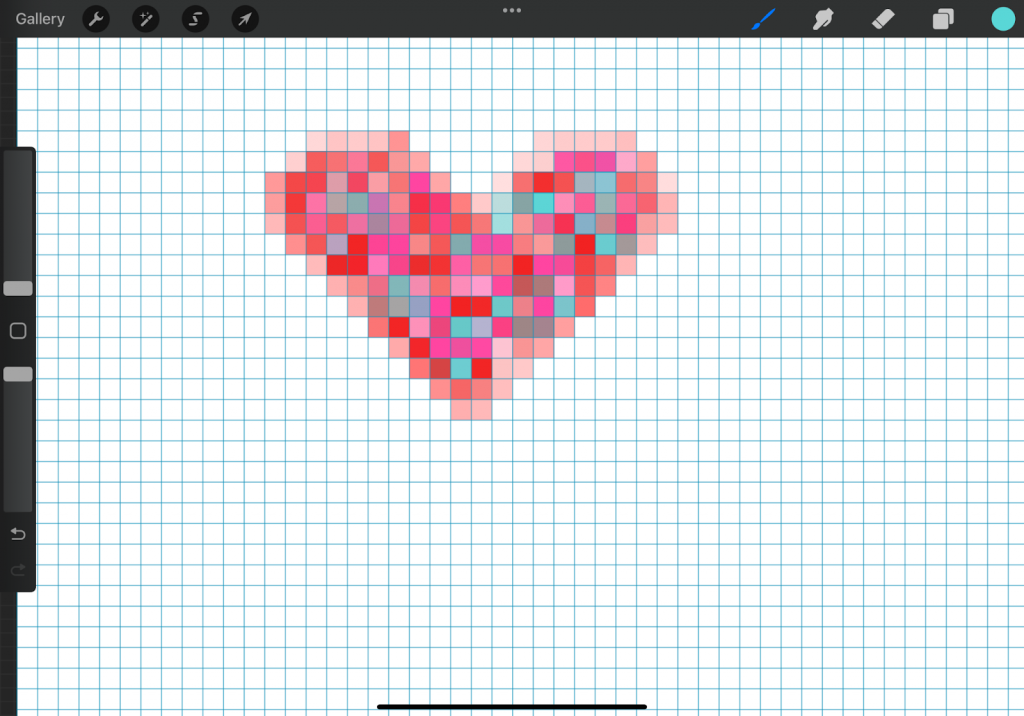
Step 6. Switch between different colors to add shades and details.
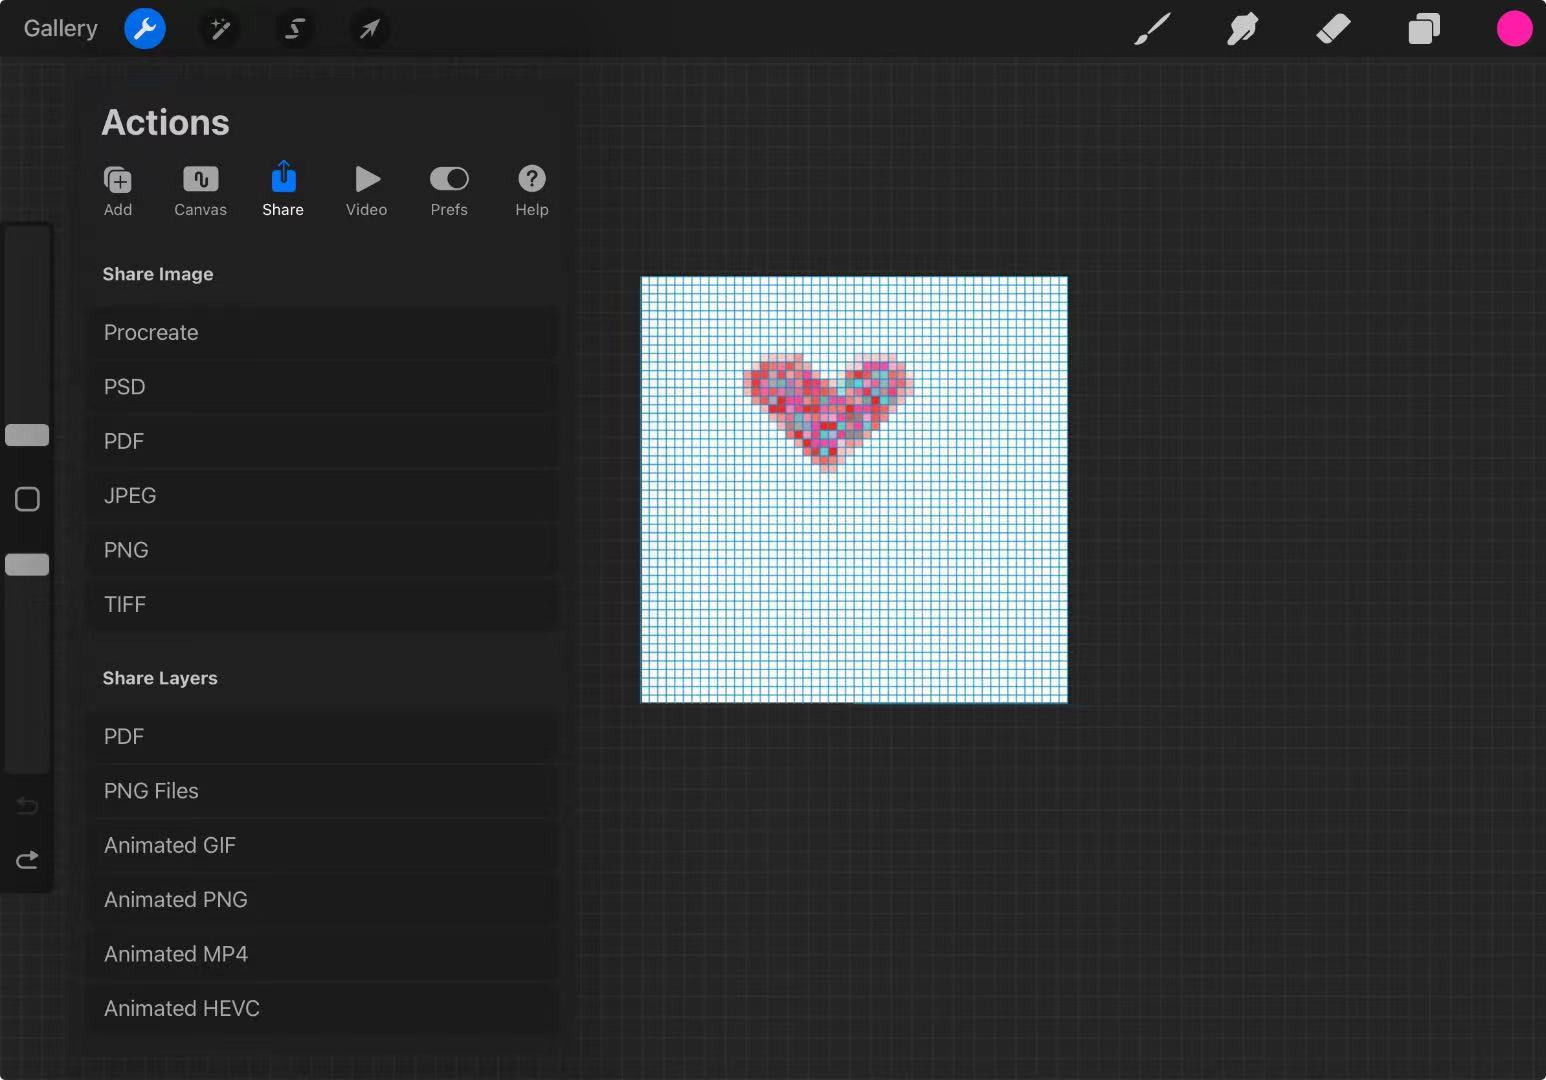
Step 7: When the drawing is just the way you want it, you can save your art to a PNG file by going to the “Actions” menu and then the “Share” pane.
What Can I Do with Pixel Art?
So, what can we do with Pixel Art? Here are some inspirations.
- You can use it to design characters, items, and environments for retro video games.
- You can use it to design icons, buttons, and UI elements for digital applications.
- You can use it to make custom stickers for messaging apps and social media.
- You can print pixel art into T-shirts, mugs, and other merchandise to provide unique personal designs. Make catchy profile pictures.
- You can use it to design banners and posts for social media platforms.
- You can get nostalgic artwork with retro style, digitally or physically.
FAQ
📌 Is there an app that turns Pictures into pixel art?
Yes, there are a few that would readily help you turn your pictures into pixel art. Some of the most popular ones are as follows:
- 8bit Photo Lab: This is free for Android and serves as an application meant to turn your photos into pixel art. Different options can be used for customization.
- Pixel Art Camera: This free iOS app makes your photos look like pixel art images in real-time.
- Pixel Art Maker: This is available for both iOS and Android, and the app allows one to turn photos into pixel art. It provides numerous tools and effects for this purpose.
📌 What are the best pixel art generators available online?
There are so many online tools by which you can easily turn your image into pixel art. Here are some good examples.
- 🔥AiPassportPhotos: This tool helps in changing photos into pixelated artwork and also hosts a few other artistic effects. It is user-friendly, provides top-notch quality, and requires very little manual effort to execute.
- Pixel It: A very basic tool that can easily turn an image into pixelated art, with options to change the size of the pixels and adjust results in a preview before downloading.
- Pixie Engine: This pixel art maker is online, dynamic, and allows minute adjustments. It offers an interactive interface with real-time changes.
📌 What are the advantages of using a pixel art generator?
Most of these pixel art generators are very easy to use and save much time. Some are free or come really cheaply and deliver instantly compared to the traditional software in the form of Photoshop.
Conclusion
Making pixel art out of your photos in Minecraft is one of the most creative ways to turn your pictures into a unique, blocky, in-game feel. You can do this in many other ways, be it using online tools such as AiPassportPhotos, through Google Sheets, or with the very strong Photoshop and Procreate, easily reach pixel-perfect results. Each of these techniques has its advantages, so you can choose the most suitable one for your project. Start working on pixel art today and unleash your creativity!